
Spoiler alert!
If you’re the mother of a child enrolled in my child care program you may want to close the window now and come back after you open your Mother’s Day gift. I’m just sayin’…
Everyone else keep reading to see the fantastic flower pots we painted for Mother’s Day!
 Every year I vow to plan ahead so I’m ready for Mother’s Day instead of scrambling at the last moment… And every year Mother’s Day sneaks up on me and bites me in the butt.
This year was no exception.
On Tuesday I realized Mother’s Day was THIS Sunday, not NEXT Sunday like I’d been thinking, and I didn’t have anything planned yet. Yikes! Luckily I found a quick and easy idea on the internet – painted flower pots!
Painting flower pots is quick and easy, not to mention the finished pots are both pretty and functional. What more could you want in a Mother’s Day gift?
Painted Flower Pot Supplies
You just need a couple of things to make painted flower pots for Mother’s Day:
- Terra cotta flower pot
- Spray clear coat
- Acrylic paint
- Something to put in the pot
Painted Flower Pot Directions
There are just 4 simple steps to painting flower pots, and you can probably finish the project in one day.
1. Prime
I was worried that moisture from the plant would seep through the terra cotta pot and mess up the paint so I took all the flower pots outside and sprayed the insides with Krylon Acrylic Clear Coat. I’m sure other brands would work; that’s just the first one I grabbed.
The can said it would dry in 15 minutes and could be handled in 1 hour, so we had breakfast while it dried. By the time we were done it was dry enough to handle, even though it hadn’t been a full hour since I’d sprayed them. I think the terra cotta sucked the Clear Coat in so it dried faster than it would on a nonporous surface.
2. Prepare
Make sure your child is wearing old clothes because acrylic paint doesn’t always wash out, even though it’s it’s water-based, and kids manage to get full of paint no matter how closely you watch them.
Decide how you want to provide the paint. If we’d all been using the same color I would’ve poured some paint into a shallow container for each child, but since there were different colors I dipped the brushes in the bottles for the children. They traded in their paintbrush for another one when they wanted to switch colors.
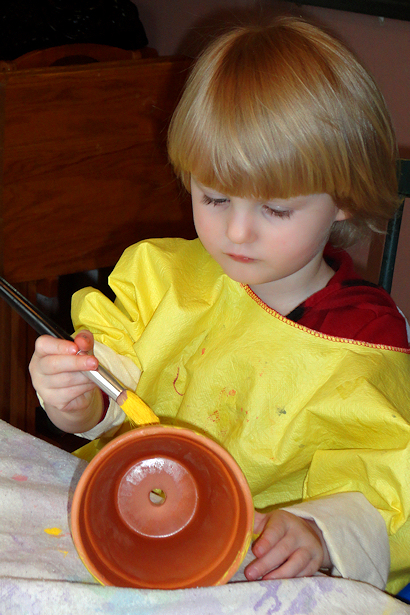 Love Bug was totally engrossed in painting her pot yellow.
3. Paint
Hand over the paint brush and watch the creativity flow!
Young children should be watched closely in case they try to taste the paint, paint their hair, or toss the paintbrush at the wall or the cat. They may lose interest before their pot is fully painted, or may paint one area over and over but leave another area blank. That’s OK! Enjoy watching your child’s self-expression and resist the urge to finish or “fix” the pot when your child is done.
Older children also need supervision, although they’re less likely to eat the paint. You may notice your older child painting a picture or design, painting one color over another, or mixing paint colors.
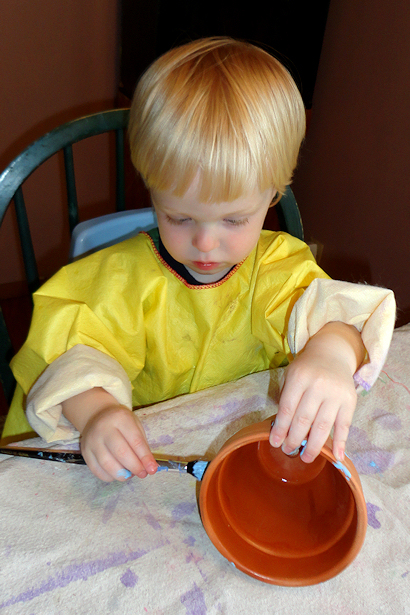 W was totally engrossed in painting his pot too.
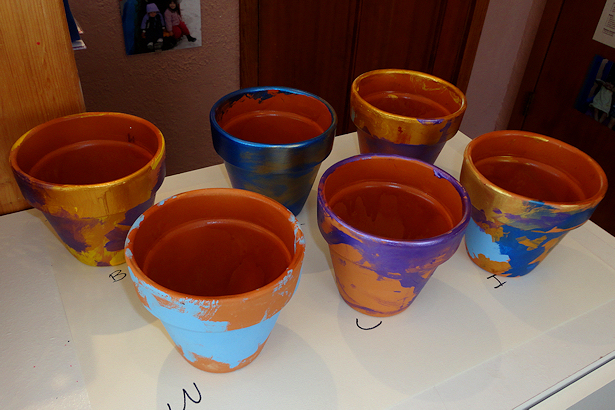 When the paint was dry I wrote each child’s name and “2012” on the rim of the pot. Then I sprayed the outside of the pot with another coat of Clear Coat, and let that dry.
4. Plant
I always love receiving flowers on Mother’s Day, so I had the children plant flowers in their painted pots. I have a policy to never have the children give a gift that I wouldn’t enjoy receiving. That’s why you’ll never see directions for a paper doily brooch, plastic bead necklace, or pipe cleaner chenille stem (gotta be PC!) flowers.
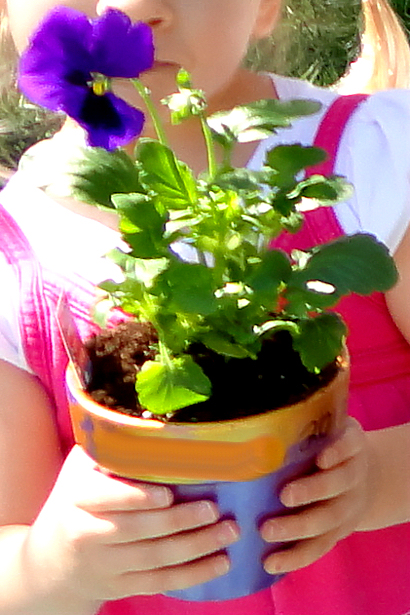
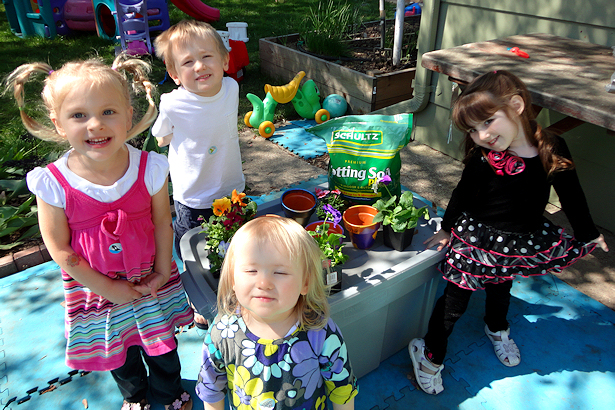 Let’s plant some flowers!
Aren’t my kiddos just adorable? I love the way Peanut is hamming it up for the camera – that is so typical of her.
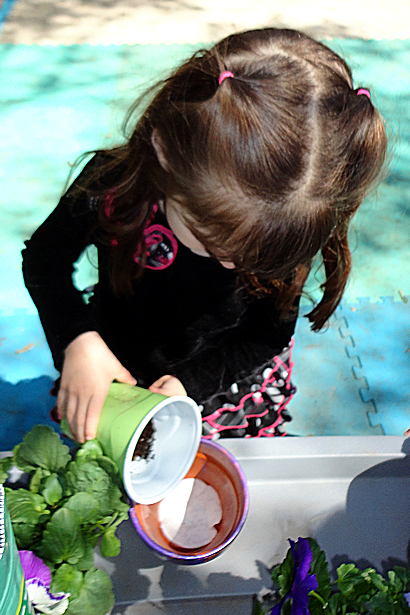 Instead of stones the children put a coffee filter circle in the bottom of the pot to keep the dirt in but let water drain out. Then they poured a little dirt in.
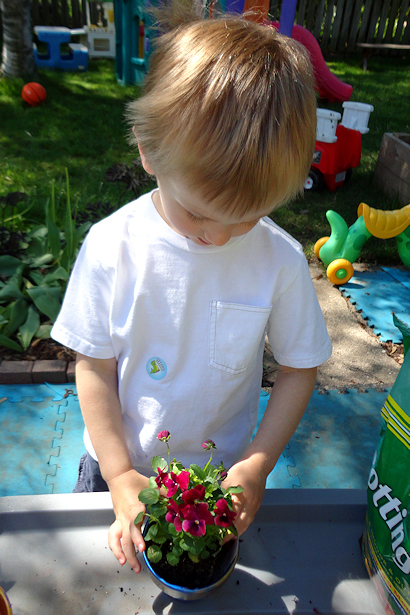 I loosened the flowers so they could pull them out of the plastic containers and put them in the pots. Then I spooned extra dirt around the outside of the plants for the children to tamp down with their fingers.
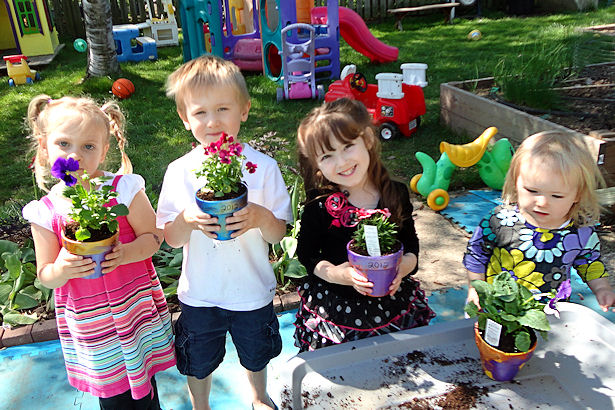 All done!
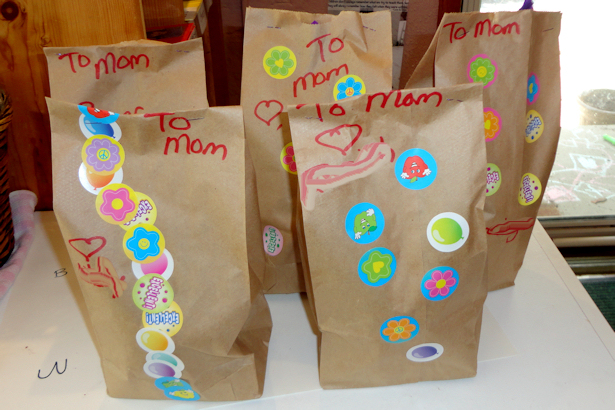 I had the children decorate bags with stickers while I made lunch. Bags are great for wrapping plants without squishing them.
Painted Flower Pot Variations
Go ahead and put your own personal touches on this project! Here are some ideas to get you started:
- Paint your child’s hand and have him grab the side of the pot to leave a handprint.
- Fill the painted pot with smooth stones, shells, sea glass, potpourri, pinecones, or whatever else your mom would enjoy.
- Glue craft foam pieces to the pot instead of painting it. There’s a wide variety of shapes available so you can choose some with special meanings for your child.
Enjoy making painted flower pots with your child, and don’t forget to send me a photo.
Happy Mother’s Day everyone!


