
Last year I posted a tutorial showing how to make reusable sandwich and snack bags using cotton fabric and PUL (polyurethane laminate). Since I realize that not everyone has PUL readily available and it’s generally not considered food-safe, I decided to look for an alternative that would be easier for the average seamstress to get her hands on.
Enter ripstop nylon! I’d heard that ripstop nylon was somewhat waterproof, but to be honest, at first I didn’t believe it. Little Guy changed my mind when he filled one of his ripstop nylon sandwich bags with water – the only dripping came from the seams; not from the bottom where the nylon was folded.
My local Joanns offers a nice ripstop nylon in several colors, but if yours doesn’t you can purchase it from Joanns.com too.
How to Make Reusable Sandwich (or Snack) Bags: Another Tutorial
*applause sign lights up*
Supplies to Make Reusable Sandwich Bags
- Ripstop nylon* (regular nylon will work too, but is stiffer and more crinkly)
- Cotton fabric for the outside.
- Thread
- Serger or sewing machine. I used my serger but you could use a sewing machinee with an overcast stitch to get a similar look. A zig-zag stitch would also work, but it won’t look as finished.
*I couldn’t find an expert source stating that ripstop nylon is food safe, nor could I find a source saying that it wasn’t. Personally, I figure that since nylon is a fabric that gets its water resistant properties from its weave as much as its fiber content and doesn’t have a chemical coating, it’s probably just as food-safe as any other fabric. But don’t take my word for it – do your own research and use your own judgement when deciding what materials to make your reusable sandwich bags from! If you’re not sure about ripstop nylon you could use two layers of cotton or try fleece on the outside and cotton on the inside.
Make a Reusable Sandwich Bag – Step by Step
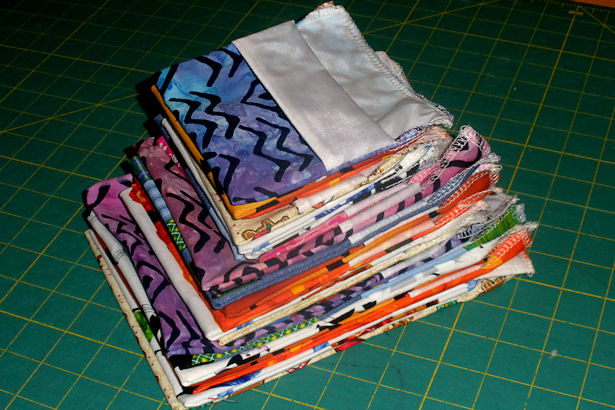
 Although this tutorial is called “Make a Reusable Sandwich Bag” you can obviously make reusable snack bags using the same steps; just cut your fabric a different size. This year I made three sizes of bags; large for sandwiches; medium and small for snacks. The bag shown in this tutorial is the large sandwich bag from Princess’s set.
Step 1: Cutting out the Pieces
Every time I make reusable bags they end up a different size; either because I forget what size to cut them and am too lazy to look up my own tutorial, or because my math skills stink and I ended up not getting enough fabric. My poor friend Nicole has three sets of bags made at different times, and none of them are the same size. Luckily she likes me for more than my reusable-sandwich-bag-making skills.
This year I decided to make the sandwich bags a little smaller than the ones I made last year. Those were just a tad too big when we used store-bought bread, and I didn’t feel like dealing with one-half and three-quarter inch measurements.
For the reusable sandwich bag I cut both fabrics 7″ wide and 19″ long. For the larger snack bag I cut both fabrics 6″ wide by 14″ long, and for the smaller snack bag I cut both fabrics 5.5″ wide and 11″ long.
I know I just said I didn’t feel like dealing with one-half inch measurements, but I wanted the small bag a bit narrower than the medium bag, and 5″ was too narrow so I had to go with 5.5″. Call me crazy; you won’t be the first!
Step 2: Make the Folding Pocket
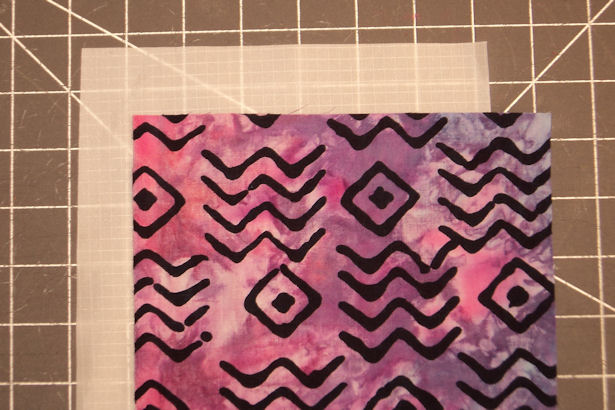
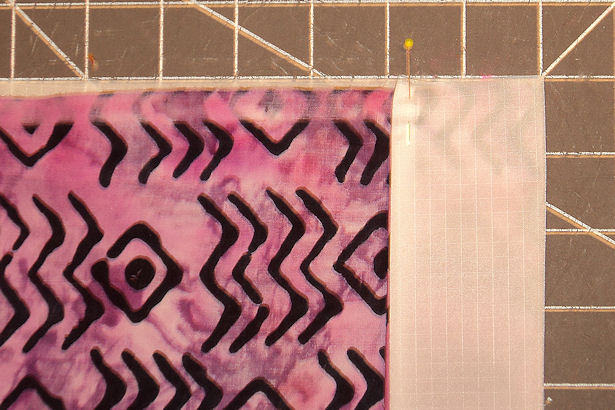
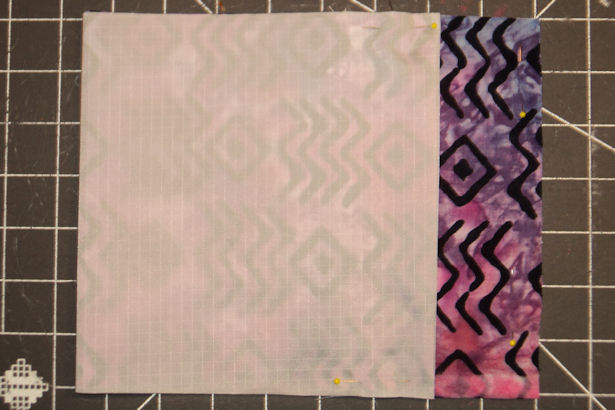
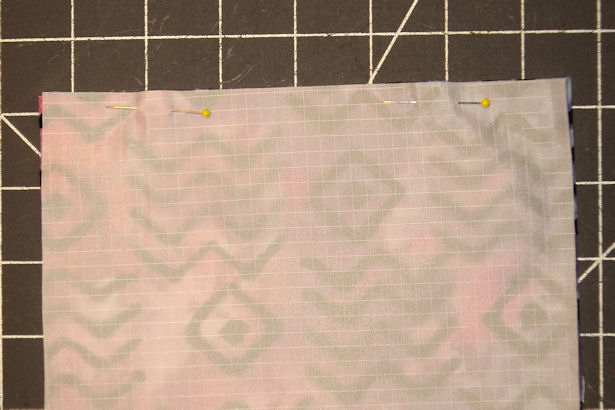 With right sides together, lay the nylon on top of the cotton, aligning the edges as well as you can. Pin along one of the short sides. Don’t stress if the long edges don’t match up perfectly; you can either trim before sewing or let the serger take care of it if you’re serging.
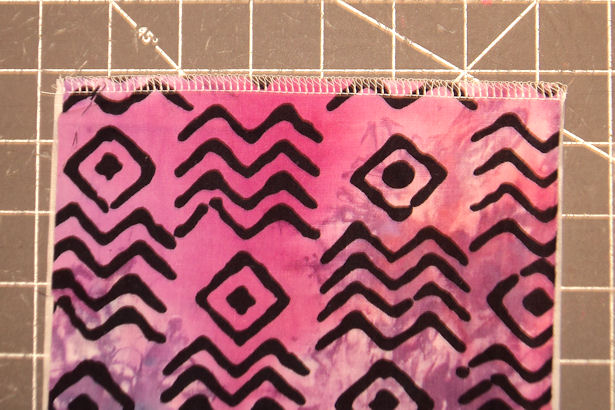 Serge across the edge you pinned.
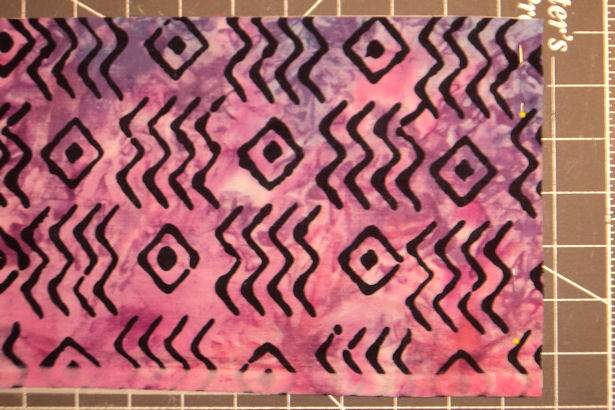
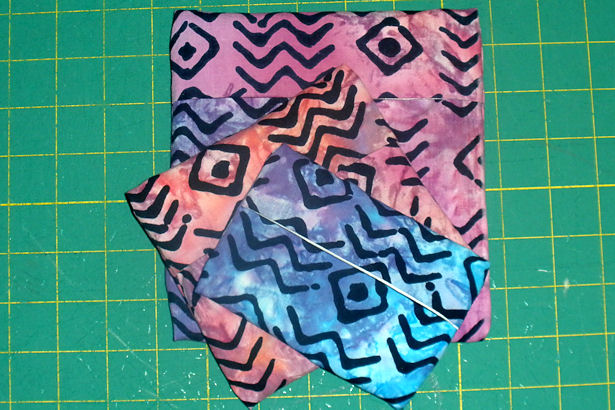
The batik Princess chose doesn’t really have a “wrong” side; I hope it doesn’t confuse you.
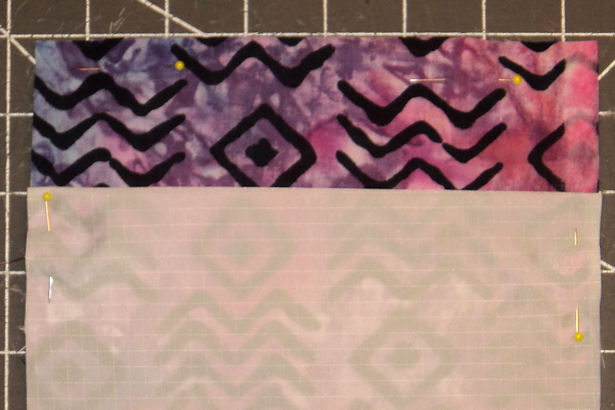
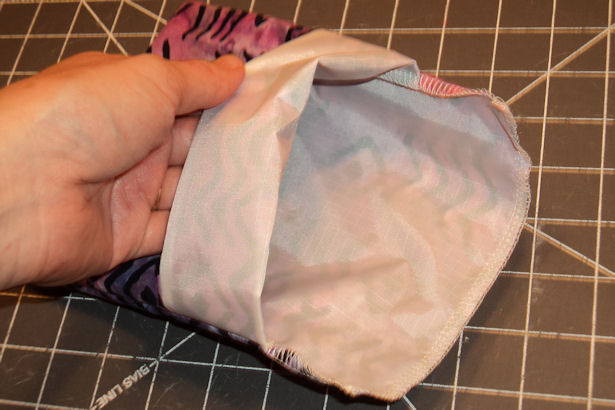
 Open the fabrics and flip them so they’re wrong-sides-together. Ripstop nylon is a bit slippery, so lightly iron or finger-press the seam to crease it. You may want to pin the layers near the seam so they don’t slide around during the next step.
 With the fabric side up, carefully line up the three raw edges – right sides together – keeping the serged seam straight and flat. Pin the edge opposite the serged edge to keep the ripstop nylon from sliding.
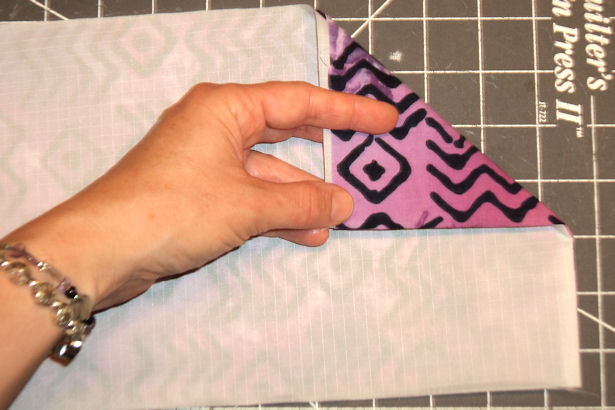
Now stick with me; folding to make the “pocket” is a bit tricky, but I know you can do it! Just think about how the top of a plastic bag is put together, with the one flat part on the bottom and the folded-down part on top – that’s what we’re trying to do.
 Since the ripstop nylon can be slippery to a four-letter-word degree we’re going to make the reusable sandwich bag pocket a little differently than the reusable snack bag pocket. Instead of folding the whole thing in half and tucking the serged edge under to make the pocket, we’re going to make the pocket first.
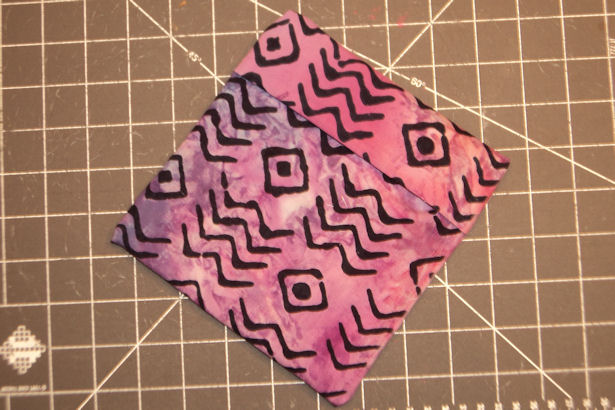
Lay the bag flat with the cotton side up and fold the serged edge about 2″ over, so the cotton layers touch. Be careful to keep the layers together at the fold because the nylon is going to want to slip on you. Try not to cuss out loud if your kiddos are around; it’s not a good example for them.
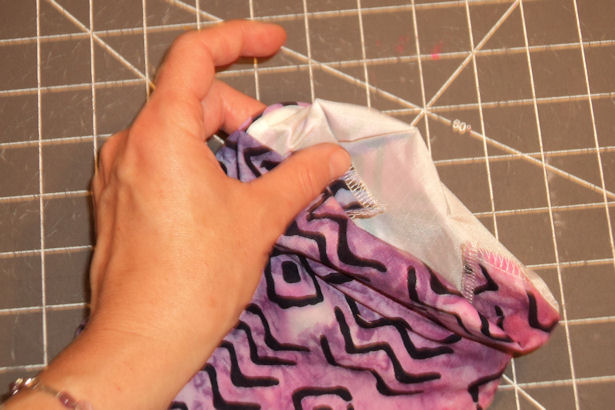
 Next, still being careful to keep the layers from slipping, fold the bag right-sides-together cotton layers together so the folded pocket edge is about 2″ down from the pinned edge. Pin along the sides.
To avoid having double pins in the pocket area I hold the fabric firmly to the table, remove the pins holding the pocket together, and use them to re-pin through all the layers.
 You’re almost done!
After making so many reusable sandwich bags I don’t need pins near the bottom fold, but you may want to put some in to make the next step easier for you.
Step 3. Stitching the Sides
Starting at the bottom fold on one side, serge the raw edge through all the layers along the side, across the top edge, and back down the other side to the fold. Go slowly when you get to the folded “pocket” area so it doesn’t shift on you.
To keep your serging from unraveling you can either pull the loose threads and tie them, or serge over them again – kind of like back-stitching on a sewing machine. Step by step directions on how to do this are in last year’s tutorial, and will be posted as a separate tutorial soon.
 That’s it! Turn your brand spankin’ new reusable sandwich bag right side in, fill it with a tasty sandwich, and you’re good to go!
 Now it’s time to sit back with a cup of coffee and a chocolate-chip cookie, and admire your new sandwich bag. You did a fantastic job!
 To use your reusable sandwich or snack bag, put the food inside the bag Thank you, Captain Obvious and fold the flap in, over the food.
 Flip the pocket over the flap to close the bag.
I like to hook my middle fingers in the pocket, hold the flap in with my thumbs, then flip the pocket over, but it’s really hard to show that with both hands AND take a photo. 😉
 To clean your reusable sandwich bags, simply turn inside-out and wipe with a damp cloth. If they get really dirty you can wash them with your regular laundry. According to Joanns, to wash ripstop nylon: “Machine Wash Warm, No Chlorine Bleach, Tumble Dry Medium, Cool Iron.”
Happy reusable bag sewing!
Be sure to send me photos of the reusable sandwich bags you make – I can’t wait to see them!


I love that idea.. I have made several items from your tutorials.. I love your ideas!! I pinned this on my Pinterest !!! Thank you for the tute!
Pingback: Reversible Coffee Sleeve Tutorial
Thank you for this walk through. They are simple and quick, well when the kids let me work on them.
Alicia,
You’re very welcome! I know what you mean about “when the kids let me work” – I have to wait until the youngest go to bed, otherwise they want to “help” LOL!
Thanks for commenting. I’d love to see some of your sandwich bags when you get them done!
~Amy Sue
I am doing something wrong. I keep ending up up a rectangle with a flap, but there is no way to turn it right side out.
I do t know what I am doing wrong.
I figured it out. Sometimes you need to walk away for awhile and start over :).
Thanks for the post. I tried making these, but found that the ripstop nylon wasn’t air-proof and my sandwich bread would get stale. Did this ever happen to you? Any suggestions?
Lisa,
I haven’t noticed that problem, but we buy wheat bread so it’s a little drier to begin with. I’m not really sure what to suggest… assuming the opening was folded and sealed up securely you may want to try 2 bags with the openings in opposite directions?
Sorry I can’t help more, but we haven’t had that problem. Maybe another reader will have more suggestions for you.
Thanks for commenting,
~Amy Sue
I have some extra fleece fabric and was wondering ifyou thought I could use rip stop nylon on the inside with fleece on the outside rather than cotton? Thanks for your help.
Courtney,
You could use fleece if you wanted, but you’d end up with a thicker, fluffier bag than if you use cotton. I’d fold the fleece into a rough sandwich bag shape to see if it’ll be too bulky for you before taking the time to make one.
If you make some fleece bags let me know what you think of them!
~Amy Sue
Hi! I love this pattern. Just FYI, if you don’t have a serger you can sew your nylon to the cotton wrong sides together, leaving a hole at the top end (that gets serged in the last step of serging when you go around 3 sides). Then fold as directed and you will close the hole at the top while sewing around the three sides.
Lindsay,
Thanks for that tip! I’ve gotten so spoiled with my serger that I forget to figure out how to do things without it. 😉
~Amy Sue
Can’t wait to try I just got my foodsafe procare in the male do gonna try this pattern as o dont have zippers or Velcro and I like the extra flap idea
Let me know how yours turn out! We’ve lost some but still have a decent stack of them – the problem now is that the kids have gotten older so they don’t like the fabric they picked out before. I need to find time to make some more!
Thanks for commenting,
~Amy Sue