
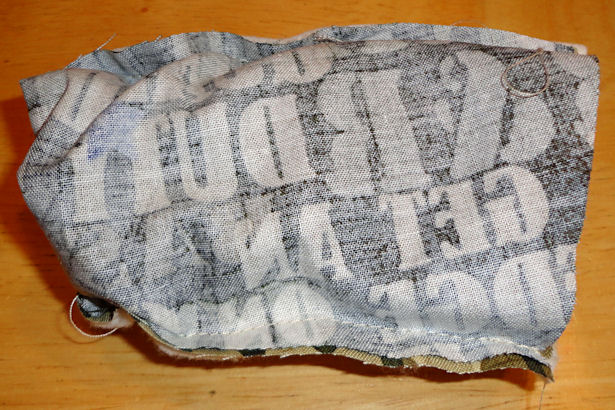
 Coffee sleeves are eco-friendly, and make great gifts! You can wrap one up with a coffee shop gift card, or whip up some matching reusable snack and sandwich bags for a great lunch set. The coffee sleeve in this tutorial is part of a set I made Cowboy for Christmas this year. He loved it!
Reversible Coffee Sleeve Supplies:
- Two scraps of fabric, at least 12″ x 6″ – either matching or coordinating
- One scrap of cotton batting or fleece, at least 12″ x 6″
- Coordinating thread
- Pattern
Reversible Coffee Sleeve Directions:
Step 1: Make your Pattern
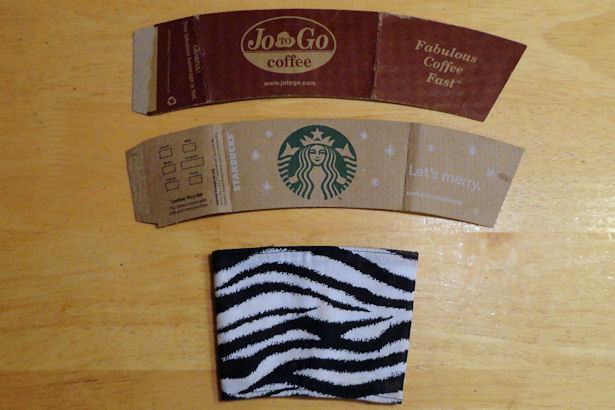 First I needed a pattern, so I hunted down out a couple of cardboard coffee sleeves and grabbed the Coffee Coat my friend Nicole had made me for Christmas. After a short internal debate Which is easiest to make a pattern from? Which has the best angle? Which do I like best? I decided to go with Nicole’s because I liked how wide it was compared to the cardboard sleeves.
I folded the coffee sleeve along the seam and traced it, making a dashed line where the fold was, and adding 1/4″ seam allowance around the other three sides. Then I folded the paper in half on the dashed line and cut it out to make a full pattern.
To use a cardboard coffee sleeve as a pattern, unfold the cardboard sleeve and trace around it, adding a 1/4″ seam allowance on all sides.
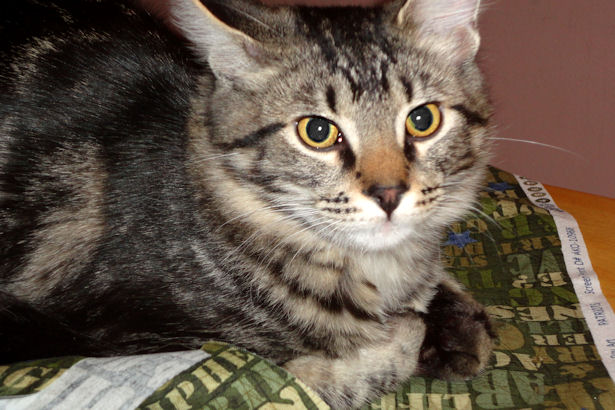 Snickers, get OFF the fabric! Can’t you see I’m trying to make coffee sleeves for Christmas? Silly kitten!
Step 2: Cut your Fabric
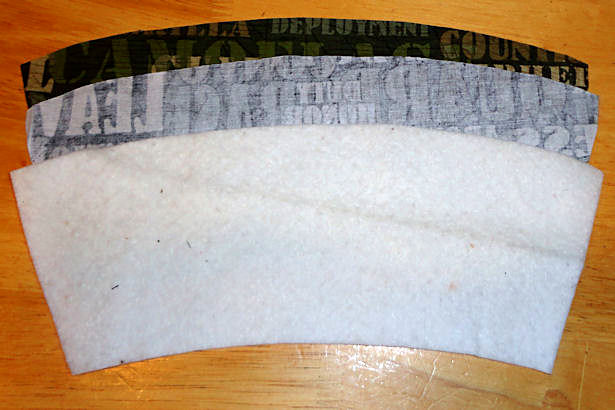 Lay the fabric right-sides-together, place your pattern on top, and cut. Cut 1 piece from the batting. You should end up with 2 pieces of fabric and 1 piece of batting.
My mom gave me some scraps of Warm & Natural batting, but you could use fusible fleece, plain cotton batting, or whatever you have around; I’d think even polar fleece would work.
Step 3: Sew the Top and Bottom
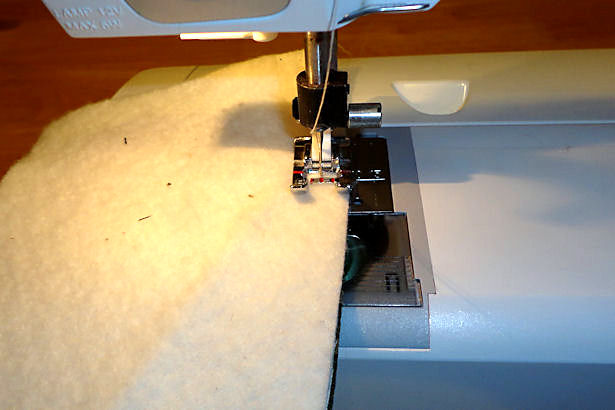 Stack the pieces of fabric right-sides-together and place the batting on top. Pin as necessary. Sew all the way cross the longer i.e. the top edge.
 Sew across the shorter bottom edge, leaving a 1″ -1 1/2″ opening near the center. Be sure to backstitch when you stop and start at the opening.
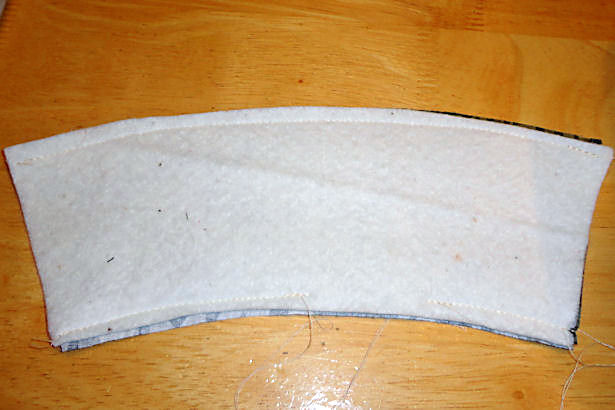
You should end up with a tube that’s open on both ends and stitched on top and bottom, with an opening at the bottom.
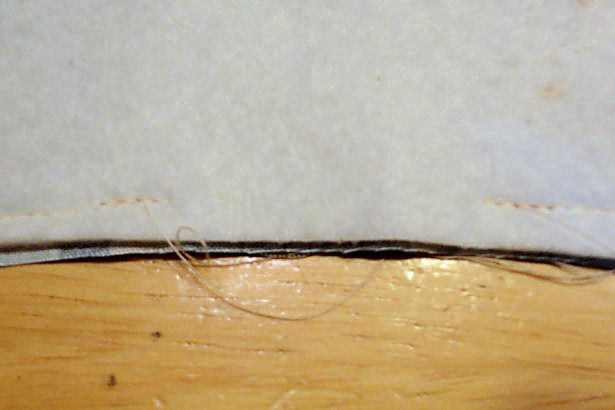 Here’s a close-up of the opening in the bottom edge.
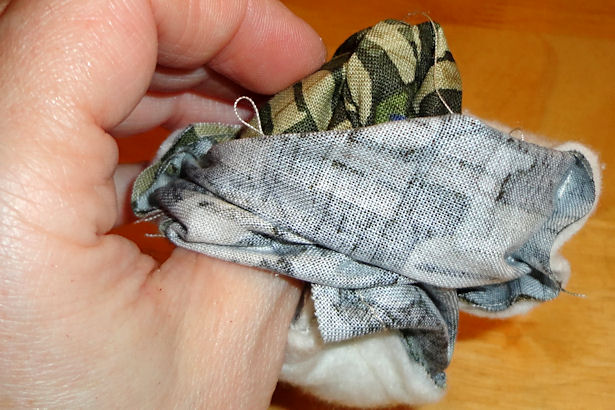
Step 4: Sew the Back Seam
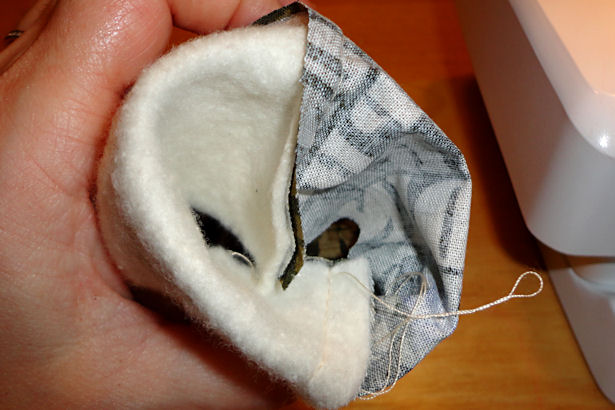 This step sounds tricky but it’s really not: Open the tube and push one end through to the other side.
 Adjust the inside part until the raw edges line up. The fabric should be right-sides-together, like in the photo.
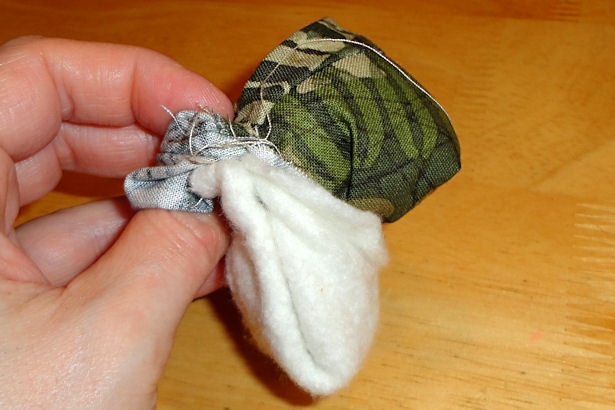
 Basically your coffee sleeve tube will be be folded in half, with raw edges on one side and a fold on the other side.
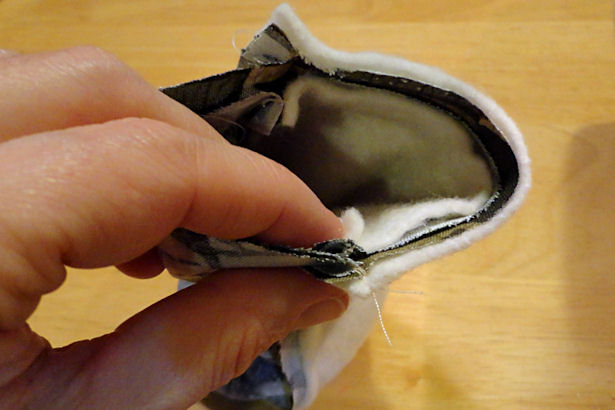 Be sure that the seams line up, and pin as necessary.
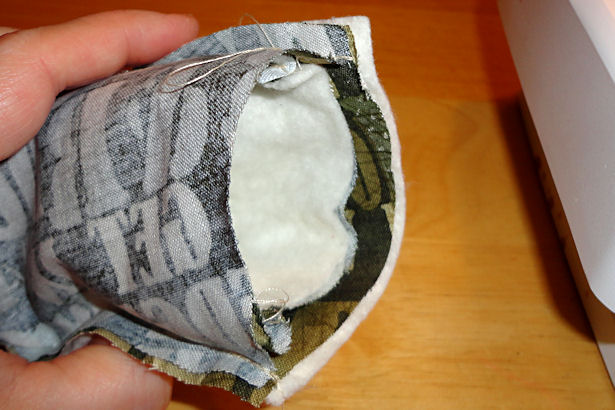
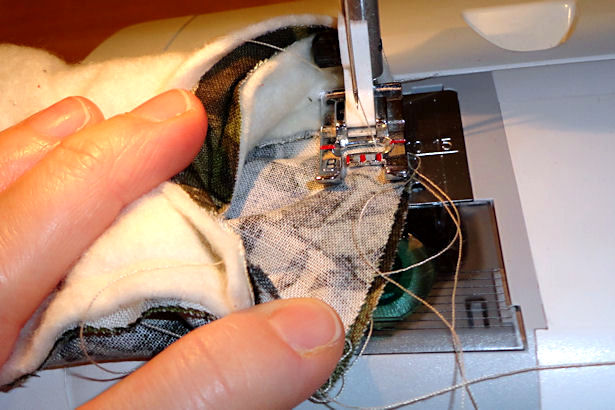 Carefully sew along the raw edge, stopping often to readjust the fabric so the seam is smooth. I find it easier to start on the side without the batting.
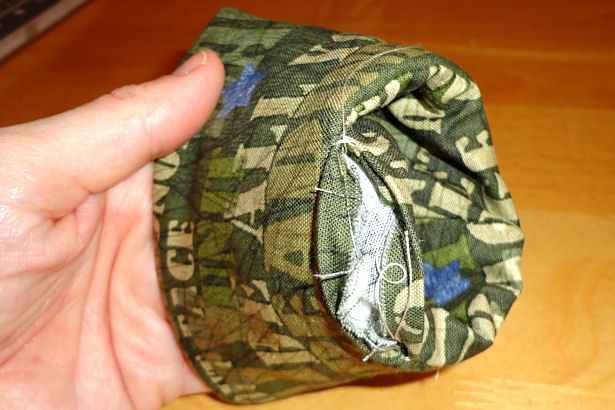
 You’ve got a tube with a fold on one side and raw edges with a seam on the other end. Trim your threads now because you won’t be able to get to them after the next step.
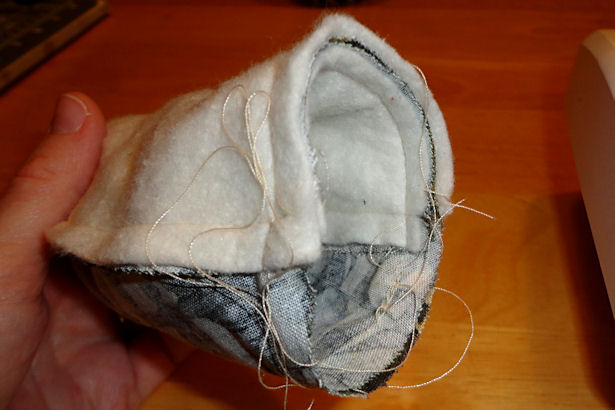
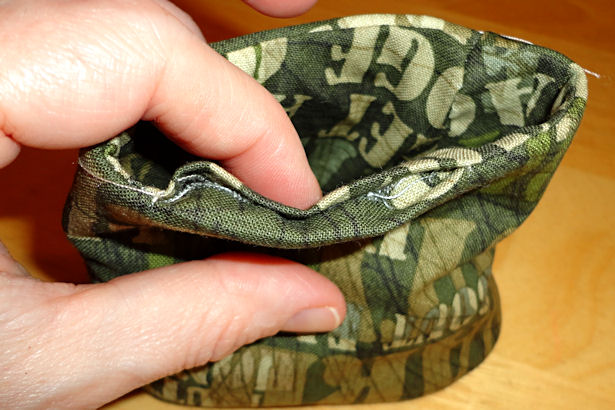
Step 5: Turn Right-Side-Out
 Carefully turn the coffee sleeve right-side-out through the opening you left in the bottom seam. I like to start by pushing non-batting areas through with my thumbs…
 Then alternately pull from the outside and push from the inside to work the rest of the fabric through the opening. Be careful not to break the thread at the seams!
 You’re almost done – just the opening in the bottom seam and the finishing touches to go!
Step 6: Topstitch
 Smooth the fabric and fold in the seam allowance at the opening. Finger-press, then pin.
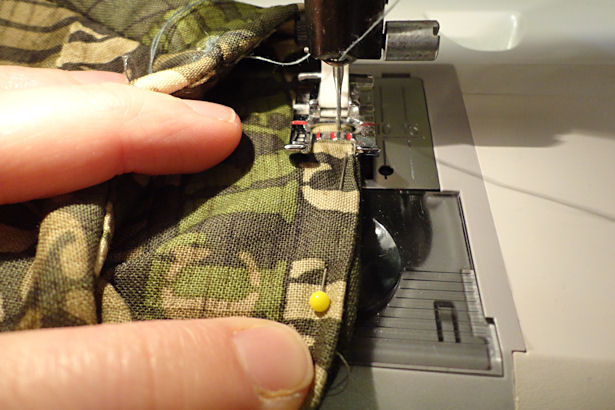 Topstitch along the top and the bottom, about 1/8″ from the edge; this will close the opening in the bottom seam.
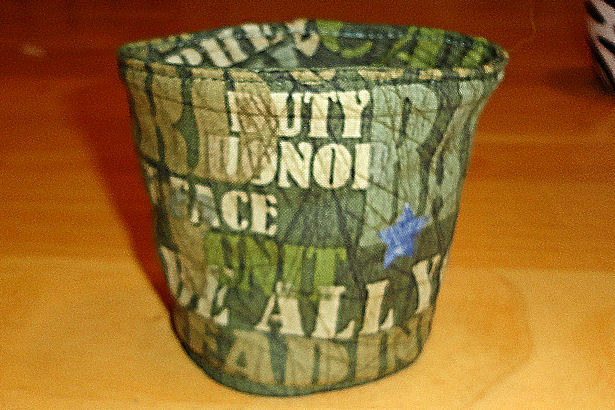 That’s it – you’re done! Reversible coffee sleeves are so quick and easy to make that you could easily make a coffee sleeve for every season, every holiday, family and friend birthdays, the list goes on and on!
I need a coffee… meet me at Starbucks, and don’t forget your coffee sleeve!
Happy Sewing!


