
 It’s easier than you can imagine to apply vinyl lettering, and to prove it I took pictures of the very first time I ever applied vinyl lettering in my whole life!
But first, a little background…
 This is my friend Carie who in addition to being beautiful is an Uppercase Living demonstrator. She introduced me to the wonderful world of vinyl lettering. To be honest, I’ve been aware of vinyl letting for a while, but thought it was tacky until I saw some “up close and personal” at her house.
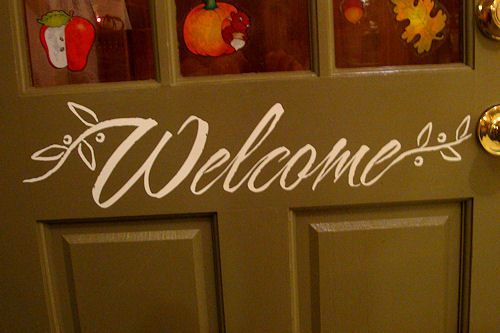
 I became obsessed with the idea of putting “Welcome” on the child care entrance aka our back door to greet the children and their parents.
I’ve dabbled in graphics for a couple of years and have collected more fonts than I can name, so at first I thought I’d find a pretty font and paint “Welcome” on the door myself. Then I realized that the brush strokes would probably still be visible under a new coat of paint if we ever decided to paint over it.
Not to mention that’s a lot of work, and I’m more about quick and easy.
Shortly afterward I discovered that Uppercase Living was offering a free holiday greeting with every purchase. Two for the price of one and much less work? I couldn’t resist!
 When the “expressions” as the Uppercase Living catalog calls it arrived I began to worry about applying the vinyl lettering. Even though I’d measured the door and Carie showed me how to do it I was afraid of messing it up.
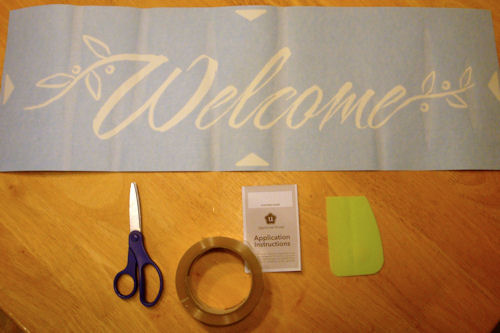
I read the directions four times, then gathered supplies: tape, scissors, the “scraper” that came with my order, and the vinyl lettering, of course.
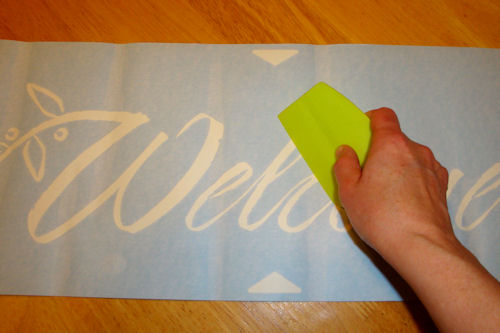 First you’re supposed to rub both sides of the vinyl lettering with the scraper tool or a credit card, to help the lettering come off the paper.
 Next you have to determine placement and take the backing off.
There are two ways to do this: slowly and carefully pull the backing off at a 45 degree angle, or use the “hinge” method.
Determining placement was actually the hardest step for me, because the whole thing with paper attached was bigger than the part of the door where I wanted to put it. Since I’m a dork and didn’t want to write on the just-painted-last-summer door I used Post-It notes to mark the centers.
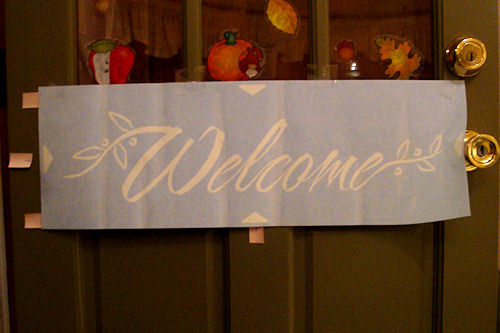
After re-reading this section again I decided to try the “hinge” method because it seemed more fool-proof. Once you’ve determined placement, tape the expression in place along the top; keeping all the layers in place.
 Once your vinyl lettering is securely taped in place, carefully flip the whole thing up and beginning at a corner, slowly peel the backing off at a 45 degree angle.
This is where I got into trouble – my tape “hinges” didn’t have much door to hold on to so they let go as I peeled the backing off. It finally came all the way off the door and I ended up holding the sticky top layer with lettering attached, terrified that it would fold over onto itself and fuse together into a gummy mess.
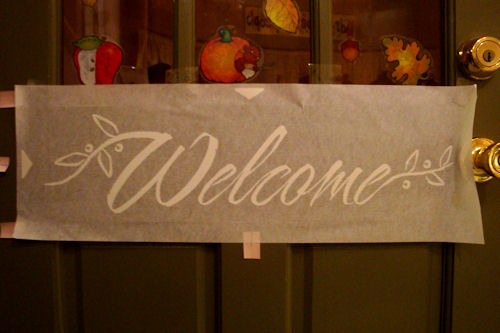 Eyeballing it as best I could, I carefully centered the expression, then smoothed the lettering and sticky paper onto the door with my fingers. I ended up with some wrinkles and bubbles in the top layer but didn’t worry about them as long as the lettering was smooth.
Next, use the scraper to rub the letters onto your surface so they’ll stick when you peel the top layer of paper off. Make sure you get all the edges and corners!
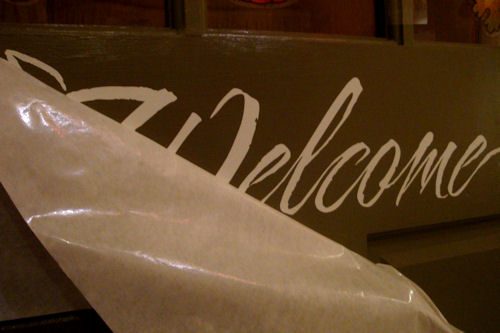
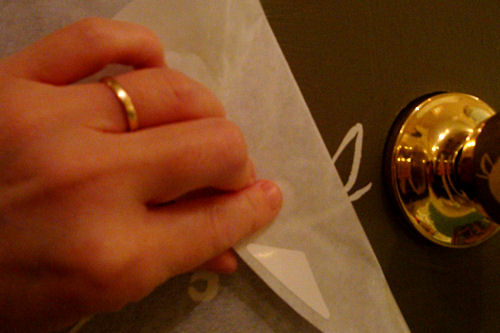 Again beginning at a corner and working at a 45 degree angle, slowly peel the top layer away from the vinyl lettering. If any of the lettering sticks to the top layer simply smooth the top layer back, rub with the scraper, and try again.
I learned that the tops of all the letters had to be rubbed down REALLY hard or they wouldn’t stick to the door.
 Almost done!
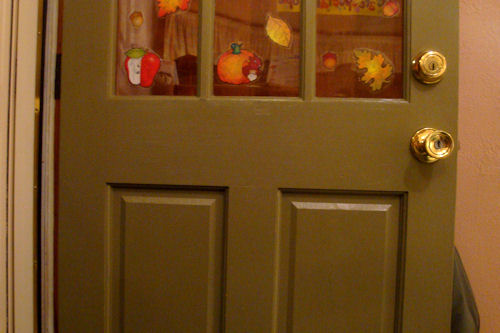
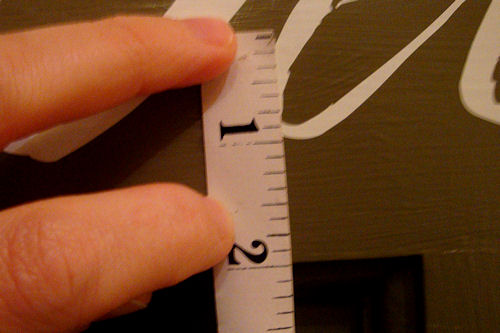 Now for the test… because of the doorknob I wasn’t worried if my “Welcome” wasn’t perfectly centered side-to-side, but I certainly didn’t want it slanting up or down!
One inch below the first “e” …
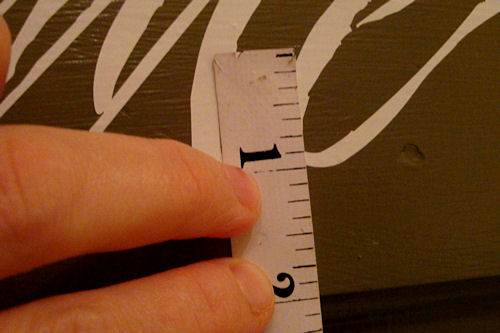 One inch below the second “e” – I did it! Even eyeballing it I got it straight.
Whew!
Ta-da! Isn’t it pretty?
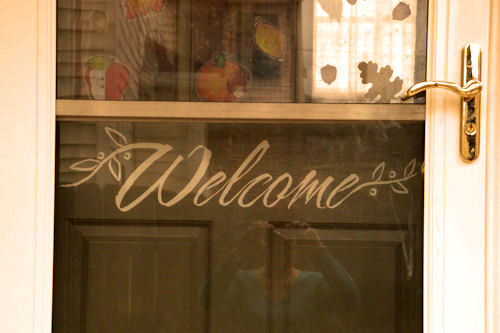 I especially love how it fits perfectly inside the screen door – it’s almost like a frame.
See, I promised that it’s easy to apply vinyl lettering!
Do you have any vinyl lettering in your house, or are you planning to get some? I still want some along the soffit in my kitchen, but haven’t decided what I want it to say yet… got any ideas?


LOVE it!!!
Love the vinyl lettering, just put a Merry Christmas, that I ordered, on a mirror this weekend. And now I’m wondering if I will be able to use it again next year, do you know? The instructions said to use a hair dryer on low to take it off. Then if I could save it between parchment paper, could I make it stick again? Wait, maybe this is the blind leading the blind, does anyone know?
Jeanene@thequeenbeeshive.com
Jeanene,
Definitely the blind leading the blind to ask me, LOL! I’ll ask Carie – she’ll know. My guess is that you can’t save them though. I’ll let you know when I find out.
~Amy Sue
it mazes me how perfectly you applied this lettering on the door , sometime ago i tried one but that got damaged… good luck to you