One of the benefits of having College Boy, Irish Girl and Love Bug live with us is that they make supper about once a week. We think it’s important for them to contribute to the household while they’re living here, and we enjoy trying their favorite recipes.
Many of their recipes were found online; the original recipe for this enchilada casserole came from Heather Drive’s blog, but Irish Girl adapted it to fit our family’s taste.
Enchilada Casserole Recipe – in Pictures
Irish Girl was gracious enough to let me take photos over her shoulder while she was making the Enchilada Casserole. They may not be the best photos, she’s taller than I am so it wasn’t easy to get over her shoulder but you’ll get the main idea.
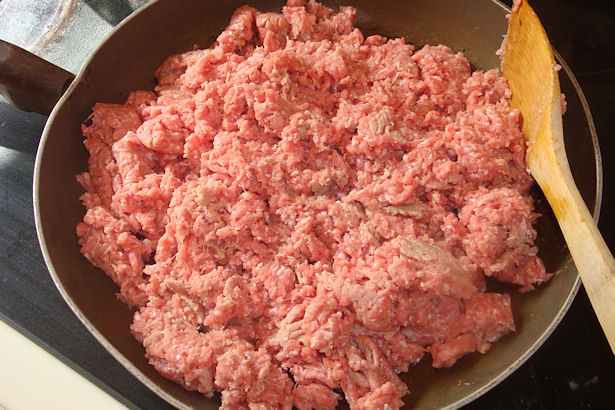 Princess and Angel Face don’t eat beef or pork, so Irish Girl substituted ground turkey for ground beef.
If you’re trying to eat healthier like Teacher and I are you may want to use ground turkey even if you’re not opposed to eating beef. Ground turkey tastes almost the same as ground beef to me when it’s in a casserole, and the calorie/fat difference makes the switch worthwhile.
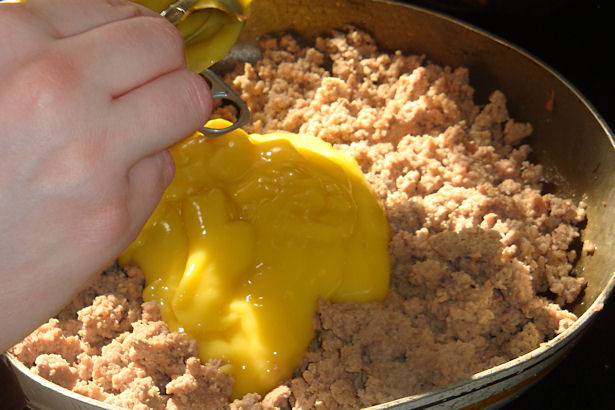 When the turkey was browned she added two cans of cream of chicken soup.
For a healthier alternative, Teacher suggests thickened and seasoned chicken broth. I also found this recipe for homemade condensed cream of chicken soup; we haven’t tried it yet, so if you do please let me know what you think!
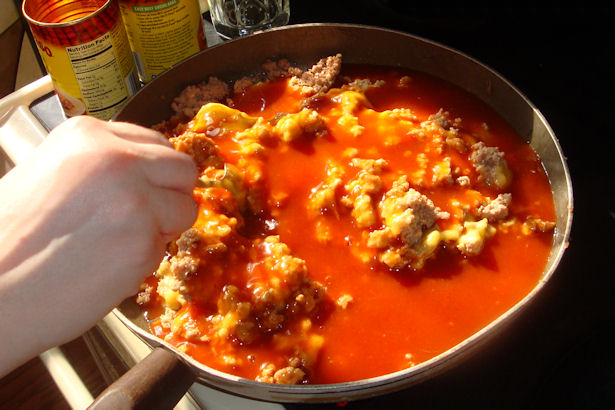 Then two cans of enchilada sauce.
Irish girl says it’ll be easier if you add the beans now instead of trying to layer them later. College Boy says the casserole will taste better if you just omit the beans altogether.
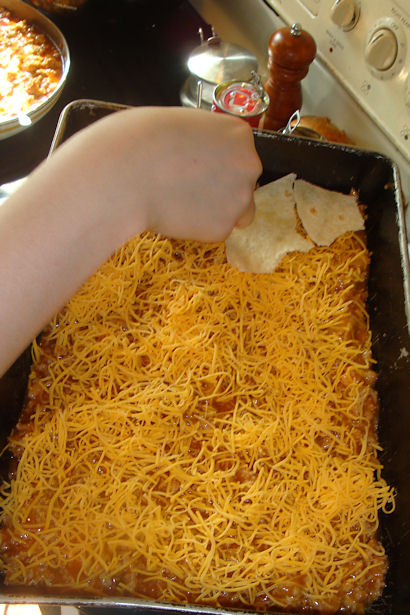 After stirring in the soup and sauce it’s time to layer the casserole. Irish Girl covered the bottom of the pan with torn tortillas, then spread on some of the meat mixture and sprinkled on some cheese.
We don’t substitute low-fat cheese because “real” cheese generally has less additives.
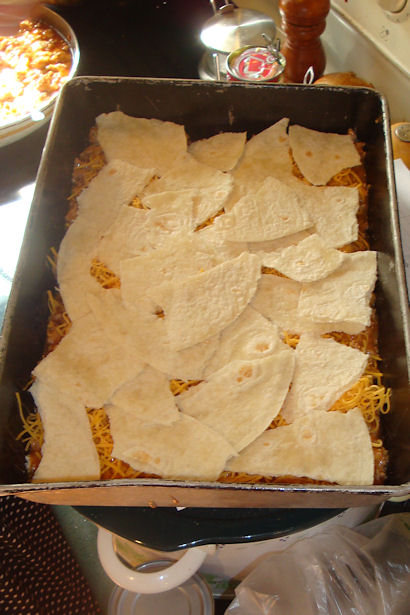 Next another layer of torn tortillas…
Whole wheat tortillas will be healthier than white tortillas but I’d stick with flour ones; – I think corn tortillas would turn to mush in the casserole.
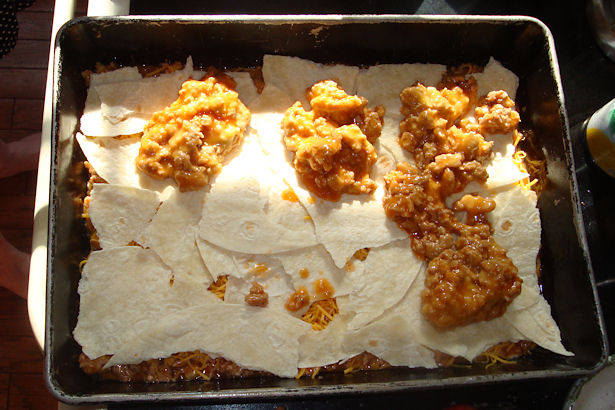 Then another layer of meat, followed with the beans – which Irish Girl said were really hard to spread on.
Check the labels when you shop for refried beans; I found a non-fat version that contained nothing but beans, water and salt, and were really low in calories. I think they were La Preferida, but don’t remember for sure.
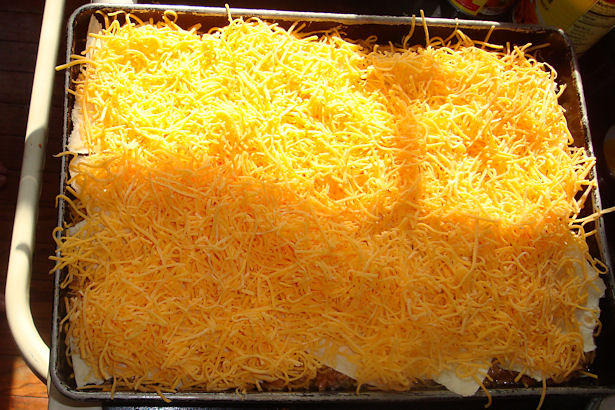 One more layer of torn tortillas and a ton of cheese, then into the oven.
You wouldn’t believe how yummy this smells already – is it time to eat yet?
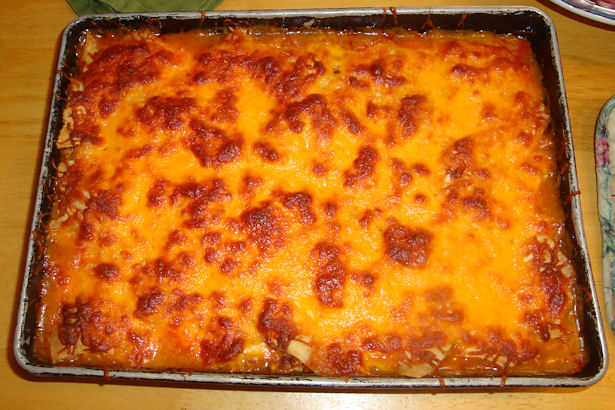 Bake until browned and bubbly; about 30 minutes.
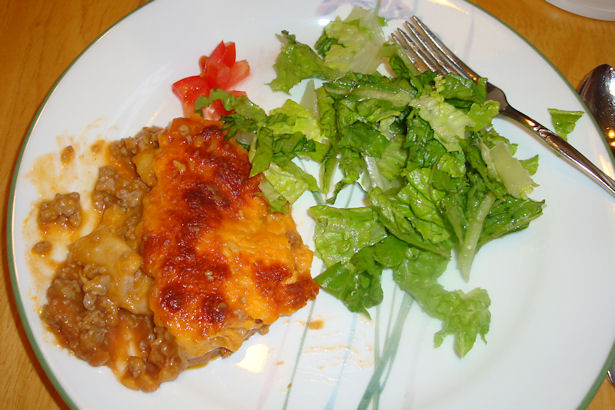 Irish Girl had lettuce, tomato and sour cream to go on top that’s what we had on hand but you could also use green onions, black olives, cilantro, guacamole, or whatever else you like on tacos.
Time to dig in!
Enchilada Casserole Recipe – Our Version
Ingredients:
2.5 lbs. Jenny-O ground turkey
2 cans enchilada sauce
2 cans low-sodium cream of chicken soup
1 can vegetarian refried beans
6-8 tortillas (8-10″ ones are best)
16 oz shredded cheddar cheese, divided in half
Directions:
1. Brown ground turkey in a large frying pan; you shouldn’t need to drain it. Stir the enchilada sauce and cream of chicken soup into the browned turkey. Irish Girl recommends adding the can of refried beans now to avoid fighting with them later.
2. Spray the bottom of a 9″ x 13″ pan with olive oil spray. Tear the tortillas into pieces and line the bottom of the pan with them. Sprinkle about one-quarter of the cheese on top of the tortillas, then spread with about half the turkey/sauce/soup mixture. Cover with another layer of torn tortillas and top with the rest of the meat mixture.
3. If you didn’t add the beans to the meat in step 1 it’s time to add them; drop small dollops of beans on top of the meat and spread as much as you can. Warming the beans slightly and stirring them may make them easier to work with.
4. Sprinkle another layer of cheese on top of the beans, then cover with a final layer of torn tortillas and the rest of the cheese.
5. Bake at 350 degrees for about 30-45 minutes, or until bubbly. Let cool for 10 minutes before serving… if you can wait that long.
Enjoy!


