
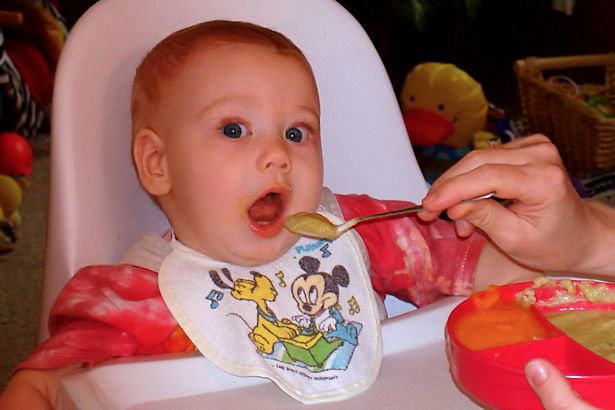
 People look at me weird when I say that I make my own homemade baby food. They wonder why I’d go to so much work when it’s so easy to buy little jars and tubs of baby food from the grocery store.
They wouldn’t wonder if they’d ever tasted commercial baby food.
I’ve tasted it, and it’s yucky.
Watery, bitter, and bland.
If I were a baby I’d pinch my mouth shut and turn my head away from it, or spit it back at whoever was trying to feed it to me. Actually, that’s what I did when I was a baby.
I started making homemade baby food when Princess was a baby and have made it for all of our other children, our grandchildren, and the babies in my child care.
I make homemade baby food because:
- It’s SO much yummier than commercial baby food! I’ve been known to lick off the spatula when I’m done; especially when I make squash and sweet potatoes.
- It’s cheaper and more nutritious than commercial baby food.
- It’s safer because you know what’s in it. Some baby foods contain sugar, modified food starch and fillers, not to mention pesticides and other chemicals from traditionally-grown produce. Yuck!
- It’s super easy and fun yes, I said FUN to make!
Homemade Baby Food – in Pictures
The idea for this post came to me when I was making squash baby food so all the photos are of squash, but you can use the same technique to make pretty much any kind of baby food you want.
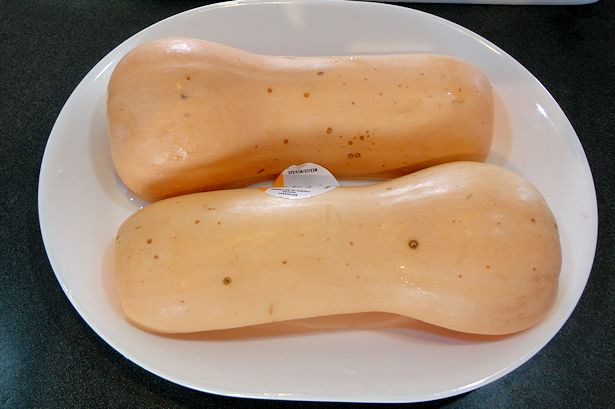
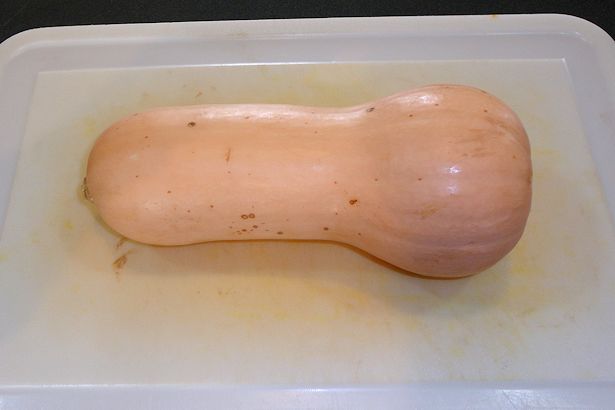 If you’re using fresh produce, give it a quick wash to remove any potential germs and bacteria it may have picked up on the way to your house.
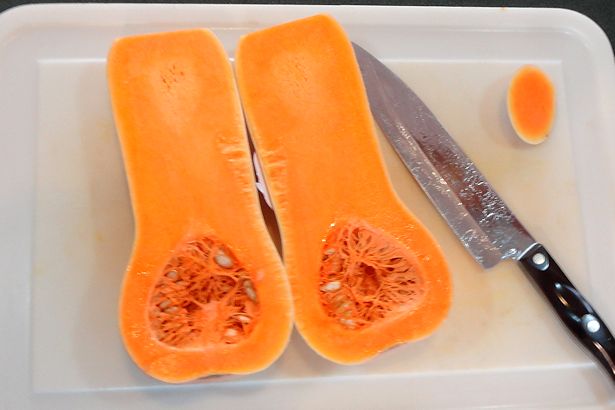 Cut the squash in half. Use a sharp knife and be careful because these guys are hard to cut and like to roll.
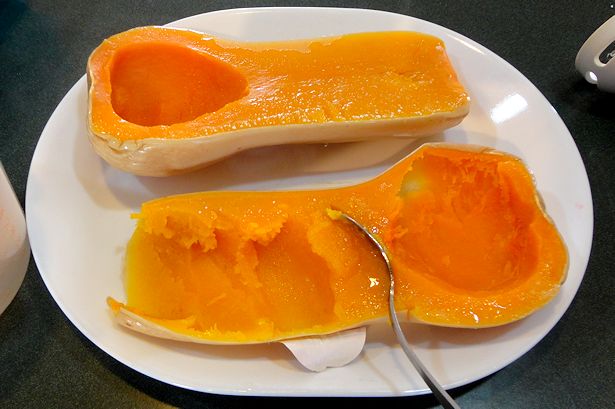
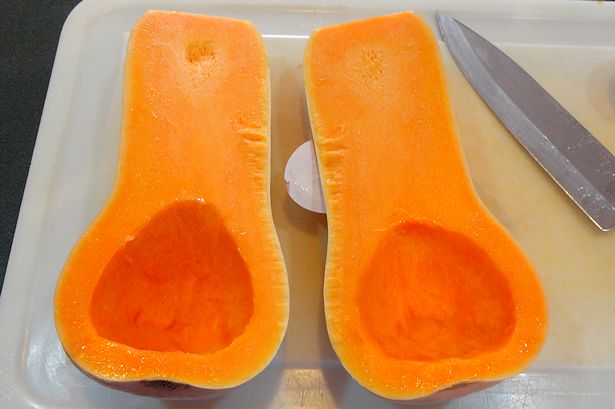 Use a spoon to scoop out the seeds and any “goop” that’s in the cavity with the seeds.
 Place the squash cut-side-down on a microwave safe plate or container and cook until soft. Periodically poke the solid end of the squash with a knife to check doneness. Actual cooking time will vary depending on the wattage of your microwave; mine took 10 minutes.
I prefer to microwave fresh produce because it retains more nutrients than other cooking methods. Steaming is another good option too, but I think microwaving is easier.
 Unless you have “asbestos hands” like my mom and Teacher have you probably want to let the squash cool a bit. When it’s cool enough to handle, use a spoon to scoop the squash out of the skin, being careful not to get any bits of skin in with the squash.
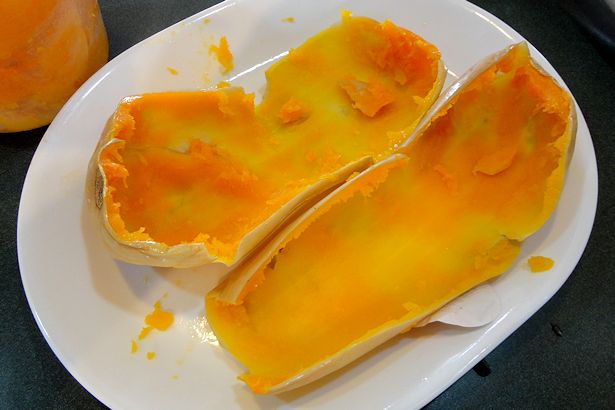 Looks good enough to me.
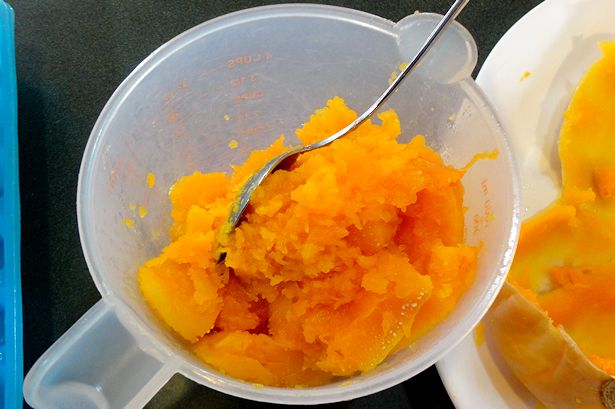 Place the squash into a food processor, blender, or other container.
I use a stick blender aka “boat motor” to puree my homemade baby food. The container that came with our stick blender cracked, but this 4-cup measuring container works perfectly.
Puree, adding water, until the baby food is the right consistency for your baby. If you steam your produce instead of microwaving, use the steaming water to thin the puree to recover any nutrients and flavor that leeched into the water during the steaming process. Younger babies will need a finer puree with more water added than older babies do.
Apparently my camera ate the photo I took of this step. Silly camera!
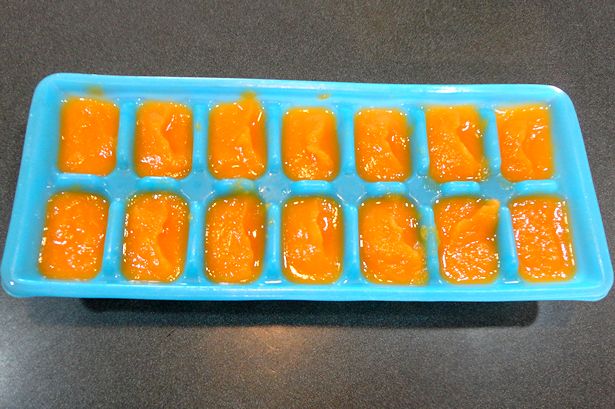 Spoon the puree into ice cube trays. Place the ice cube trays into zippered bags or cover with plastic wrap to keep crumbs, ice crystals, and who-knows-what out of the baby food. Freeze.
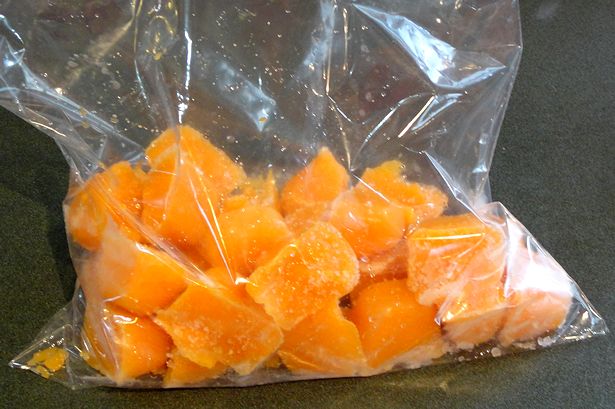 When frozen, transfer to a zippered bag, label with contents and date, and store in freezer until needed. I use the same bag I’d put the ice cube trays in – how eco-friendly is that?
One of the really cool things about freezing homemade baby food in ice cube trays is that you can mix and match the cubes to provide variety. One of my babies’ favorite combinations was green beans with pears. They also liked sweet potato, avocado and banana.
To use, defrost as many cubes as needed in the microwave, being careful not to overheat them. Stir to distribute the heat and test for temperature before feeding.
Homemade baby food can be safely kept in the freezer for 3-6 months, but for optimal nutrition and quality try to use it within the first 3 months.
Other Homemade Baby Food Yummies
Since you can use the same technique to make all kinds of homemade baby food, there’s no reason not to whip up a few batches ; the only thing that you have to do differently is match preparation and cooking to the particular food.
When your baby is older you can add cinnamon, nutmeg, and other herbs and spices to make the baby food even yummier. Be sure to check with your pediatrician first!
- Sweet Potatoes. Wash the sweet potatoes and poke several holes in each one. Microwave or bake until soft when squeezed. Cut in half, scoop out the potato, puree, and freeze.
- Peas. If you can’t get fresh peas you can use frozen or canned. I prefer the flavor of frozen peas to canned, but the finished puree isn’t as smooth as canned peas and may not be appropriate for beginning eaters. Be sure to check sodium content of whatever you buy because some brands have added salt. Microwave frozen peas until done, then puree. Canned peas can simply be drained then pureed.
- Green Beans. I’ve never had any luck pureeing frozen green beans to a smooth consistency so I tend to use canned green beans for my homemade baby food. Again, check sodium content before buying. Drain, puree, and freeze. My children always liked green beans mixed with pears.
- Carrots.Peel, slice, steam it takes as long to microwave as steam, and I think steaming makes them more tender, puree and freeze. Easy-peasy!
- White Potatoes. Make white potatoes the same way as you’d make mashed potatoes, but omit the butter, milk, etc you put in for adults. I use a mixmaster instead of the stick blender for white potatoes because every time I use the stick blender or food processor they get gluey and weird. I’m not a food scientist so I don’t know why that happens but I suspect it has something to do with how the starch reacts to being blended.
- Avocado. Avocado is super-simple; you don’t even need to cook it. Simply cut into the avocado up to the pit, then revolve around the pit to cut it in half. Twist the halves apart. Either pry the pit out with a spoon or cut the part with the pit in half and twist those halves apart. The pit should come off the last quarter easily. Scoop the avocado out, puree, and freeze. The top layer may discolor a bit, but it won’t affect the taste at all.
- Bananas. Bananas are even easier than avocado! Choose ripe bananas. Peel. Puree. Told you – super easy! Sometimes the banana cubes get a grey layer on top where the fruit oxidized; other times if it doesn’t freeze quickly enough the whole cube will turn grayish. This doesn’t affect the taste or quality of the cube; if the color disturbs you, try mixing it with a brightly colored food like peas, sweet potatoes, or peaches.
- Applesauce. Peel and core apples, then cut into chunks. Microwave until soft, puree, then freeze.
- Peaches and Nectarines. Peel, quarter and remove pit. I usually do this over a microwave-safe bowl because the always end up smushing them and having all the juice run out. Place the fruit pieces in the bowl with the juice. Microwave or steam until soft. Puree, adding juice from the bowl, then freeze.
For more great homemade baby food recipes, including how to make homemade yogurt and high-protein Super Porridge, check out Super Baby Food by Ruth Yaron. Some of her recommendations may be a bit “far out” for some parents, but her directions for making homemade baby food are thorough and easy to follow. If I didn’t already own the book, I’d look for Super Baby Food at Half.com, It’s my go-to great place for books at a discount!
Have fun making your own homemade baby food, and let me know how your baby likes it!


