
I have an image in my head.
It’s what I’d like our basement family room to be when it’s done:
Relaxing.
Uncluttered.
Clean.
Bright.
Natural.
Step by step we’re getting there.
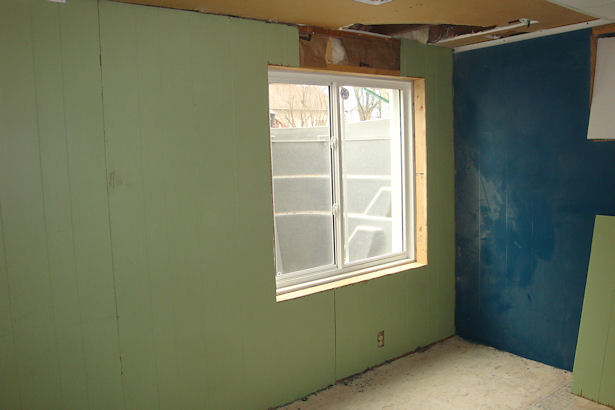 We took a giant step forward last week when we had an egress window put in.
Then we took another giant step over the weekend – we finished the floor in half the room!
When Teacher and I had decided to put in the egress window we hadn’t considered finishing the floor, but the more we thought about it the more sense it made to do it now since half the room was already empty.
One of the reasons we hadn’t finished the floor earlier is because we couldn’t decide what to do. We’d originally planned to carpet the room, but didn’t know if carpet tiles or regular carpet would be better. We went round and round and round over color and style, quality, and cost. We just weren’t sure what the best choice was so we didn’t make one. We put it off for “later.”
“Later” arrived, but we still didn’t know what to do with the floor.
We considered paint but I was afraid it would take too long since we’d have to do an undercoat and two top coats. The primer would dry in about half an hour, but the paint recommended 24 hours between coats. College Boy, Irish Girl and Love Bug had been at my parents for two weeks and I wanted them to move back on Sunday. We were also concerned that paint wouldn’t hold up on the floor; even with area rugs on it.
Next we revisited the carpet square idea, but the ones we could find locally were expensive. My feeling was that if we were going to sink several hundred dollars into the house there were better places for it to go than the basement! We knew there were cheaper carpet squares available online, but we didn’t have time to research and find them, much less order them and wait for them to arrive.
We needed something that would look nice, hold up, be affordable, and be quick to install. In other words, we needed the almost-impossible.
Note: I said almost impossible…
On Friday we spent part of our usual Date Night looking at flooring in Lowe’s and Home Depot, and found our solution: self-adhesive vinyl tiles!
We’d had self-adhesive vinyl tiles in our main floor bathroom, but had forgotten about them after redoing the bathroom with real tile.
They looked nice, would hold up, and were both affordable, and quick to install. Even better, they’d be relatively easy to replace if something happened to one or two, or three, or…
 There weren’t many color choices available in the quantity we needed, so we bought one tile to bring home and try in the room. It had green and blue tones in it, but I was worried it would look too orange. Orange is one of my least favorite colors.
It looked much less orange in the basement, so Saturday we went back and bought enough tiles to do the entire room. I couldn’t wait to see what a bunch of them would look like on the floor!
 First we had to prime the bare plywood floor. College Boy and I did the edges with narrow paint brushes while Teacher filled in the middle with a roller. He was so fast College Boy and I could hardly stay ahead of him; even with a head-start!
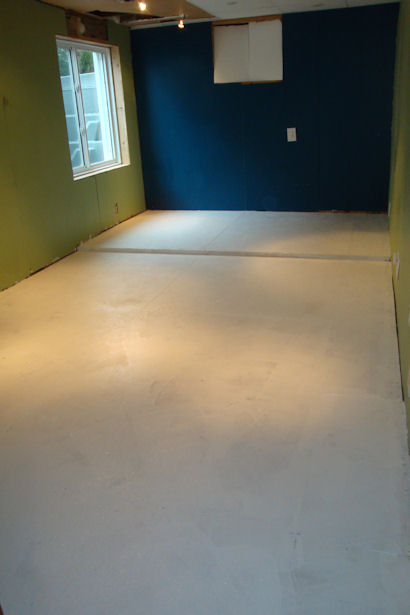 The primer said it would dry to the touch in 30 minutes, so by the time Teacher reached the door the far end was dry already.
In case you’re wondering, the far end is raised because when we bought the house, the far right corner had a raised concrete area with a fake fireplace on it. When Teacher, Dad, and College Boy put in the raised plywood floor they decided to keep most of the floor as low as possible, but had to raise the far end because of the concrete. It’s not perfect, but it works.
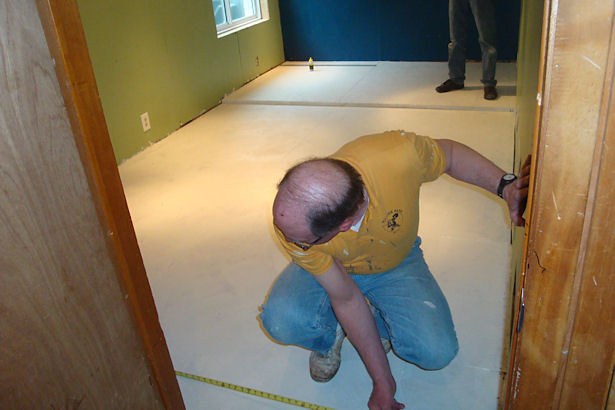 Once the primer on most of the floor was dry it was time to find the midpoints of the floor and snap a chalk line.
 The first tiles are down! Don’t they look great?
Each tile had arrows on the back to show which direction the “grain” was supposed to go. If you followed the arrows the grain would alternately run horizontally and vertically, creating a checkerboard pattern. I didn’t like the way that looked so we ran the grain the same way on the entire floor. Don’t tell the self-adhesive floor tile police!
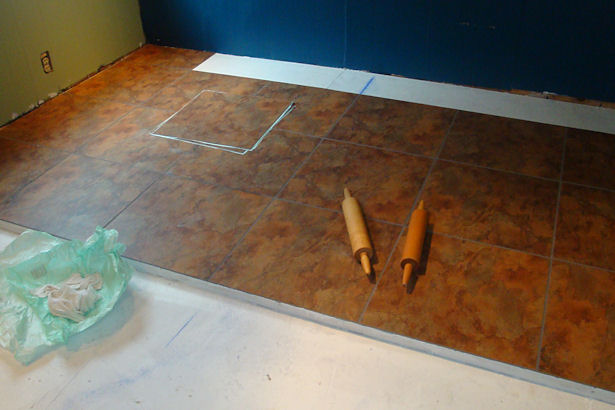 Once all the tiles were in place the directions said to roll them with a 100 pound roller or a rolling pin, using your body weight. Of course I couldn’t wait for all the tiles to be in place, and had to start rolling after a couple of rows were down.
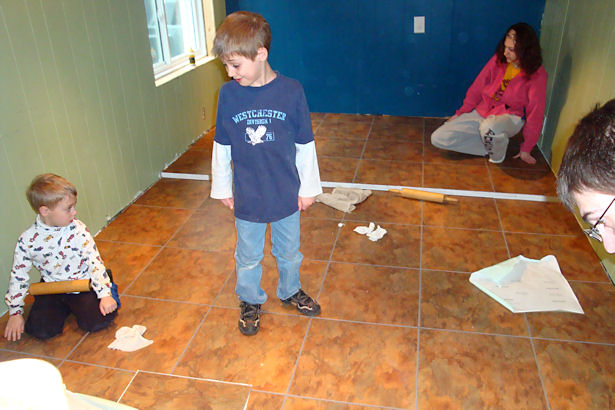 The boys lasted about two hours by themselves upstairs before they couldn’t stand being left out of all the action and came downstairs. They were put to work rolling the floor and looking for adhesive on the front side of the tiles.
Did you notice that this photo has all of the kids except Princess in it? She was in California for Cowboy’s boot camp graduation so she missed all the excitement.
 The floor wasn’t the only thing that had to be finished before College Boy’s family could come back; Ken had put up most of the panelling but hadn’t had time to finish before he had to leave.
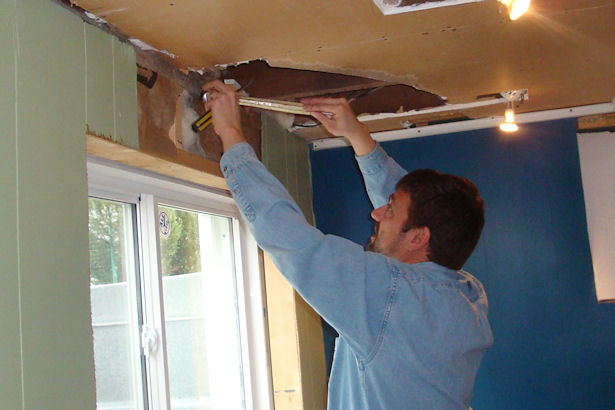
 Little Guy “helped” Teacher measure the panelling for the hole above the window. The egress window was set lower than the original basement window; hence the lack of panelling at the top.
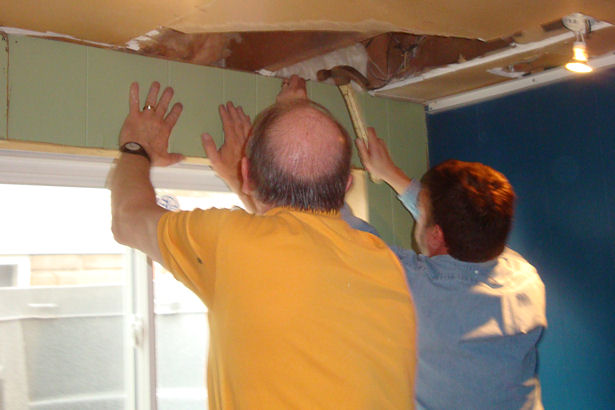 Dad and Teacher made quick work of the panelling…
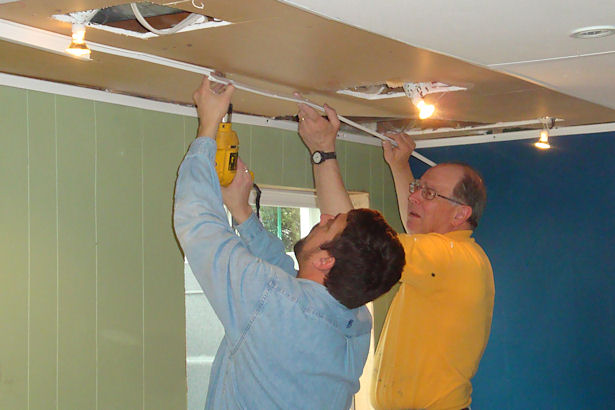 and got right to work on the ceiling.
 Isn’t it looking great? We couldn’t find the last ceiling tile; it was the first one taken out waaaaaay back when Ken was first checking out the job site. We’re pretty sure the ceiling tile is buried on the other half of the room, behind all the furniture from this half.
Are you wondering why there’s a hole in the wall with styrofoam in it? That’s the access to the crawl space under the play room. Eventually that hole will be a shallow bookcase – perfect for paperbacks – that can be removed if/when we need to get into the crawl space. Cool idea, isn’t it?!
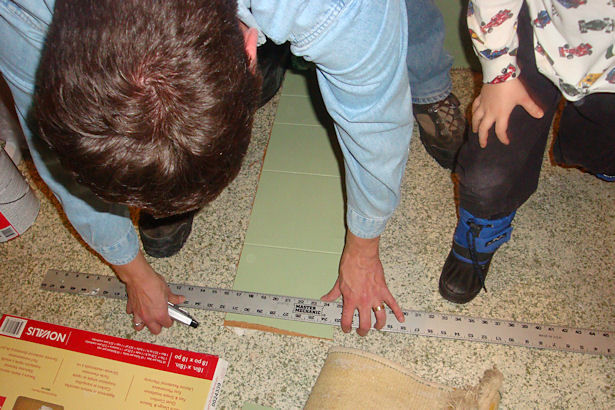
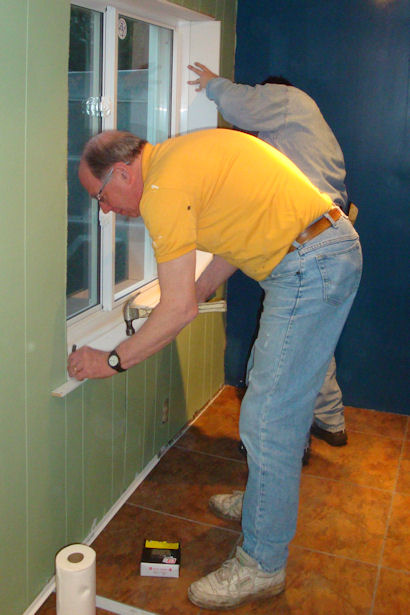
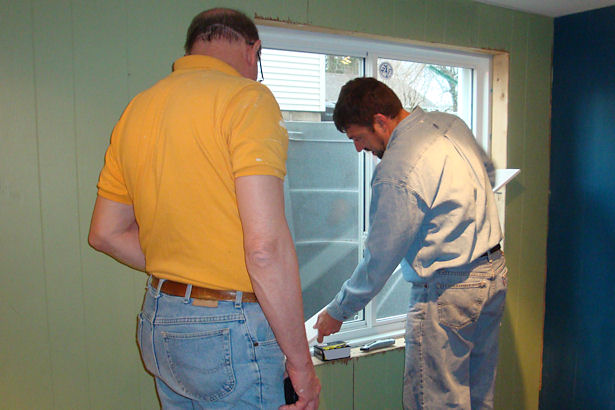 Next the window needed trim to finish it off. The first question was: sill or no sill? It only took me about 10 minutes and three trips up and down the stairs to decide on “sill.” That was Teacher’s thought from the beginning, but he wanted me to decide. He’s so sweet, and has the patience of a saint – most of the time anyway.
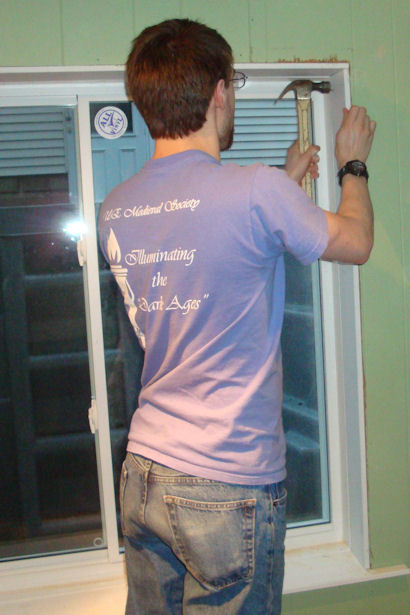
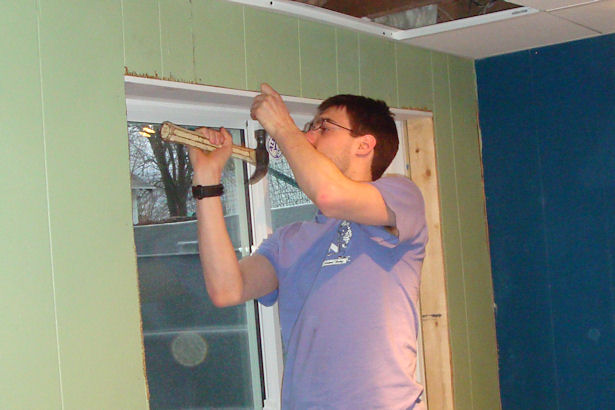 Hey look, it’s College Boy! He’s actually been helping the whole time; he just managed to avoid the camera.
 He went through a phase where he’d dodge the camera every time I’d bring it out. I thought he was over it, but maybe not so much.
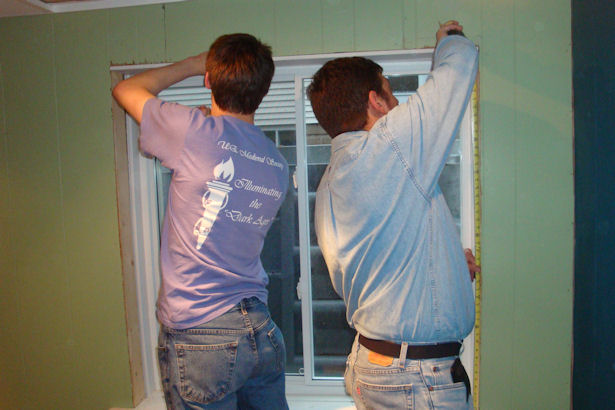 Teacher measured while College Boy hammered.
I love watching my two men work together.
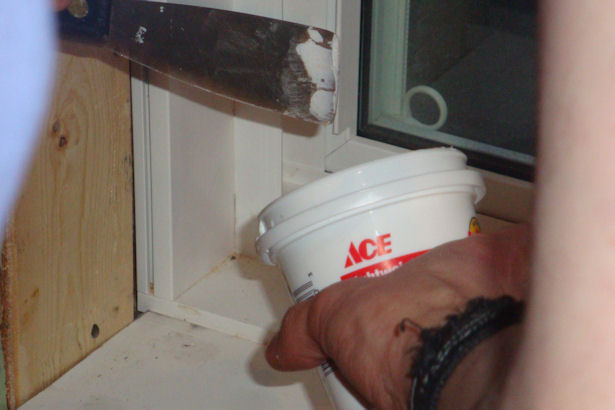
 Dad followed them with a nail set to sink the nails in.
 It’s amazing how quickly this went with the three guys and me working on it.
Yup, I helped out too; I put a couple of nails in the top trim and kept the area cleaned up so no-one tripped or slipped on anything.
 College Boy filled the nail holes and we were done!
Or done for now at least; we’d miscalculated the amount of trim we needed so the left side of the window didn’t get trimmed. But overall enough was done that College Boy, Irish Girl, and Love Bug could come back home. Hooray!
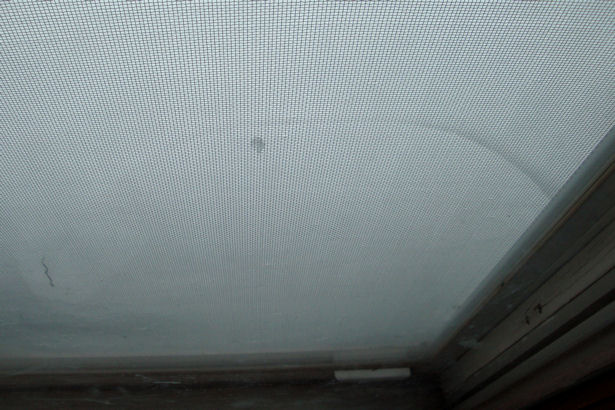
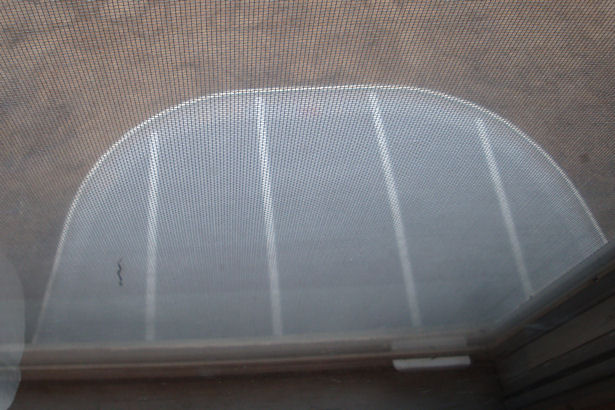 The excavation guys even made a special trip over to install the egress window’s cover.
 TheTheir timing was perfect – they got it done before the foot of snow Mother Nature dumped on us!
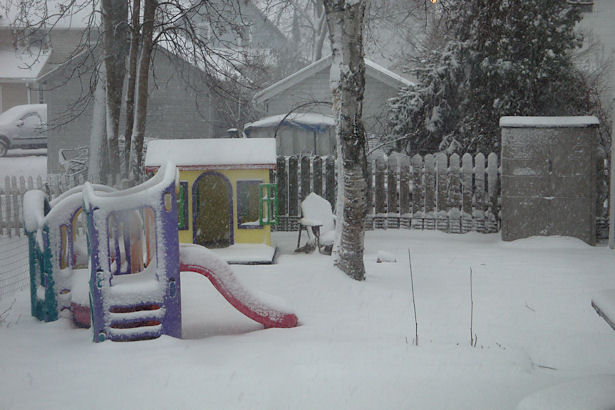 As pretty as it may be, it’s also depressing to have so much snow in April.
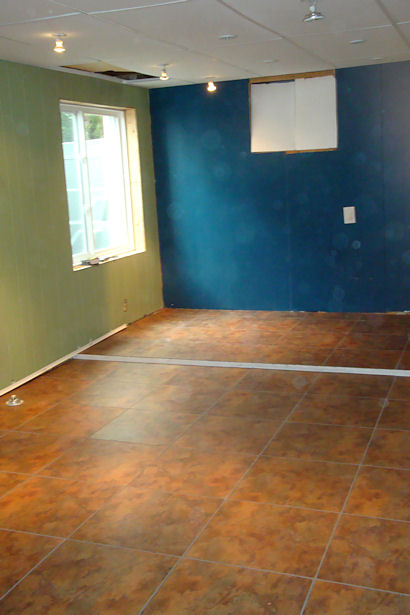
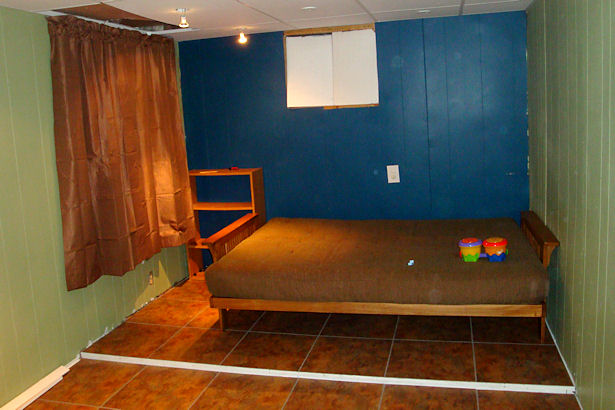 I’ll leave you with a happier image: this half is almost done, and it looks SO much better than before.
To borrow a phrase from Peanut, “I luff it!


Pingback: V7N Official Server Sync Up Contest (Sponsored by ServerClub.com) - Page 3 - Webmaster Forum
Pingback: One More Step
Nice article …. Every summer i also reset my curtain and window shutter to keep the temperature isolated .