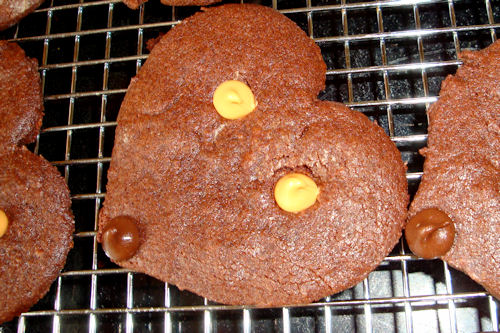
 We recently did a Teddy Bear theme in the daycare, with a Teddy Bear picnic as the grand finale. Of course we had to have Teddy Bear cookies too; how could we not?
This recipe is advertised as the “best ever” chocolate cut-out cookies and I have to agree! They’re rich and chocolaty, crisp on the outside and tender on the inside, and completely irresistible. They also freeze well aside from the chocolate and butterscotch chips falling off although they don’t survive repeated falls from the freezer.
Yeah, I know that from experience.
Teddy Bear Cookies – in Pictures
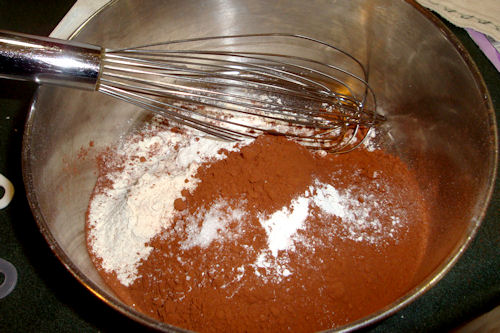 Measure flour, cocoa, and baking powder into a bowl.
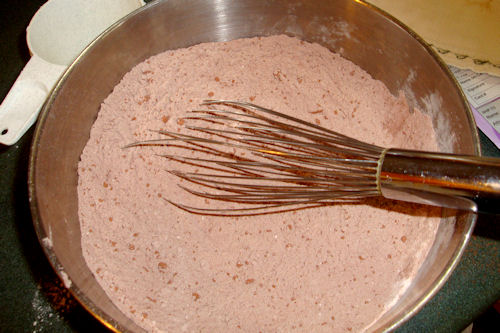 The recipe says to sift them together but our sifter bit the dust so I use a whisk instead.
Besides, the whisk goes into the dishwasher, unlike the sifter which had to be washed by hand.
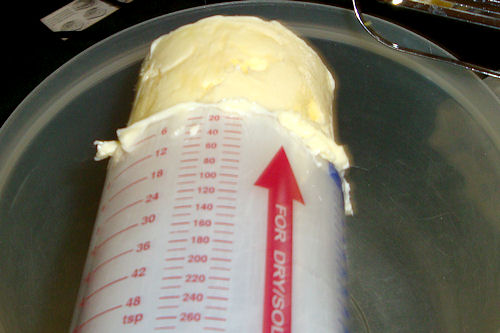 Measure the butter into a medium-sized bowl. Use real butter, not margarine or shortening; everything tastes better with real butter and the more butter the better!
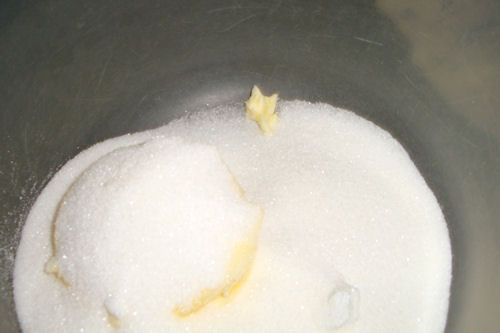 Add the sugar to the butter.
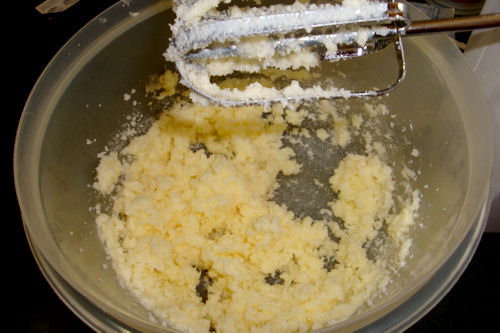 Cream the sugar with the butter.
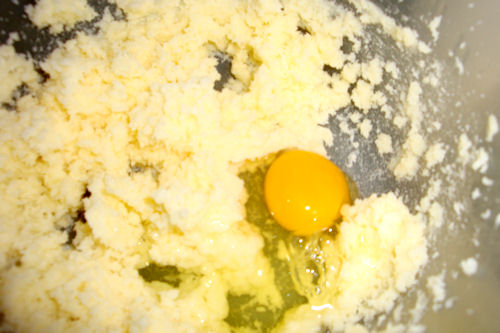 Add the egg and mix in thoroughly.
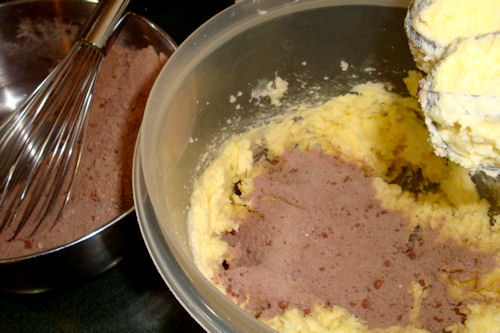 Add the dry ingredients to the creamed mixture a little at a time.
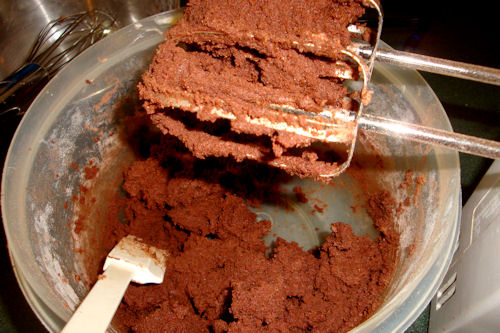 The recipe says to slowly stir in the dry ingredients, but I use the beaters – they’re already dirty and it’s quicker than stirring by hand. I’m all about quick and easy in the kitchen!
Be sure to scrape down the sides of the bowl.
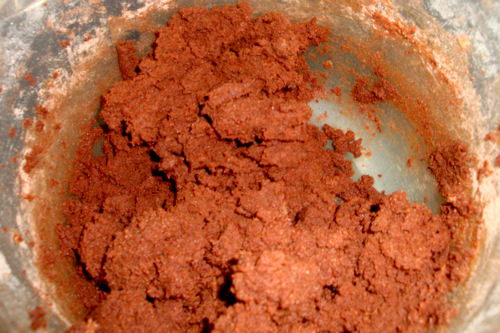 Mmmm, doesn’t that look yummy? It is! Taste some…
Wait – don’t eat all of it! Quickly cover the dough with plastic wrap and toss it into the refrigerator before you eat it all.
Once again I don’t follow the recipe exactly – it says to form the dough into two disks, wrap with plastic wrap and chill two hours. I leave the dough in the bowl and chill only 30 minutes; I find it easier to work with dough that’s only slightly chilled.
 Hey, Little Guy, is it yummy?
 That’s a definite “Yes!”
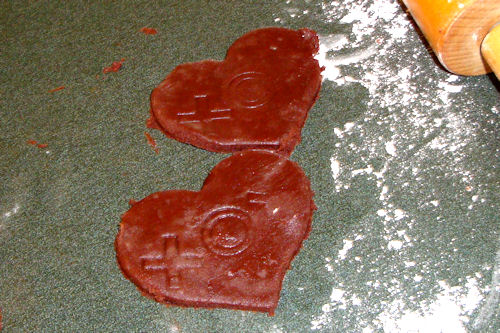 Once the dough is chilled, roll it out to about 1/8″ thickness.
Secret tip: My mom taught me a secret tip to rolling out cookies: use powdered sugar instead of flour for dusting the rolling surface because it won’t make the cookies tough like flour does.
Cut into hearts for teddy bear cookies – the point is the teddy bear’s nose and the humps are his ears. Pretty cute, huh?
Place cookies on a lightly greased cookie sheet and bake 8-10 minutes.
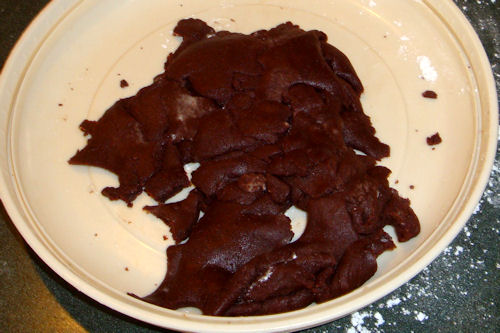 Save the scraps and roll out until all the dough is used up. If you use powdered sugar for rolling you can roll and cut, roll and cut, and the last cookies will be as good as the first.
 Carefully push a chocolate chip into the point for a nose and two butterscotch chips into the middle of the heart for eyes. (Or you can use M&Ms, raisins, candied cherries; let your imagination run wild!)
 Aren’t they adorable?
And oh-so yummy; definitely the best chocolate cookies I’ve ever tasted!
The kids think so too – check out the photos from our Teddy Bear Picnic…
 Picnic time for teddy bears,
The little teddy bears are having a lovely time today.
 Watch them, catch them unawares,
And see them picnic on their holiday.
 See them gaily dance about.
They love to play and shout.
And never have any cares.
 At six o’clock their mommies and daddies
Will take them home to bed
Because they’re tired little teddy bears.
Teddy Bear Cookies – the Official Recipe
Ingredients:
- 1 1/2 C flour
- 3/4 C cocoa
- 1 1/4 tsp baking powder
- 1/8 tsp salt
- 3/4 C butter, softened
- 1 1/4 C sugar
- 1 egg
- Powdered sugar for dusting the rolling surface
- Chocolate and Butterscotch chips for eyes and nose
Directions:
1. Sift together the flour, cocoa, baking powder and salt.
2. In a medium bowl, cream together the butter and sugar until smooth. Beat in the egg.
3. Gradually stir in the dry ingredients to make a soft dough. Divide dough into two pieces, flatten and wrap in plastic wrap. Refrigerate for two hours.
4. Preheat the oven to 375 degrees F. On a lightly powdered-sugared surface, roll the dough out to 1/8″ thickness. Cut into desired shapes with cookie cutter. Dough is sticky so be sure to add more flour as needed.
5. Place cookies 1 1/2″ apart onto ungreased cookie sheets.
6. Bake for 8-10 minutes. Allow cookies to cool on baking sheet for 5 minutes before removing to a wire rack.
Enjoy!






They sound delicious and the kids look like they are having a marvelous time.
Need a slash here
Once the dough is chilled, roll it out to about 18? thickness.
Will have to try making a batch although roll out cookies are not my favorite to bake.
Pat,
Thanks for pointing out my typo! I suppose 18″ thick cookies would be a bit hard to bake without burning the edges. 😉
~Amy Sue
My wife and I made these today, and they were good.
We lost about 2 pans of them though because we followed the no greasing direction. It needs to be greased.
Tasted good though
Ken,
I’m sorry you lost two pans of cookies! We didn’t grease our pans and they came off just fine, but baking is chemistry and there are so many variables that can change the end result. I’ll edit the post to suggest greasing the pans – better to be safe than sorry.
The good news is that when a cookie breaks all the calories leak out. That’s my story and I’m sticking to it. 😉
Thanks for trying the recipe, I’m glad you liked the cookies!
~Amy Sue