This year Santa left an HGTV magazine in my stocking and I fell in love with the Ornament Wreath in one of the articles. After Christmas Teacher aka the best husband ever and I hit the after-Christmas sales and bought some Christmas ornament sets at 60-70% off.
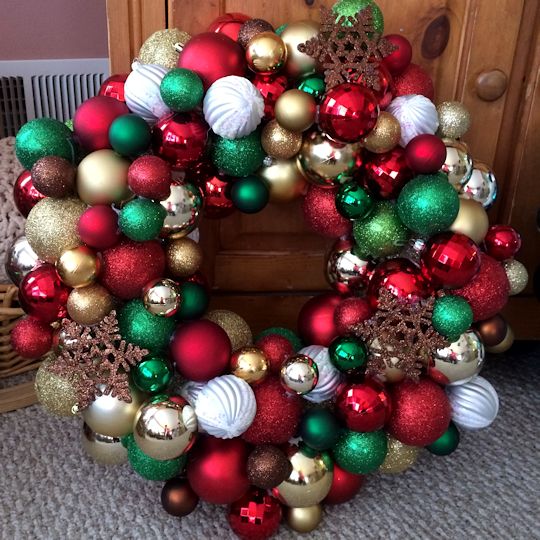 We spent one afternoon during Christmas Break making this Christmas ornament wreath. The project went quickly and was lots of fun, and the finished wreath was so gorgeous that we decided to make a Christmas ornament wreath for my parents. Then Princess and Angel Face saw my wreath and wanted to make one too, so we had to hit the stores before they ran out of ornaments.
On one of our ornament-buying missions Teacher spied a set of blue/silver/white ornaments that were so gorgeous he couldn’t resist them, and the idea for a Winter Ornament Wreath as well as this tutorial was born!
Supplies to Make an Ornament Wreath
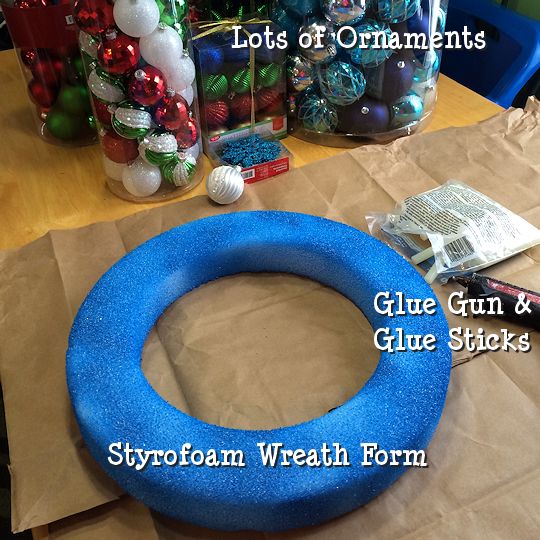 You don’t need many supplies to make an ornament wreath:
- A styrofoam wreath form. We used 16″ but you can use whatever size you want.
- A glue gun and glue sticks. Don’t laugh at our glue gun – it’s almost as old as College Boy but still works!
- Unbreakable ornaments in different sizes. Lots and lots of ornaments, especially the smallest ones.
- Ribbon to hang the wreath
How to Make an Ornament Wreath Step by Step
Step 1. Prepare
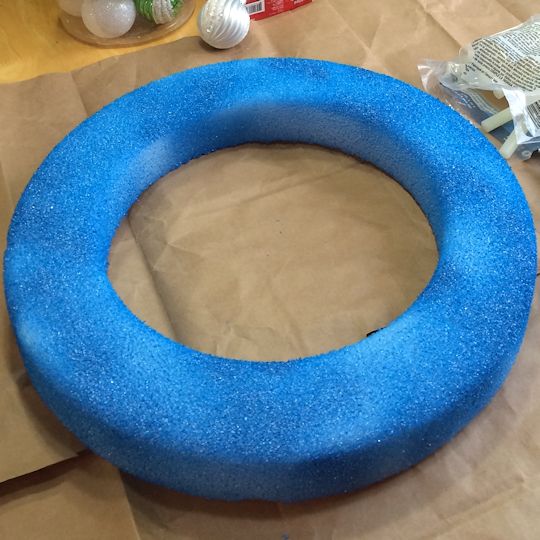 Start by preparing your wreath form. Some people like to wrap wide ribbon all around the wreath form but we forgot to buy ribbon so we painted ours with some blue spray paint we had in the basement from a previous project.
Somewhere we heard not to use spray paint because it could dissolve the styrofoam, but we spray-painted 4 wreath forms with both regular and metallic spray paint and didn’t have any problems. You may want to test a small area before painting the whole thing.
Loop a ribbon around the wreath form and glue it down securely. We only had gold ribbon so we decided we’d figure out how to add it later.
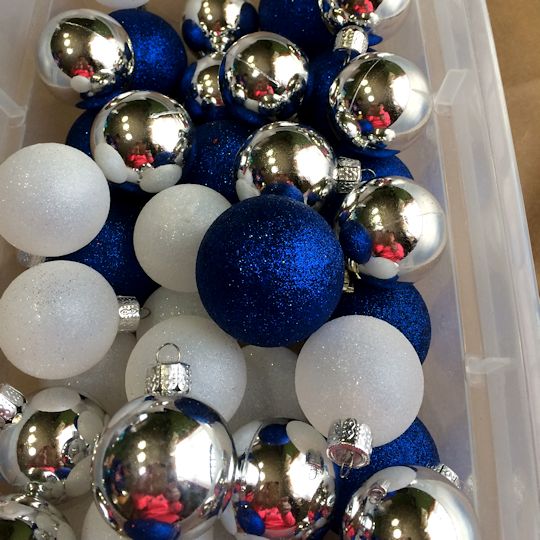 Sort your ornaments into different containers by size. These are our smallest ornaments, but because the blue ornaments came from a different set than the white and silver ones they’re a little bigger. Can you guess what color sweatshirt I was wearing that day?
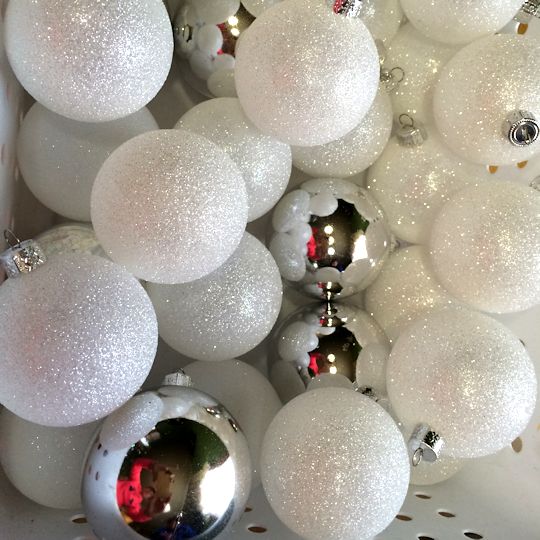 We only had silver and white medium-sized ornaments. I would’ve liked some blue ones also, but you get what you get and you don’t throw a fit.
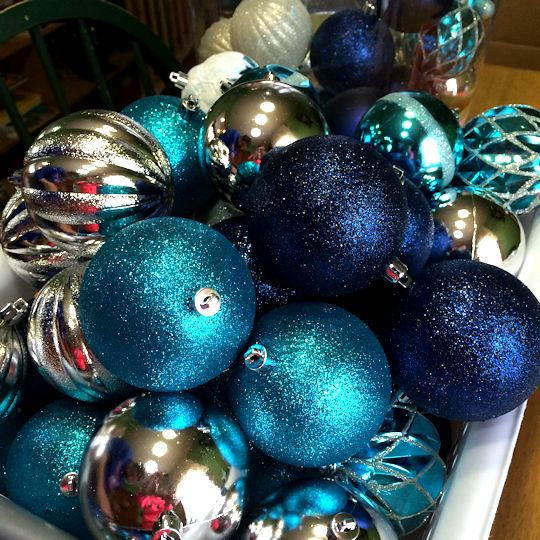 Our large ornaments were especially gorgeous; some reminded me of the old-fashioned glass ornaments my parents have on their tree, except not breakable.
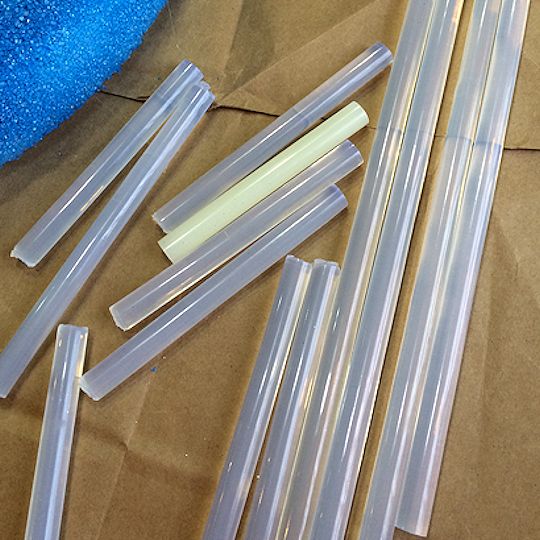 We accidentally bought opaque non-see-through glue sticks for our Christmas ornament wreath, and those worked great but we thought we’d try clear glue sticks for our Winter wreath.
The clear glue didn’t show as much when it squished out between ornaments, but it was MUCH stringier and harder to work with. I cut the clear sticks into halves and thirds because long glue sticks don’t work with our old-fashioned glue gun – it doesn’t have a trigger so you have to use your thumb to push the glue through.
Step 2. Arrange and Glue
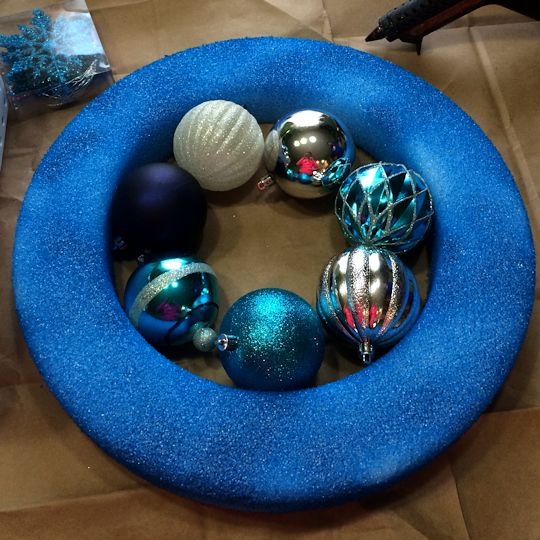 Begin by arranging ornaments inside the wreath form. Since you’ll be building on this layer you don’t have to worry about them fitting perfectly, and it’s a good place to use ornaments you like least.
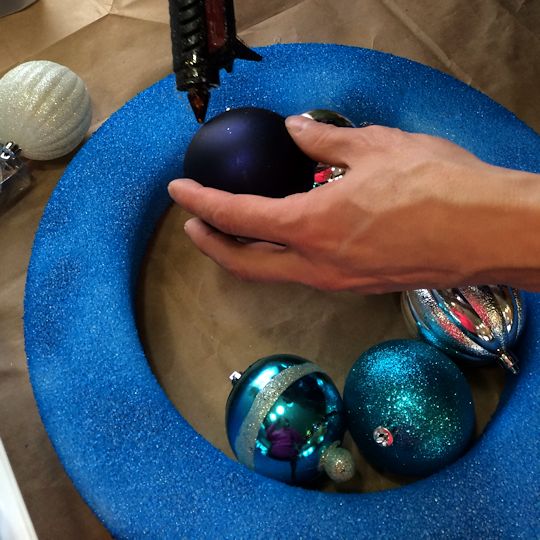 When you’re happy with the arrangement, glue the ornaments to the wreath form and to each other.
Be very careful when working with the glue gun because the glue can get really hot and cause nasty burns. If you do get glue on you, run it under cold water right away to cool the glue before it causes a really bad burn.
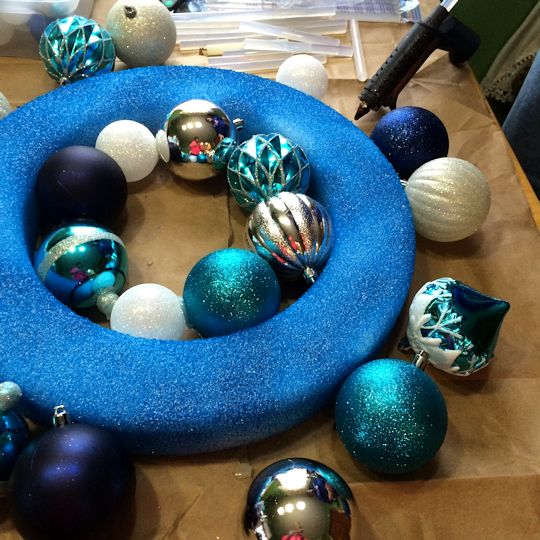 Next, arrange ornaments around the outer perimeter of the wreath form. Again, this layer will be mostly covered up so it’s a good place to use least-favorite ornaments. This is supposed to be a photo of the ornaments arranged around the wreath form but they kept rolling all over the place. Just pretend they’re snuggled against the wreath form they way they should be.
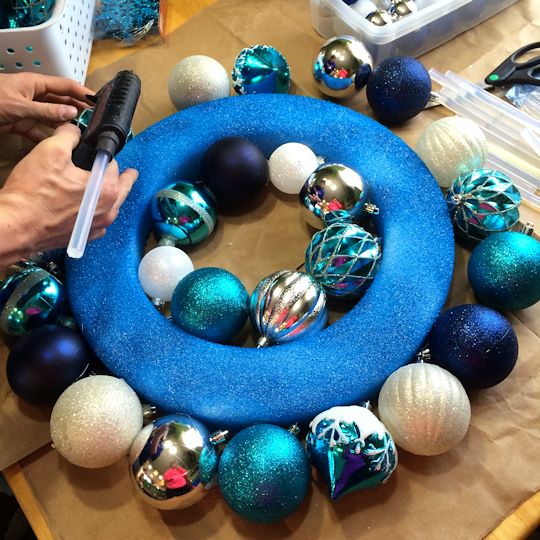 Glue the ornaments to the outer edge of the wreath form.
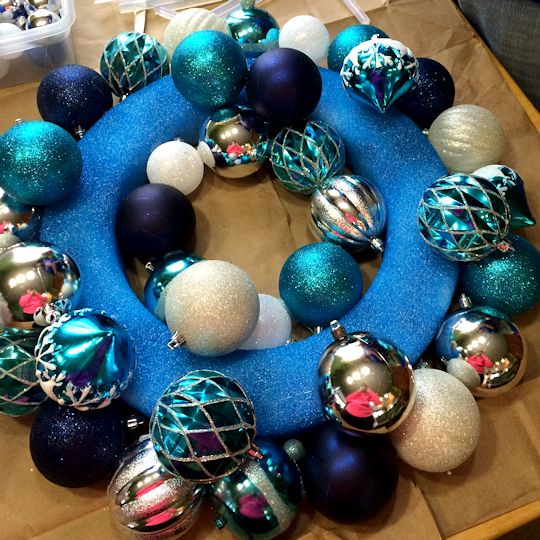 Now comes the fun part – filling in the middle! You’ll have to decide if you want the top part of the ornaments to show or not; we liked the look so we didn’t worry about hiding them. Be sure to use a mixture of sizes as you go along, and fill in gaps with the smallest ornaments.
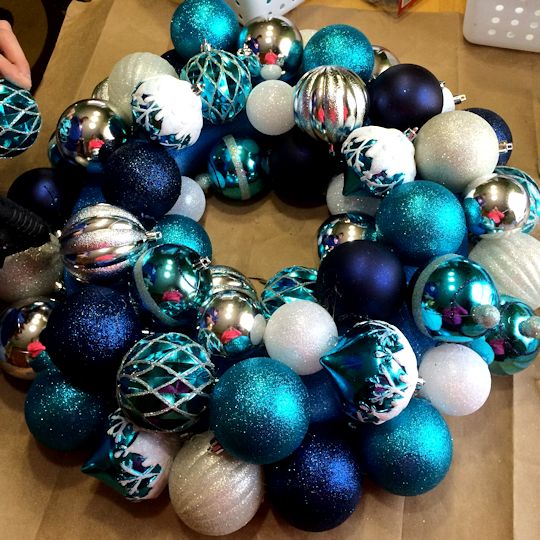 Teacher and I make a really good team at times like this – I tend to be OCD and will arrange and rearrange until the cows come home, while he just grabs and glues at lightening speed.
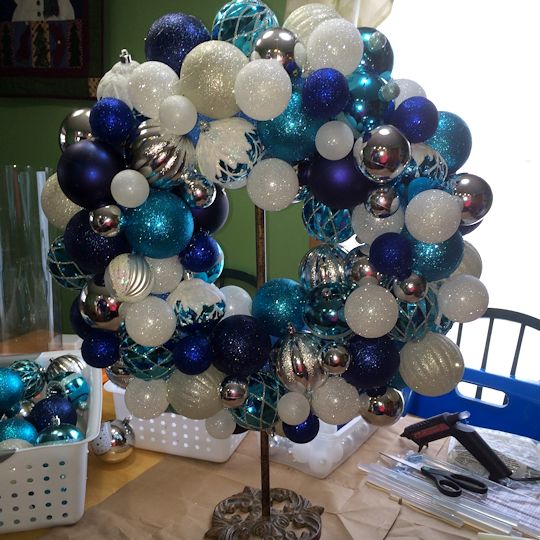 When you think you’re almost done, hang the wreath up or have someone hold it for you and take a look at it from all angles. You’ll be surprised at how many gaps you missed when it was laying down!
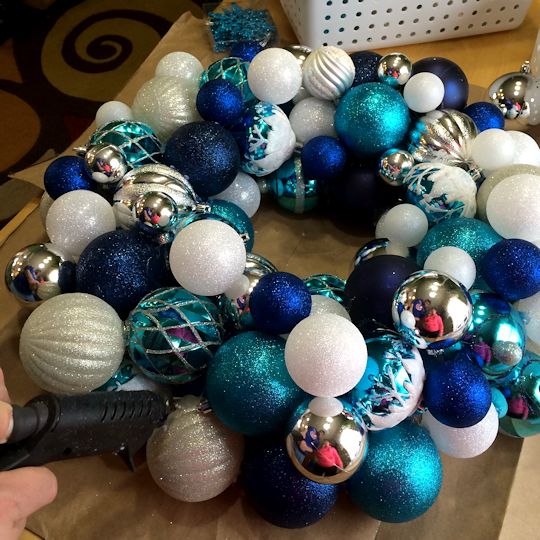 Continue adding ornaments until you’re happy with the way the wreath looks, or you’re too tired to do anymore.
 I bought a pack of glittery blue snowflakes to add to our ornament wreath.
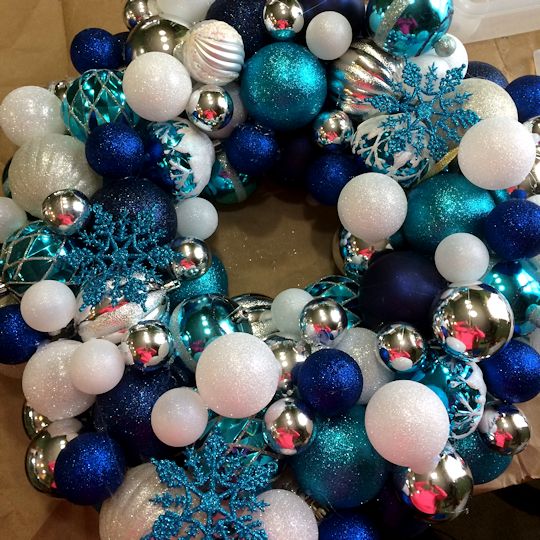 They add the perfect final touch, don’t they?
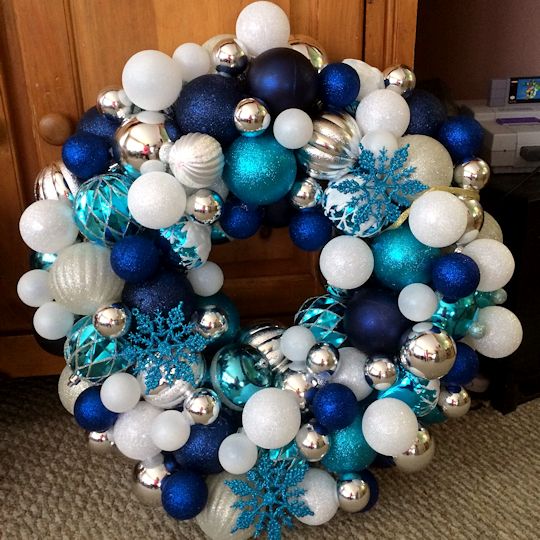 It’s done except for a ribbon to hang it with, and it’s gorgeous!
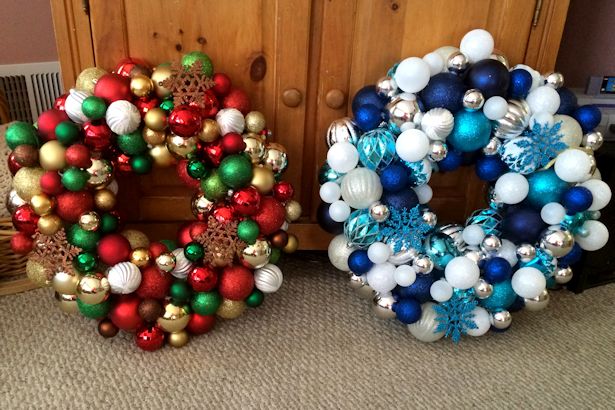 Here are our Christmas and Winter ornament wreaths – I love them both so much!!
Now I’m envisioning a red and white Valentine’s Day ornament wreath, a green and white St. Patrick’s Day ornament wreath, a pastel Easter ornament wreath, a brown, yellow and orange Thanksgiving ornament wreath…





Pingback: 46+ DIY Ideas to Make Thanksgiving Wreaths | Guide Patterns
Pingback: Craft: 38+ DIY Ideas to Make an Ornament Wreath for Christmas and Other Occasions – CrochetingHearts.org
Pingback: 38+ DIY Ideas to Make an Ornament Wreath for Christmas and Other Occasions | Guide Patterns
Pingback: Craft: 46+ DIY Ideas to Make Thanksgiving Wreaths – CrochetingHearts.org