Spoiler alert!
If you’re the mother of a child enrolled in my child care program you may want to skip this post for now and come back after you open your Mother’s Day gift. Just a thought…
Everyone else feel free to keep reading for a fantastic Mother’s Day craft idea!
 If you’ve been around for previous Mother’s Days you know that I always have good intentions about planning ahead and making our Mother’s Day crafts ahead of time, but I never quite manage to carry through. Of course, this year is no exception; I was still looking for a “good” Mother’s Day craft the Monday beforehand. And by “good” I mean “something I’d actually enjoy receiving and/or using” – no paper doily corsages, or tissue paper hats. I also try to find something that the children can do mostly on their own. I’m betting that most moms would rather have gifts from their children instead of me!
Luckily Pinterest came to my rescue with these great Mother’s Day candles!
Mother’s Day Craft Candle Supplies
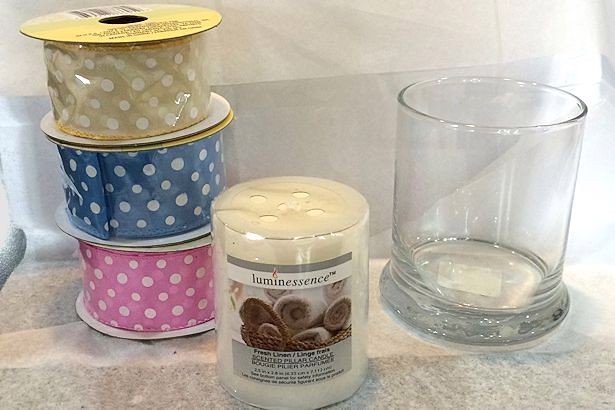 You probably already have most of the supplies you need to make these Mother’s Day candles at home; the rest can probably be found at the dollar store:
- Candles
- Candle holders
- Ribbon – wired or unwired
- Tissue paper
- Markers
- Wax paper
- Hair dryer
Directions for the Mother’s Day Craft Candles
These Mother’s Day candles are easy to make, but require an adult for the hair dryer step because of the high heat needed. Read on for details…
1. Cut:
Cut a single layer of tissue paper a little smaller than the size of the candle. You’ll need 1 sheet for each candle, and a couple extra in case your child goes overboard with the coloring.
2. Color:
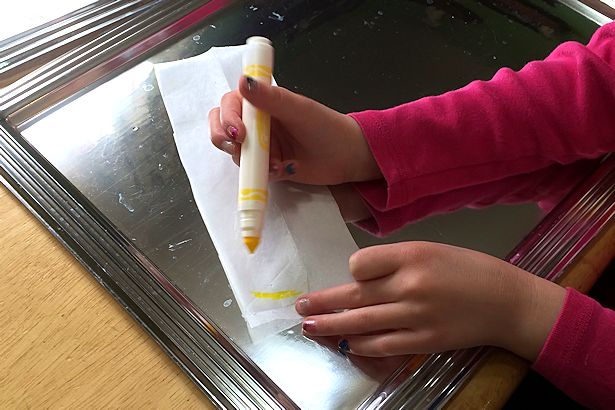 Have your child decorate the tissue paper with markers, being careful not to tear the tissue paper.
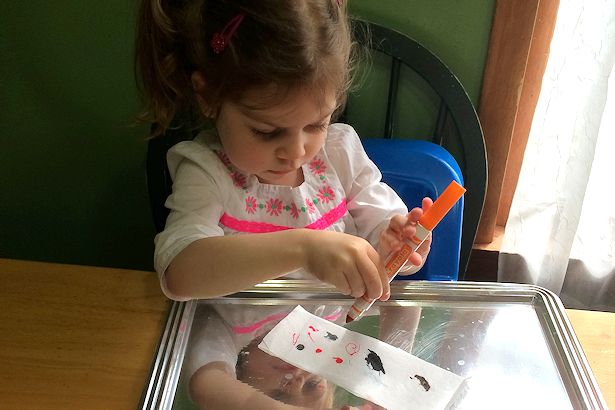 Coloring lightly and drawing lines works better than lots of heavily colored-in areas.
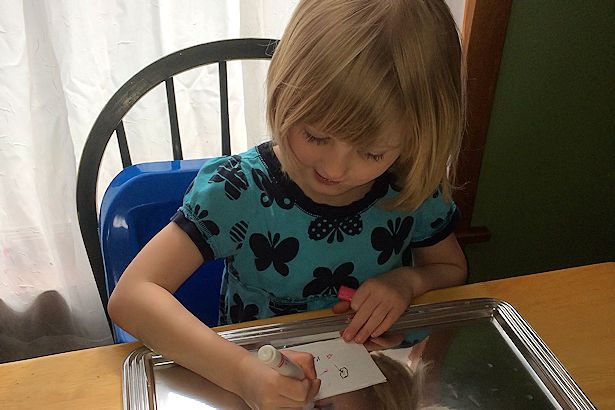 Older children enjoy writing their names, and sometimes “Mom” or the year too.
3. Melt
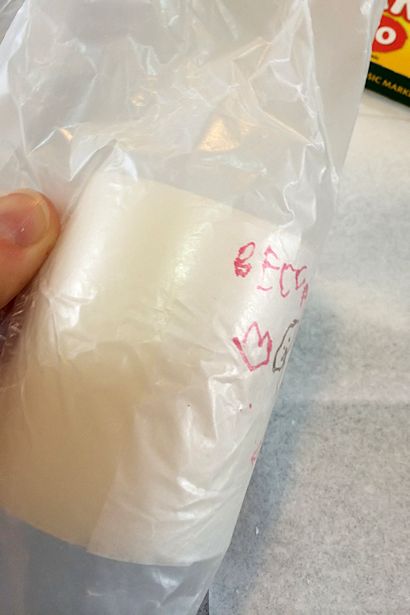 This step is harder to explain than to do, so bear with me…
Wrap the tissue paper around the candle, then wrap a piece of wax paper over the tissue paper.
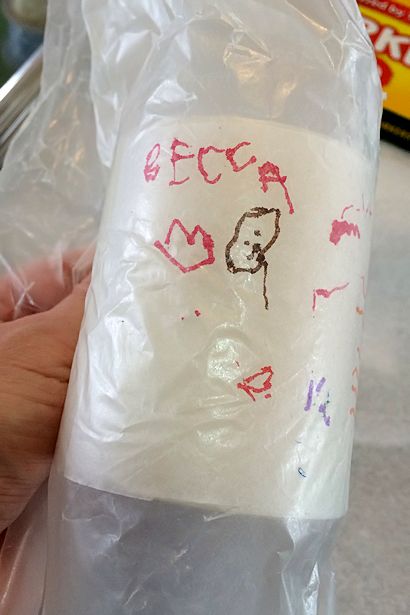 Using the excess wax paper as a handle, blow hot air over your design with the hair dryer. Be careful not to blow the air on your hand – it’s HOT! As the wax melts you’ll see the tissue paper start to disappear so your design looks brighter. You’ll probably need to move the wax paper around the candle so you can reach each part of the candle with the hot air.
Carefully remove the wax paper from the candle and check to see if there are any areas you missed with the hot air.
4. Finish:
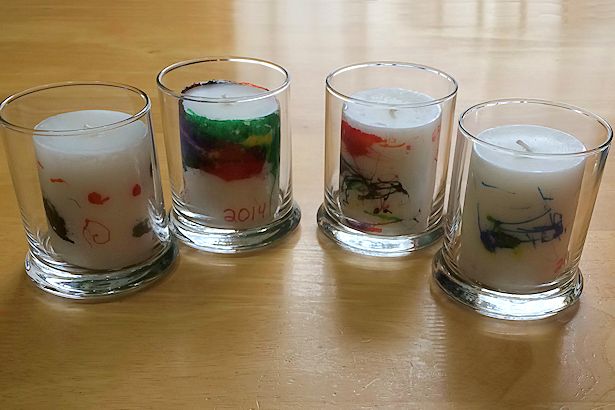 When the candle is cool, pop it into the candle holder.
 Tie a pretty bow on it, and you’re done! I let the children choose which ribbon they wanted for their Mother’s Day candles.
Aren’t they pretty? They’re definitely the kind of thing I’d display if I received one for Mother’s Day. Best of all, they were done ahead of time!


