Spoiler alert!
If you’re the Dad of a child in my childcare program you may want to…
Aw, who am I kidding? We all know it’s past Father’s Day, so never mind. Read on to see this year’s Father’s Day craft!
Almost every year I post about how I waited until the last minute to start Mother’s or Father’s Day crafts but was able to get them done in the nick of time.
Not this year.
This year they were over a week late, and I felt horrible about it.
The problem was that I was paralyzed by indecision. I had a Father’s Day craft idea for the older children but had no idea what to do with the infants.
So I procrastinated, waiting for the perfect idea to come floating down with angel’s wings, surrounded by fluffy clouds and heavenly music.
Cue heavenly music…
Heavenly music?
Ideas falling from Heaven?
Darn.
When it was obvious that the whole divine intervention thing was a no-go I decided to do the same Father’s Day craft with all of the children; I’d just figure the infant part out as we went along.
Father’s Day Craft Supplies
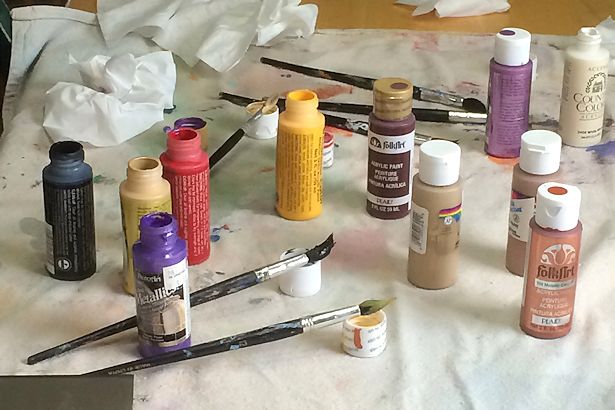 We’ve got a stash of acrylic paints leftover from years and years of Pine Car Derby cars so I only had to buy grill spatulas, which means that this Father’s Day craft ended up costing about the same as the Mother’s Day candles we made in May. It’ll cost you more if you’ve got to buy paint and clear coat, but once you have them you can use them for future gifts.
- Grill spatulas with wooden handles.
- Sand paper.
- Acrylic paints and paint brushes.
- Clear coat.
Directions for the Father’s Day Grill Spatula Craft
Like most of my projects, this Father’s Day craft is super-easy and the children do most of it except the babies, which was the way it goes sometimes.
1. Sand.
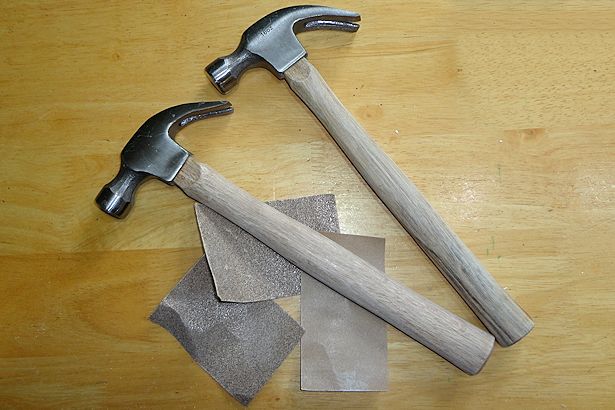
Sand the wooden handle to remove the finish so the paint will stick. Wipe with a clean cloth to remove any sawdust. Last year’s hammers had a thicker layer of finish on them so I needed to use both coarse and fine sandpaper but I was able to use fine sandpaper for the grill spatulas. Good thing too, since I could only find 1 sheet of sandpaper!
2. Paint
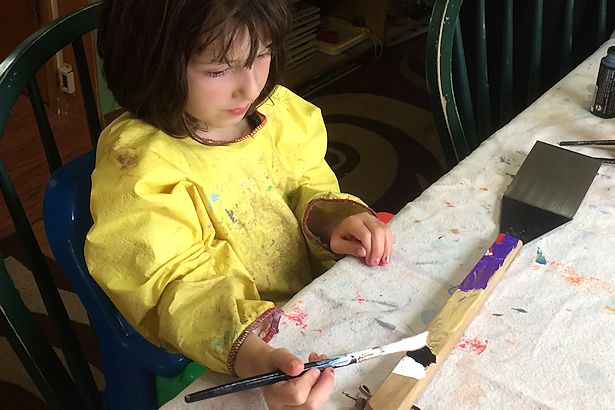 Let the children paint the handles however they wish. Since acrylics aren’t as washable as tempera I have the children tell me what color they want, then I dip the brush and hand it to them. It just takes one spill or splash to ruin an outfit, the carpet, curtains…
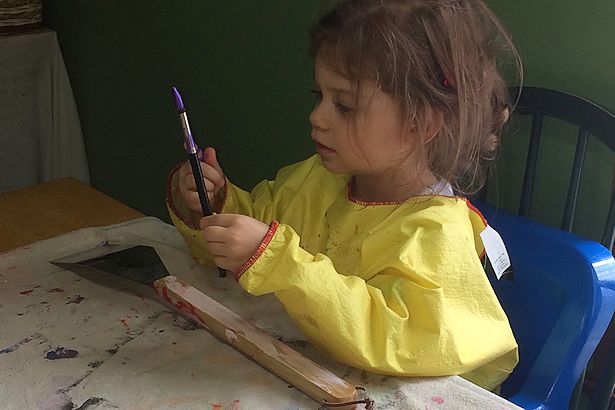 Allow to dry. I covered an old cookie sheet with waxed paper and laid the spatulas on that to dry. It worked like a charm!
Since the infants couldn’t paint by themselves I thought I’d put their fingerprints all over the handles. I painted Baby B’s finger and he immediately closed his hand, smearing paint all over his hand.
Time for Plan B!
I traced each baby’s hand, cut it out, wrapped the paper around the handle, traced it again, then painted it. Next year they’ll be old enough do do the Father’s Day craft by themselves.
3. Finish.
When the paint was dry I wrote “#1 Dad” and the child’s name with “2014” on the handle.
Following the instructions on the can, finish the spatulas with the clear coat. You may want to tape off the metal part so it doesn’t catch any overspray.
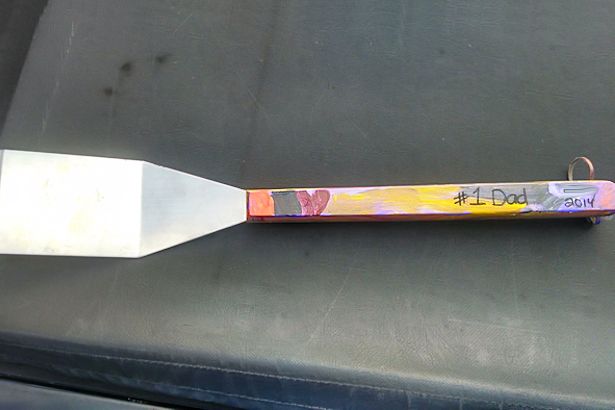 Isn’t Peanut’s great?
They were all beautiful but I was so focused on getting them done that I forgot to take a photo of them before they were wrapped. Luckily Cowboy was kind enough to send me a photo of his. Thanks Cowboy!
Best of all, this story has a happy ending… All of the Dads loved their grill spatulas and weren’t upset that their Father’s Day gifts were late. Whew!
Next year I’m going to do both Mother’s and Father’s Day crafts at the same time; that way the Father’s Day gifts won’t be late for sure!


