
I know I’ve mentioned it before, but I’m addicted to Pinterest and have collected more ideas than I know what do to with. My most recent Pinterest obsession started with photos of calm, beautiful, nature-filled environments with the label “Reggio” or “Reggio Emilia.”
Reggio Emilia is a philosophy of education that originated after World War II in the city of Reggio Emilia, in northern Italy. I’m not going to get into the whole “What is Reggio” thing because I don’t have time right now, and that’s not what this post was supposed to be about anyway but these two quotes give you an idea what Reggio Emilia is all about:
Although the Reggio approach shares some of the values of the better-known Waldorf and Montessori schools, it’s not a philosophy with a set system of beliefs. Rather, it’s an approach based around certain fundamental values about how children learn. These values are interpreted in different schools, different contexts, and different ways. – Education.com
The Reggio Emilia philosophy is an approach to teaching, learning and advocacy for children. In its most basic form, it is a way of observing what children know, are curious about and what challenges them. Teachers record these observations to reflect on developmentally appropriate ways to help children expand their academic and social potentials. – Grand Rapids Child Discover Center
The only true “Reggio schools” are found in Italy; in other parts of the world schools using the Reggio approach are called “Reggio-Inspired.” Just like the only true Champagne comes from grapes grown in Champagne, France; all other fizzy wines are labeled “Sparkling Wine.”
Although I’m incorporating some of the elements of Reggio Emilia environments in my own child care environment, I wouldn’t call my program “Reggio-Inspired” … it’s more “Reggio-Inspired-Inspired.”
The first thing I did was search online for more inspiration. I found some great sources, but am disappointed that most of the Reggio inspired environments are preschool classrooms, not family child care programs. Of course there are lots of ideas I can use in my program, but many that I can’t because they’re not safe for my little ones.
Some of my favorite websites for Reggio Emilia style environments are:
I’m really excited about the changes I’ve made so far, and the plans I have for even more changes as time and money allow. Isn’t it always the case that when you have the time you don’t have the money and when you have the money you don’t have the time? Here’s what I’ve done so far; I can’t wait to hear what you think!
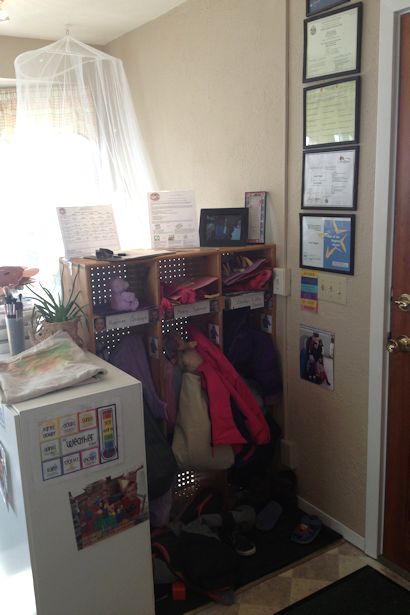 Cubby/entrance area before.
I’ve been trying to figure out where and how to post my lesson plans, newsletter and the weekly menu for a long time. I like the clear acrylic frames because they don’t add any visual “weight” to the area and allow me to post the information where parents are sure to see it, but they aren’t pretty.
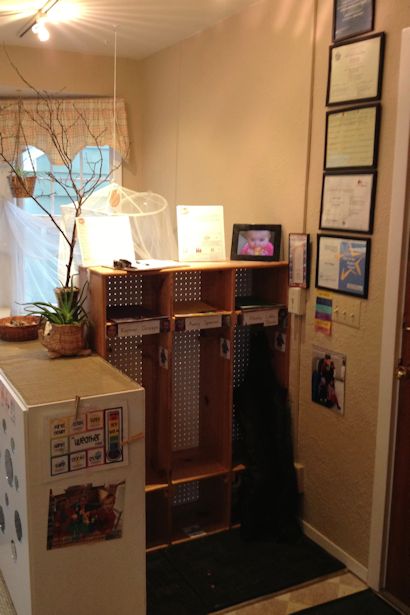 Cubby/entrance area part-way done.
I found a piece of roughly woven green/brown fabric at the thrift shop and hemmed it for on top of the white cupboards. The branch came off our birch tree in the back; I haven’t decided yet if I’m going to hang art from it or just leave it bare. Any suggestions for replacing the acrylic frames?
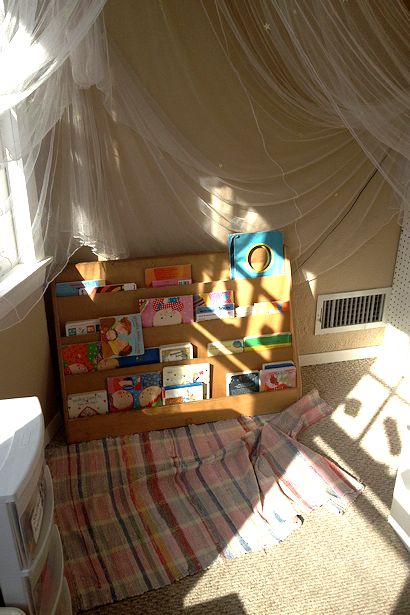 “Quiet Corner” before.
I’ve had pillows and bean bag chairs in the quiet corner before, but they weren’t exactly what I wanted… I’m still trying to figure that out too.
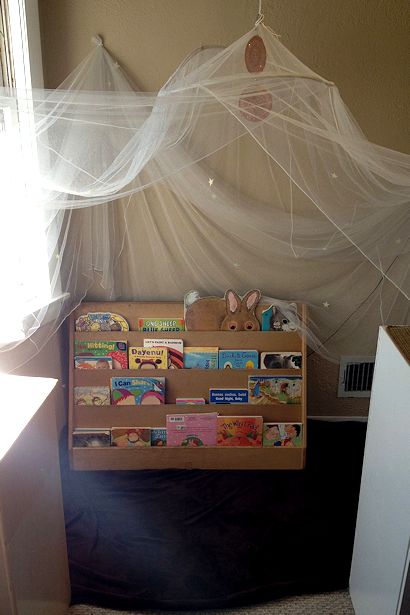 “Quiet Corner” part-way done.
Here it is again! I lowered the canopy and hung two beaded coasters from the thrift store to catch the sunlight. I also replaced the rag rug from my great-grandma’s house with a plush brown throw. I still want to get some soft furniture for the children to sit on, and plan to buy large frames to hang children’s art on the wall and pegboard.
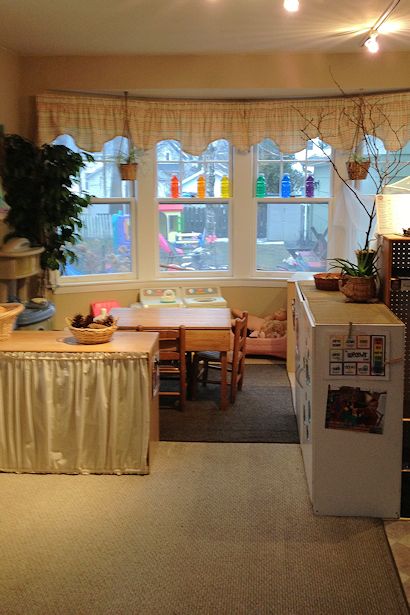
 Housekeeping area and part of the block corner before.
The housekeeping area is right next to the quiet corner, at the far end of the room. One of the things I love best about this room is all the windows and sunlight.
 Housekeeping area part-way done.
Obviously the shelves and new arrangement are a dramatic change. I never realized how visually “busy” those white shelves were until they were replaced with the wood! I also replaced the plastic planter with wicker a small but meaningful change and added a $5 thrift store tree. The tree originally came with white Christmas lights on it, but I took them off until I can replace them with safer, cooler LED lights.
The next step is to replace the plastic kitchen with wood; the debate here is whether we should build our own or try to find one at a good price. I also have unbreakable mirrors to hang over the fabric on the back of the shelves so the children can see their block structures from all sides. We just need to figure out how to do it and still have the fabric removable for washing.
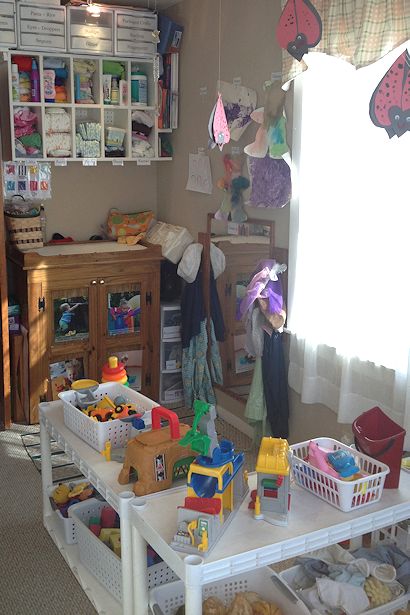 Um, yeah. There’s a lot going on here.
My original idea was to create a protected area for block play, but the children always pulled the blocks out into the middle of the room to build. The housekeeping area and block corner used to be reversed, which is why the mirror and dress-up clothes are where they are. I thought about moving them, but because of the furnace vent and window the only other place for the mirror would be where the kitchen is, so I left them. Besides, it doesn’t bother me if the children take materials from one area to the other. Except when they build a tower in the middle of the floor then get mad when it’s accidentally knocked down.
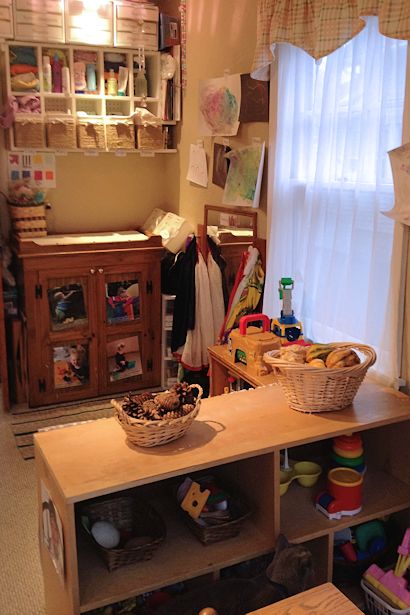 Same area, half-way done.
What a change, right? The wood shelves and more open arrangement make a huge difference! So do the “baskets” boxes wrapped in twine with muslin linersin the diaper cubbies. I’ve still got to make “baskets” for the top set of cubbies, but I think that’s all I’m going to do with this area. Unless I get a brain-storm sometime in the future.
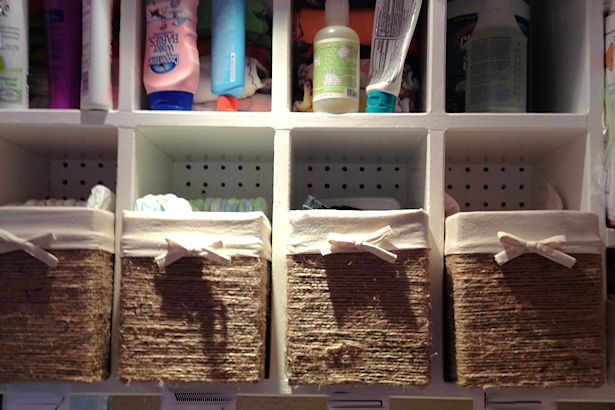 Here’s a close-up of the twine-wrapped boxes.
I spent days scouring the internet for baskets the right size and shape at a reasonable price, but couldn’t find any. So when I found the twine-wrapped box idea on Pinterest of course I decided to give it a try. Wrapping the boxes wasn’t hard but was VERY time-consuming – 30-45 minutes each, depending on interruptions. I took photos along the way and plan to post a tutorial once I’ve had time to edit the photos and write something up. Speaking of reasonable prices, each “basket” cost less than $3, including the muslin liner!
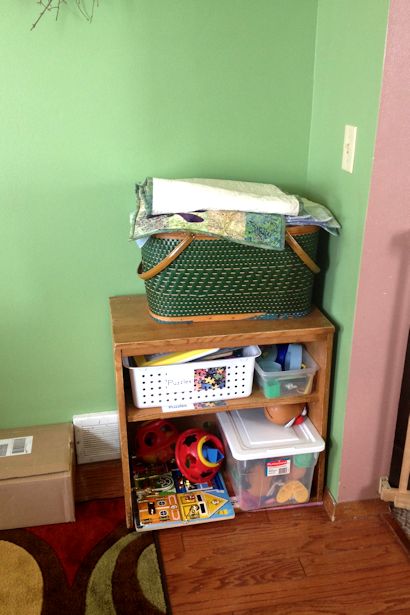 Small motor before.
This small bookcase in the corner of the dining room contains puzzles, “table toys” and other small motor toys. Since the dining room doubles as my sewing room I had “in the works” sewing projects stashed in the vintage picnic basket, out of sight. But that was another surface that tended to get piled with stuff when I wasn’t looking.
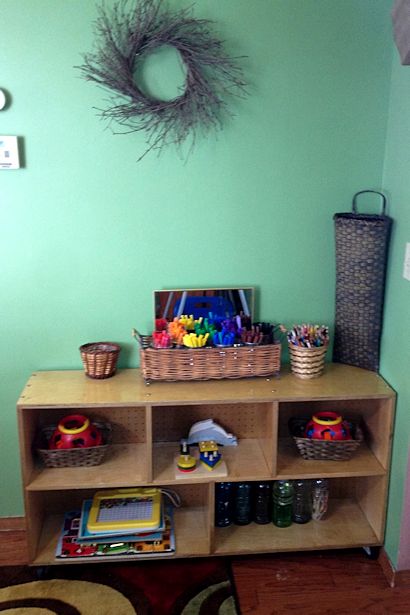 Small motor half-way done.
I moved the bookcase into the block corner in the play room and replace it with a wider shelf. The mirror and matching baskets on the middle shelf came from Dollar Tree my new favorite store; the other baskets were thrift store finds. I was a little concerned that the 10 month old would be getting into the art supplies constantly, but after being told “No-no” and redirected a couple of times he’s left them alone. He does get a kick out of dumping the puzzles out on the floor, but that’s not a big deal.
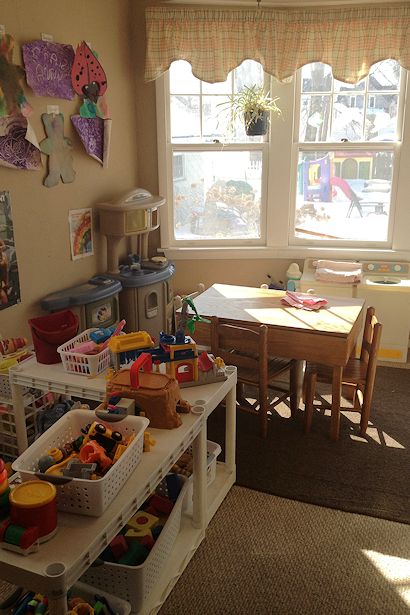
 Whole room before. At least, as much as I can fit into the frame…
It’s not a bad space; it’s bright and cheery with well-defined spaces. The top of the white cabinets ends up being a catch-all and gets cluttered if I’m not careful, but overall I’ve seen worse child care spaces.
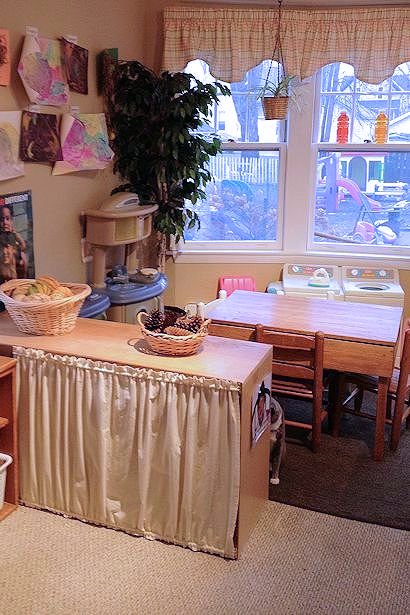
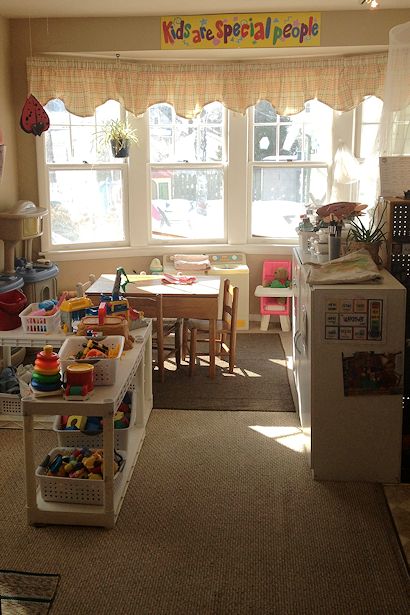
 Whole room part-way done.
Even though it’s only part-way done, I think the environment is much better now. It has the calm, peaceful atmosphere of the Reggio Emilia environment photos that caught my eye on Pinterest in the first place. I’m excited to continue the transformation and bring the visions in my mind to life!
What do you think? I’ve love to hear any ideas you have, especially if you have suggestions for replacing the acrylic frames. Those things are really bugging me right now…


Amy Sue, this looks beautiful! You are doing a great job clarifying the environment and making it look peaceful.
Are you already noticing behavioral differences? Though it was nice before, it seems even more relaxing and inviting now. I bet the kids appreciate that a lot.
I’m looking forward to seeing the finished product!
Julia,
Thanks for the compliments! I am definitely seeing some behavioral changes – and I feel more relaxed too, which I am sure helps all around. Now that all the cheap and easy things are done it’ll be slow going now, but slow and steady wins the race, right? 😉
Thanks for commenting!
~Amy Sue
Amy,
Have you and Teacher looked at any of the repurposed entertainment centers that people have transformed into play kitchens? I thought of you when you mentioned wanting to replace the plastic one in your post. I’m sure there are tons of ideas for that on pinterest and I know I’ve seen them on facebook recently as well.
Karen,
I have, but most of the ones I see are as tall as my current kitchen, or taller. I’d rather have a shorter one to cut down on visual impact… and so the children don’t feel the need to stand on chairs to reach the top part. 😉 But maybe we can find a shorter TV stand or something… I hadn’t thought of that before. Thanks for the idea!
Nice to hear from you,
~Amy Sue
Quick and cheap idea for hanging the kids’ artwork (don’t know if it fits with your inspiration): clothes pins. Can do it several ways, repurpose some drape holders or knobs and string twine or clothesline and hang pictures/artwork from line with the clothespins (easy way to quickly hang a picture someone has given you:-)); paint clothespins a calming, coordinating color and attach directly to the wall using command strips; or attach each child’s name or an item that represents them to a clothespin before using on the wall, easy for their parents to immediately identify their child’s lovely work:-). I use them in my home in our “art corner” (part of our hallway) at my daughter’s height so she can change out her pictures as she likes!
Lindsay,
Thanks for the idea! I’ve seen several environments that used clothespins on twine or clothesline and it looked really nice. I actually used clothespins for a while – I used that sticky putty stuff to attach them to the walls. (My walls are so textured that tape doesn’t stick at all.)
Most recently I’ve been using Command Fridge Clips. The Command strips stick fairly well to my walls, and the clips are clear so they don’t add much visual impact. It’s really easy to slip artwork in and out, and so far they’ve held all but the heaviest art we’ve made. I have a laminated name tag above each clip so I don’t have to write on the children’s art.
I’m totally addicted to Command products and use them all the time. I think I’d cry if I couldn’t but replacements for the ones that occasionally break!
Thanks for commenting,
~Amy Sue
This is quite a beautiful space you have created! I see so many preschools, daycares/dayhomes and playrooms that are “loud” with brightly colored toys and decor. I really find that lighter colors, natural items and well organized space make the area much more calming and inviting.
Thanks Kristin!
I feel much more relaxed in the space, and the children seem to also.
~Amy Sue