
 As part of my Reggio-inspired environment transformation I wanted to add baskets to the diaper cubbies so they’d look nicer. The problem was that I couldn’t find baskets the right size, and any that were close to the right size were too expensive.
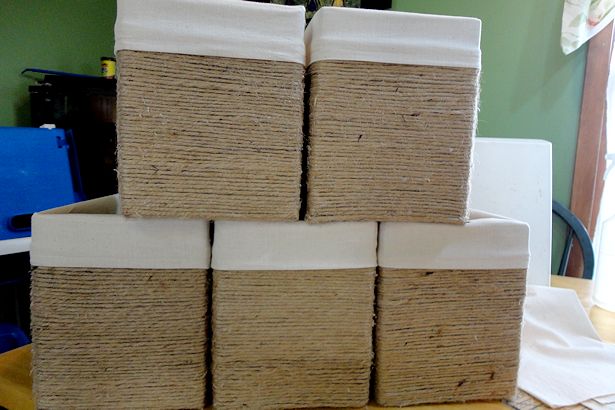
Pinterest to the rescue! I saw twine-wrapped boxes with liners on Pinterest and decided to make my own.
I took photos of the twine-wrapping but they were awful apparently Little Guy got his hands on my camera again so I had to delete them. I’ll take new ones when I do the next box, but in the meantime, here are directions to make the basket liner.
Disclaimer: When I sew for myself I don’t worry too much about making it perfect; as long as the part you see looks good and it works I’m happy. You may be more or less concerned about perfection so adjust your sewing technique accordingly. Also, I hate pinning and have enough experience that I can skip pinning things in most cases, but if you’re less experienced or more concerned about perfection you may want to use pins. I won’t fault you either way. 😉
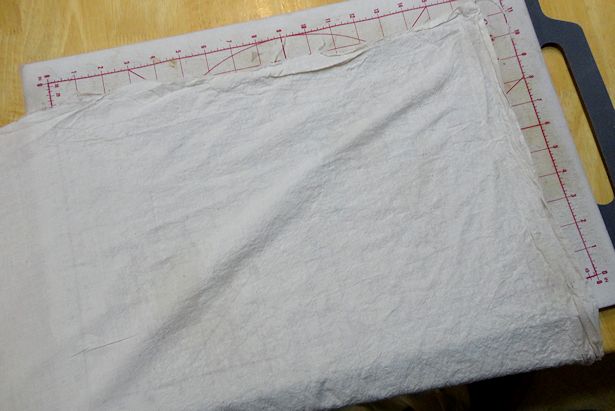 I wanted a rustic look so I bought the cheapest muslin I could find, but you could use any fabric you like. I preshrunk the fabric by washing and drying it on hot, then gave it a good ironing.
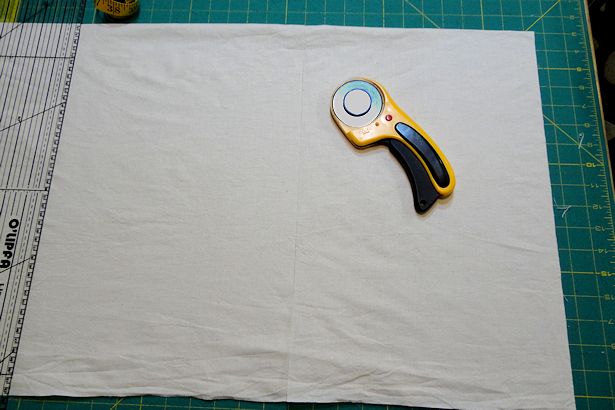 Next I cut three pieces of fabric for each basket liner: one for the bottom, one for the sides, and one for the bow.
To figure out what dimensions to cut each piece I measured the twine-wrapped box.
First I measured the bottom of the box. I added 1/2″ to both the width and height to allow for a 1/4″ seam allowance all around.
Then I measured the sides of the box from one corner, all the way around, and back to the same corner again. I added 1/2″ to that measurement for seam allowances. Then I double-checked my numbers by measuring each side individually, and added the measurements plus 1/2″ seam allowance. The total was almost the same as the first measurement. Hooray! This Old House taught me to “measure twice; cut once” but I tend to do the opposite when I’m not being careful.
For the height of the sides I determined how much basket liner I wanted to show on the outside of the box and marked that place. Placing my tape measure at the mark, I ran it up to the top of the box, then down the inside to the bottom. I added 1″ to this measurement for seam allowance, hem, and to leave a little extra in case of error. It’s easier to make things smaller than to make them bigger. I double-checked that measurement also, then cut out all of the pieces.
For the bows I took a scrap of fabric, cut it into a 1 1/2″ width and folded it in fourths the long way. I tied it into a bow… Then I untied the crappy-looking bow and tried again… And again…
By the fifth try I had a decent bow. Finally! I trimmed the ends, untied the bow, measured the length, then added 1/2″ for the hems. I cut the fabric 1 1/2″ wide because that’s the width I’ve used in other sewing projects to make spaghetti straps, bows, etc.
 Since the bows would be the easiest to sew I started with them. First I pressed 1/4″ in on both short ends.
 Then I folded them length-wize aka the “hot dog” way and pressed along the fold.
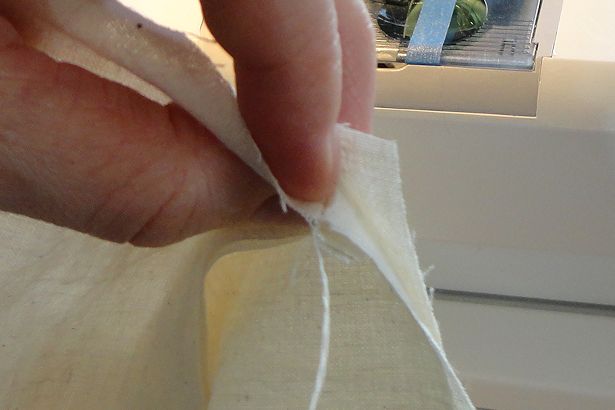
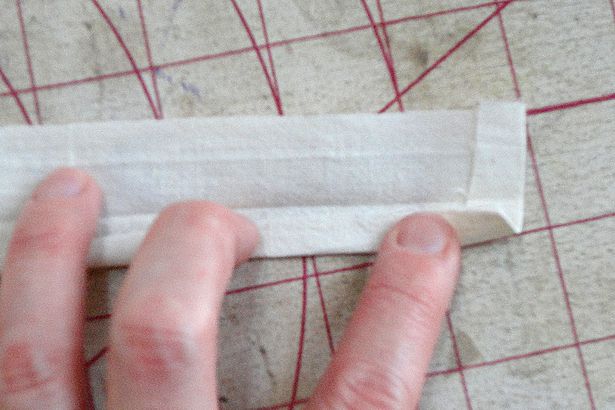 Then I unfolded the fabric and folded one side in so the raw edge met the fold. Since I always burn my fingers at this step I skipped ironing and simply finger-pressed the fold.
 I did the same thing with the other side, again finger-pressing the fold.
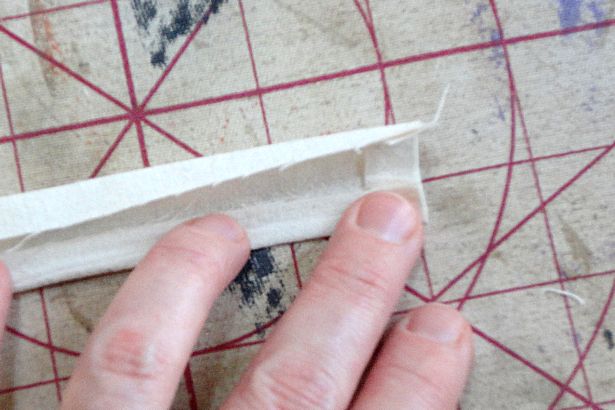
 Once both sides were finger-pressed I folded the fabric down the center fold again and pressed the whole thing with the iron.
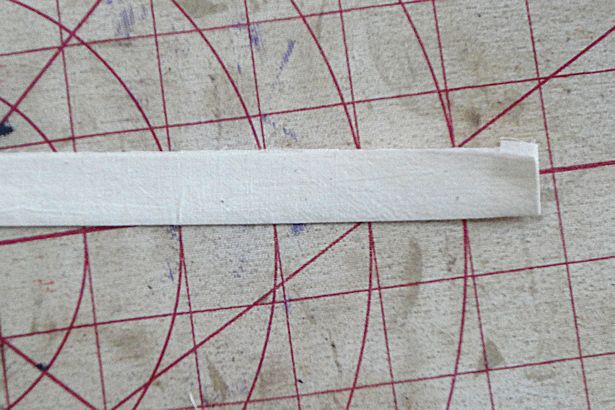
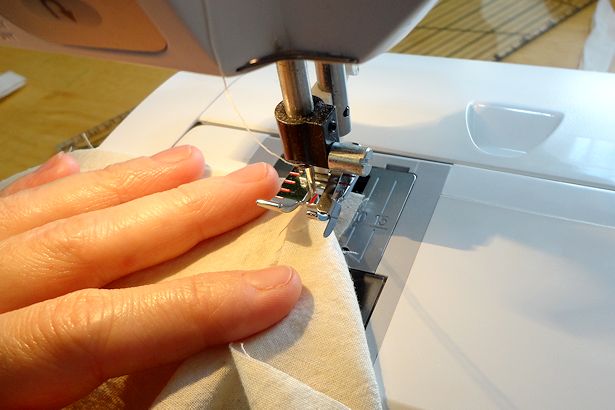
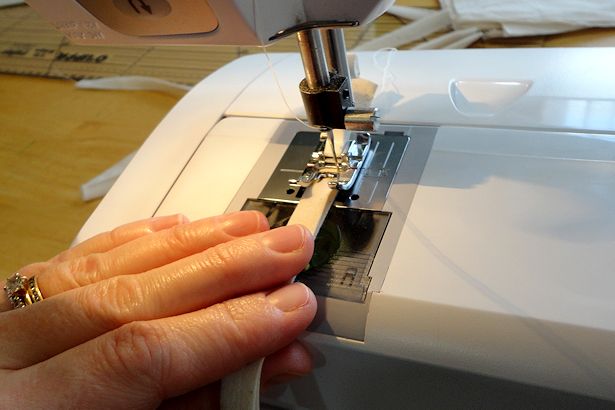 Then I top-stitched close to the edge.
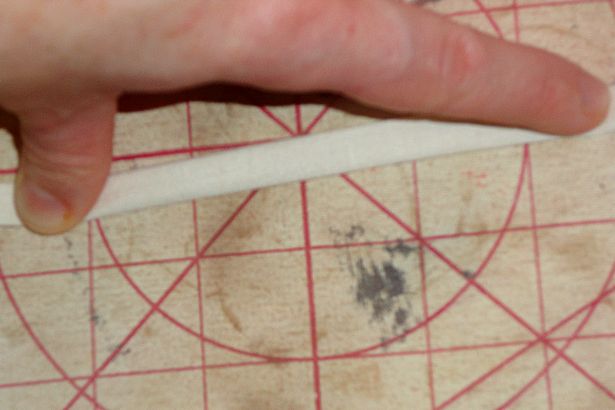
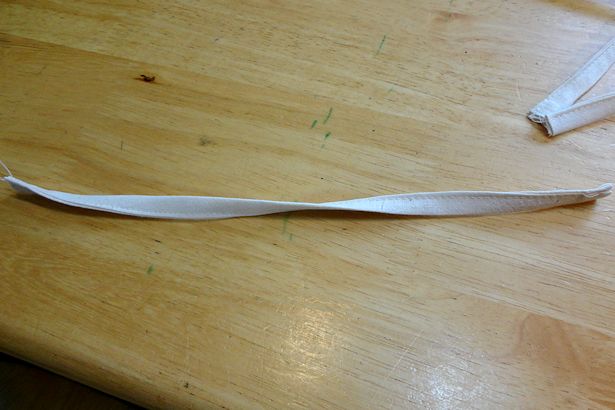 Ta-da! A deconstructed bow.
 It only took me three tries to figure out where to start the bow in order to make it even. Once I figured it out I tied all the bows right away so I wouldn’t forget.
On to the basket liner itself!
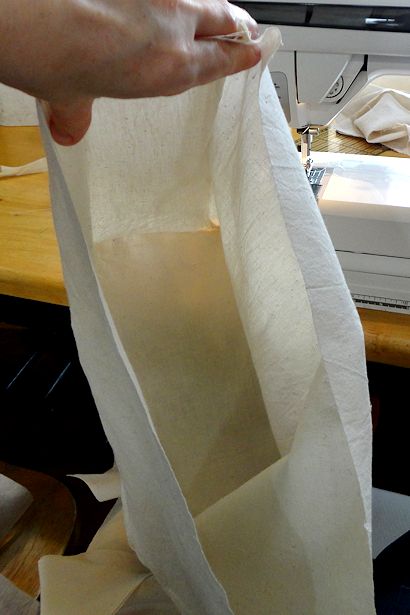
First I sewed folded the side piece of fabric right-sides-together and stitched them together with a 1/4″ seam allowance.
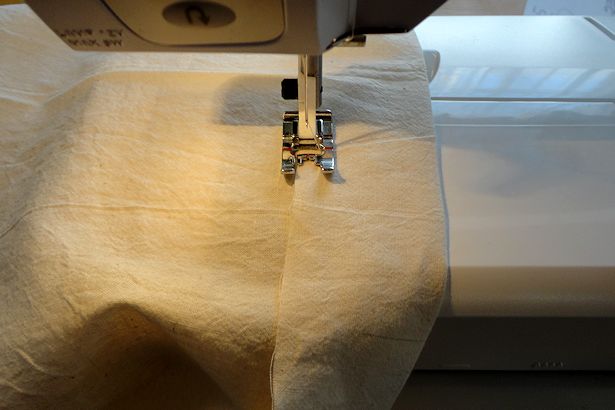
 Then I put the side fabric and bottom fabric together, right-sides-together, lining the side seam up with a point about 1/4″ from the corner of the bottom fabric.
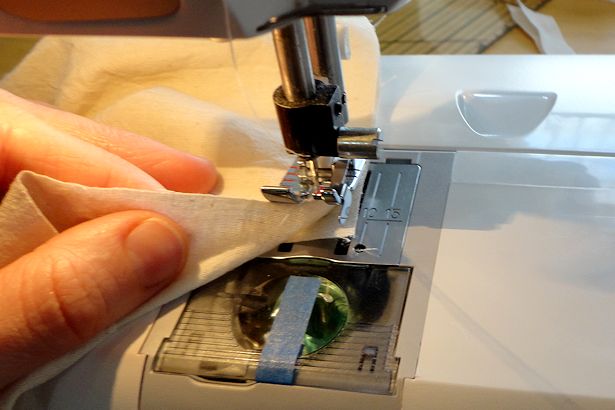 With the bottom piece on the bottom and the side piece on top, I stitched 1/4″ away from the raw edge, stopping about 1/4″ from the next corner. Sinking the needle in at that point, I lifted the presser foot and pivoted the fabric so the raw edge of the bottom piece was lined up straight again. With the needle still sunk in the fabric and presser foot still lifted I pulled the excess fabric out of the way and lined the raw edge up with the raw edge of the bottom fabric. It looks like you’ll have a fold in the corner but you won’t; if for some reason you do, it’ll be hidden at the bottom of the basket so you won’t ever see it.
 I continued to stitch, stopping and pivoting at each corner, until I reached the corner with the seam, where I started. On some of the basket liners the fabrics met up perfectly but on a couple the side fabric ended up a little bigger so I had a small pleat at the end. Because I’d planned to put the seam toward the back of the basket I didn’t really worry about it, but if you want yours to line up perfectly you could rip out part of the side seam and re-stitch to make it the right size.
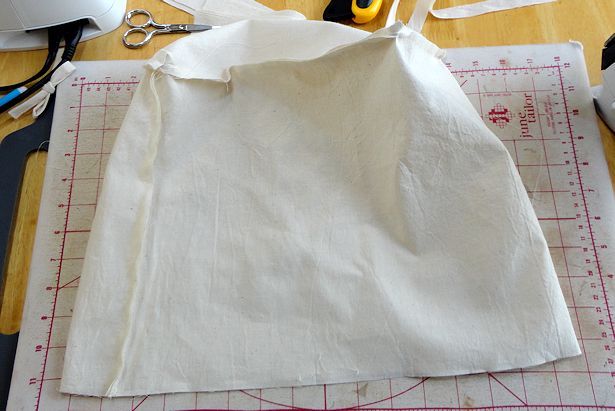
 Here’s a view of the inside. That was the hard part, the rest is just measuring, pressing and topstitching!
 Time to make the hem and finish these basket liners!
 I’d planned for a 2″ overlap, but because I hadn’t wrapped the twine all the way to the top of the box you wouldn’t see it anyway I had to double the fabric so the box wouldn’t show through.
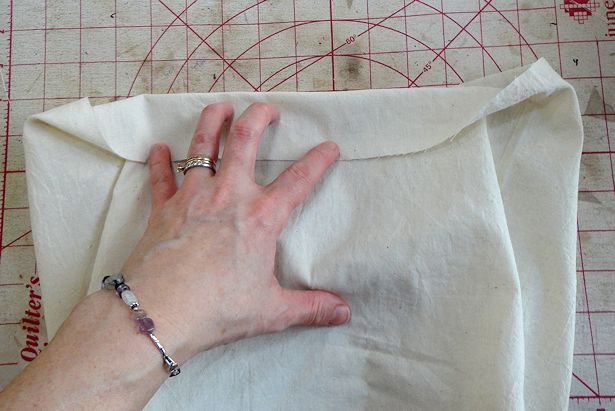
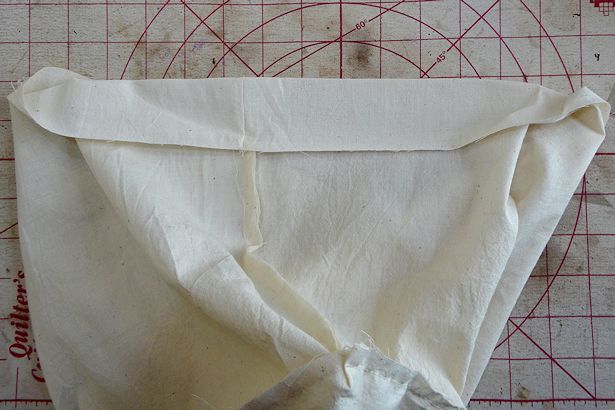 I folded the fabric over 2 1/2″ and pressed. If my fabric didn’t have to be doubled I would have just folded it 1/2″. Pressing gives it a nice, crisp fold and helps keep it in place so I can skip pinning.
 After pressing all the way around I topstitched near the raw edge. Since these basket liners won’t get heavy use I didn’t bother turning the hem under to hide the raw edge. If you anticipate that your basket liners will get heavy use I recommend that you press the raw edge under 1/4″ before topstitching.
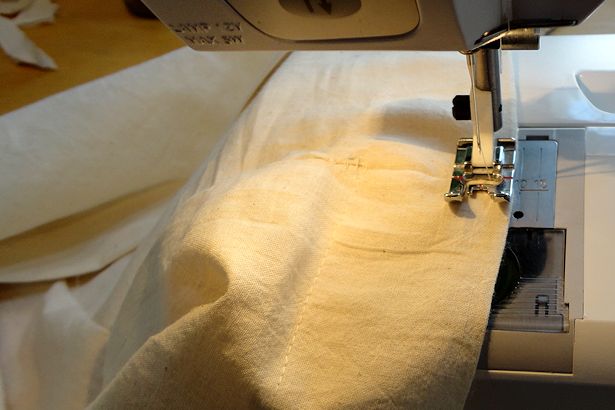 Then I topstitched 1/4″ from the folded edge to make it look nice and give the impression that there was a 1/4″ hem.
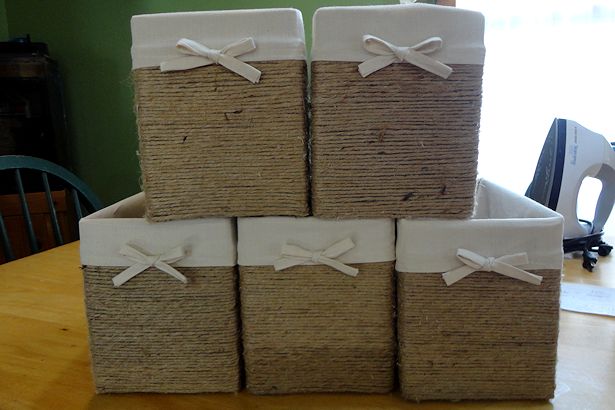
 I put the basket liners in my twine-wrapped boxes and adjusted them so the corners fit into the box corners and the hems on all the boxes were even. I briefly considered hand-sewing the bows to the liners, then decided that was a waste of time and hot glued them on instead.
They look great, if I say so myself! I’d guess that each “basket” cost less than $3 and took under 1 hour to make. It could be less since I didn’t time myself making the basket liners, and made all five “assembly line style” at once.
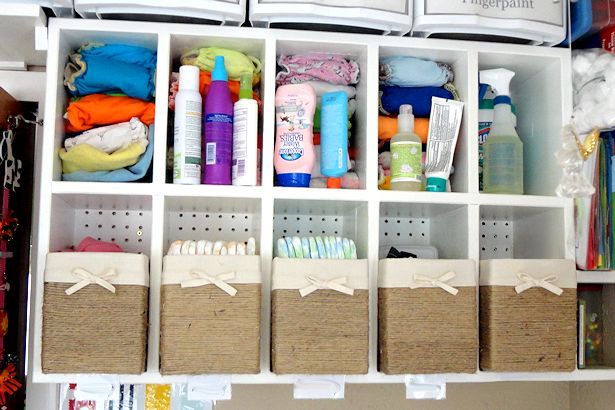 I love how clean they make the diaper cubby area look. Now I just need to make some for the top cubbies!
I hope I’ve inspired you to make your own basket liners! Watch for the twine-wrapped box tutorial to come… Sometime…


These look great! I’ve been looking for some cute baskets but they are so expensive! I will definitely be making some of these. Thank you for the tutorial 🙂
You’re welcome! They’re still going strong a couple of years later too. 🙂
Thanks for commenting,
~Amy Sue