Applying a KAM snap is so easy my kids can do it! In fact, when I was making diapers for Peanut I had Angel Face apply the snaps for me.
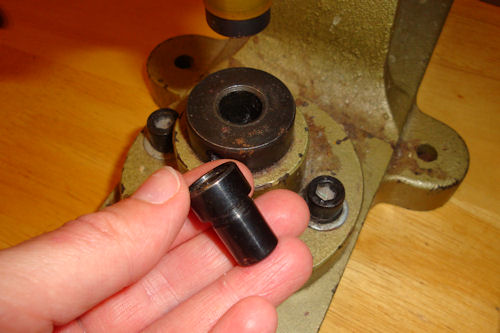 I’m assuming you already own a press and dies. Size 20 dies seem to be the standard for cloth diapers and cloth pads. I’ve used size 20 for everything: purse closures, baby clothes, doll clothes (they’re a bit big for the doll but easy for little fingers to use) home decor items, etc.
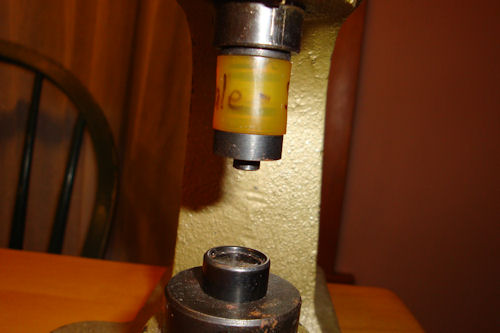 Fit the shank of the upper die into the upper hole and use the allen wrench to tighten it. Drop the flat die in the lower hole, and you’re ready to go!
I labeled my upper dies “Female – Socket” and “Male – Stud” so I could figure out which was which quickly.
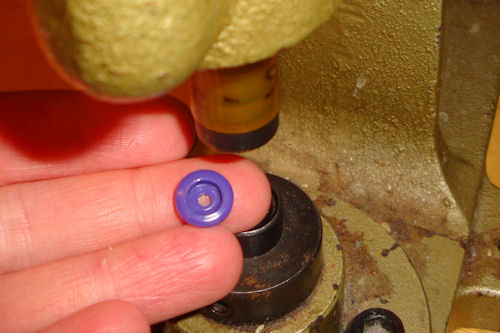 Push a female/socket piece onto the upper die; it should snap on and stay there nicely.I’ve had some fall off which is a real pain because then you have to hold it up and try to apply it without pinching your finger. Sometimes I’m successful, sometimes I’m not.
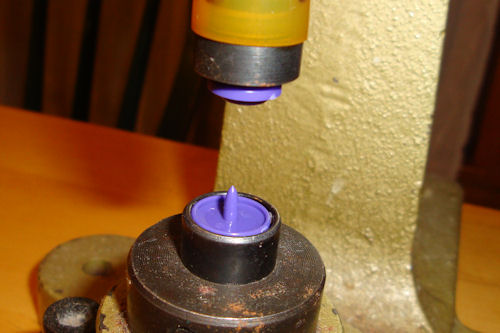 Lay the cap point-side-up on the lower die. Do be careful because the point IS sharp.
When I’m applying snaps to one layer of fabric, like PUL for a diaper, I lay a piece of scrap fabric on the cap to reinforce the snap. I haven’t found this to be necessary when snapping two layers of fabric, although if both layers are very stretchy I might use a scrap of non-stretchy fabric to as reinforcement.
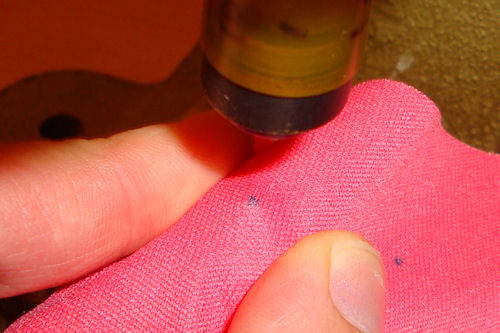 Make sure the placement mark is right on the point of the cap, and hold the fabric firmly so it doesn’t shift on you. If you’re right-handed you’ll probably want to hold the fabric with your left hand. Be sure your fingers are out of the way!
With your right hand, slowly push down on the handle until the socket comes into contact with the fabric.
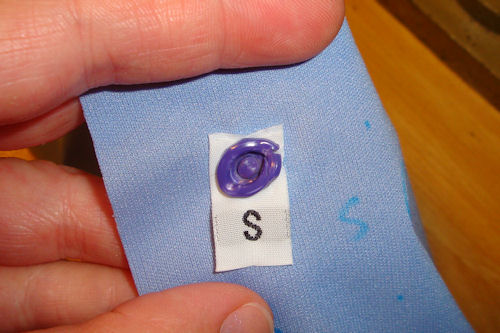
Some WAHMs make small holes in the fabric so the cap will go through, but I generally don’t find that necessary; the only time I’ve had a problem with caps not going through is when I add the size tag. If I don’t make a small hole in both layers of the size tag the cap won’t make it through the reinforcement scrap, the PUL and the size tag.
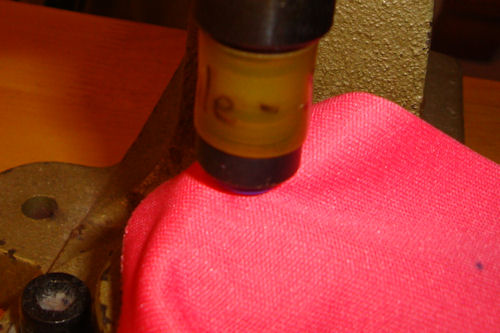 Holding the handle down so the fabric doesn’t slide, use both hands to press the handle down as far as you can. I usually get on my tiptoes and lean over a little so my shoulders are right over my hands, then use my whole body to press the handle down.
Let up on the handle, then press it down a secong time for good measure.
If all goes right the cap point will pass through the hole in the socket, hit the upper die and get smushed; spreading out to hold the socket securely. If you don’t press the handle down with sufficient force the cap point won’t get smushed enough and your snap will come apart. But don’t go all He-Man on it either or She-Ra, as the case may be because if you use too much force you could crack the socket.
That’s a major pain in the tookus, and the subject of a future post.
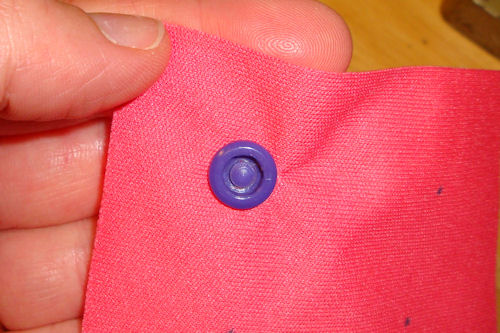 Ta-da! One lovely socket snap applied… just fifteen more to go!
By the way, it’s just as easy to apply the male/stud half; just use the male/stud die and male/stud piece.
Happy snapping!




Hi! looks like i have the same snap press – just wondering…what size snaps do you use? i have size 12, i believe, and i’m putting my snaps on 1 layer of PUL and 1 layer of suedecloth…and i’m constantly having my snaps pop apart 🙁
any advice?
Kacia,
I use size 20 KAM snaps. I always reinforce them with a second layer of PUL or microfleece, and sometimes suedecloth. If they don’t stay together you may not be smashing the sockets enough and too much of the cap post is sticking up. Try pushing down twice and put your whole weight on the handle the second time.
I hope this helps!
~Amy Sue