
Teacher and I were in JoAnns, picking out fabric for reusable gift bags, when he spied a Cars Christmas flannel.
Little Guy loves is obsessed with the movie Cars and all things Cars.
His past three birthdays have been Cars themed, he’s dressed as Lightening McQueen for Halloween, and has only wanted Cars toys for Christmas. He’s even learned how to use my iPod to find Cars YouTube videos.
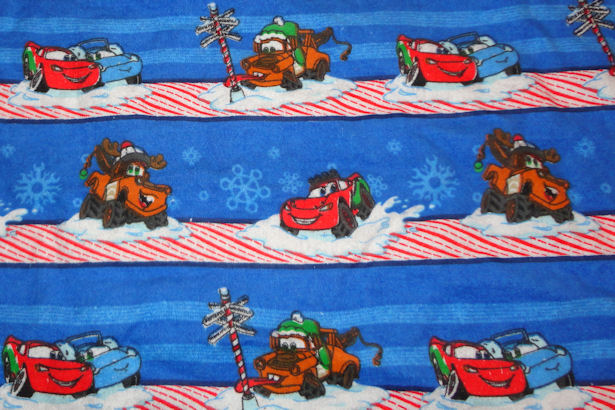 We knew we had to get him the Cars Christmas flannel, and I decided to make him a pair of pajama pants. I didn’t have a pattern, but figured it couldn’t be too hard… and for once I was right! OK, I did make one major mistake at the very beginning, but I fixed it right away and can tell you what not to do. Be sure to read to the end before you start sewing so you don’t follow me in my mistake!
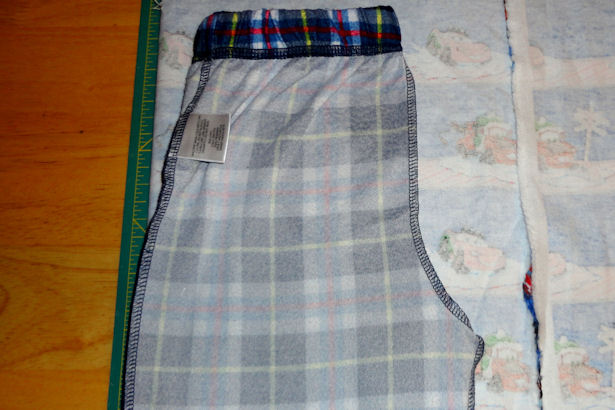
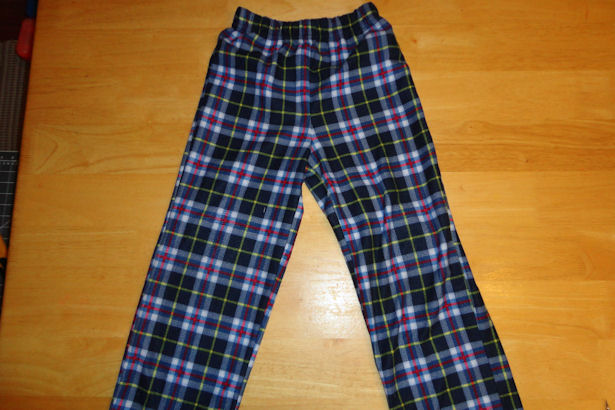 I grabbed a pair of pajama pants from his pajama drawer to use as a pattern. I knew that the hardest part would be getting the crotch curves right, but since I had a pair of pajama pants to use as a pattern I wasn’t too worried about it.
Not worrying = my first mistake.
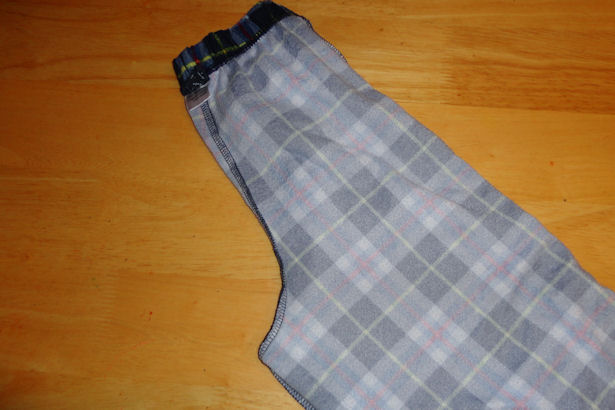
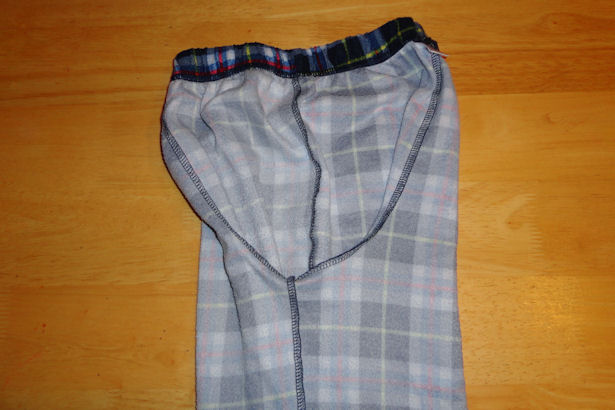 I pulled one leg into the other to expose the crotch curve. I hate the word “crotch;” isn’t there a better alternative? These pajama pants consist of 4 pieces of fabric: Front right, Front left, Back right and Back left. My plan was to line up the side seams on the fold so instead of four separate pieces of flannel I’d have just two pieces: Right and Left.
What’s that saying about the best-laid plans??
 The back section didn’t line up exactly right from seam to seam – apparently the front pieces are wider than the back.
 I squished the front section together to make the back section line up at the seams.
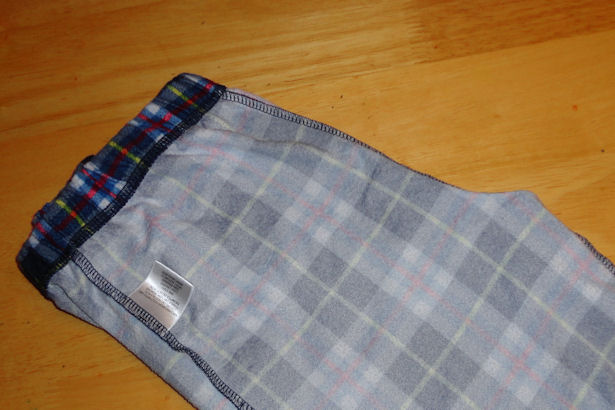
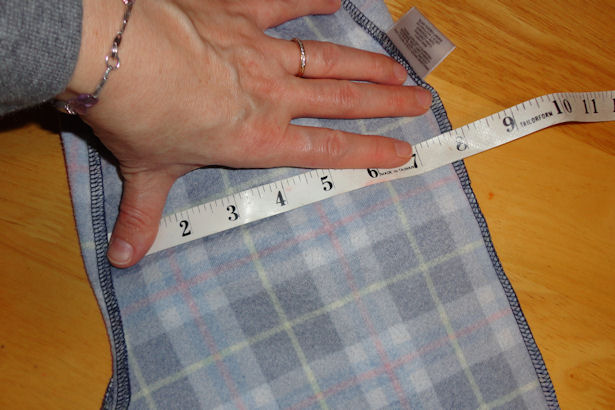 Then measured a front section from front seam to side seam…
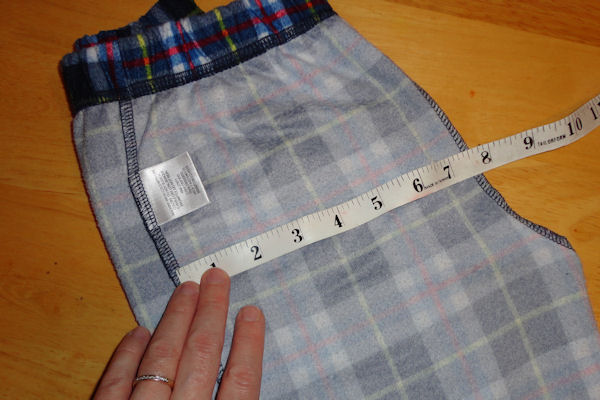 And a back section from back seam to side seam. I wanted to make sure both sections would fit on the flannel BEFORE I started cutting. The flannel was more than wide enough.
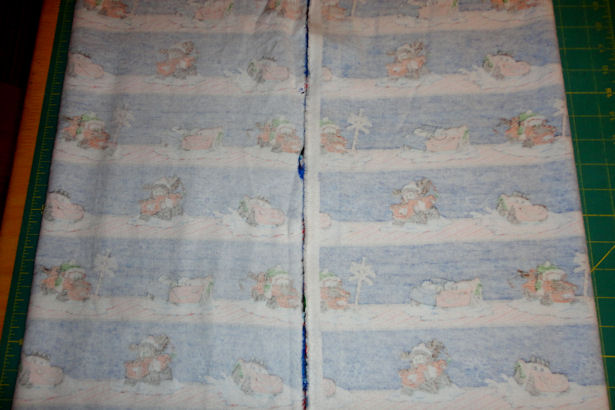 Then I folded the flannel right-sides-together with the selvedge edges meeting at the center.
 I laid the pajama pants on the flannel, lining the side seam up along the fold. Because the waist elastic draws in some of the fullness, when I got toward the waist I made sure that the inner leg and center seams were lined up, even though that meant that the side seam pulled away from the fold.
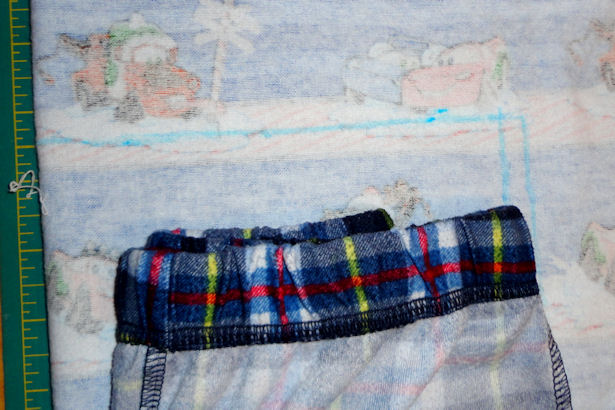 I measured the width of the elastic casing, then used a water soluble pen to draw a line on the flannel above the waistband.
There’s no photo for it, but I did the same thing at the bottom: measure the width of the bottom hem, then draw a line below the hem.
Have you figured out my major mistake yet?
Nope, it’s not forgetting a seam allowance.
 Starting at the bottom, I cut about 1/4″ outside of the line I’d drawn by the hem. I continued cutting 1/4″ away from the seam, up the length of the pants, then 1/4″ outside of the waistband lines I’d drawn.
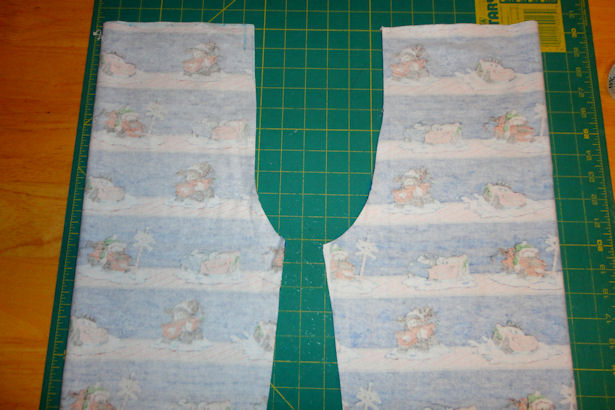
Then I flipped the pajama pants over to the front and arranged them with the side seam along the opposite fold. I drew the lines above the waistband and below the hem, then cut around the pajama pants, remembering to add 1/4″ seam allowance.
Ta da! Perfect!
Or not. Do you see the mistake? I did…
“&$^@#*%&@#%&@#(&!!!!”
In order to avoid a side seam I needed two pieces, each with a front and back curve.
Instead, I had one piece with two front curves, and one piece with two back curves.
I’m such a knob!
Luckily it wasn’t a hard mistake to fix; it just added another step to the process and knocked me down a peg on the cool-o-meter. I simply cut each piece along the fold so I had four pieces: right front, right back, left front, left back. Then I serged the right front to the right back, and the left front to the left back, so I was back to having two pieces – each with a front curve and a back curve.
Here’s what YOU need to do to avoid a side seam… Obviously I don’t have photos since I messed up, so I hope these directions are clear enough. Don’t hesitate to contact me if you have any questions – I’m happy to help!
Follow my directions exactly, up to the point where I started cutting. DON’T CUT! Instead of cutting, TRACE around the pajama pants, adding 1/4″ seam allowance. Use a pin to mark the top of the waistband and the bottom of the hem. Remove the pajama pants from the fabric.
KEEPING THE FABRIC FOLDED, flip it over so the part you just traced face-down. Flip over the pajama pants and line up along the fold, making sure the waistband and hem line up with the pins. TRACE again, adding 1/4″ seam allowance.
Unfold the fabric – hopefully your tracings line up reasonably – you should have a front curve on one side and a back curve on the other side.
Refold the fabric right-sides-together so you can see your tracing lines along the center with selvedge edges touching. Cut along your traced lines.
Now you should have two pieces, each with a front curve and a back curve.
 Fold one piece in half right-sides-together, matching the inner leg seam. Serge or sew from hem to crotch. Repeat with the other leg; you should end up with two inside-out tubes.
Turn one leg right-side-out. This is a little tricky, but stick with me… stick the right-side-out INSIDE the inside-out leg, matching the seams. The fabric should be right-sides-together, and when you line up the leg seams the crotch curves and front and back seams will naturally line up too. Pin if needed, then serge or sew from the waist, down through the curve and back up to the waist again. If you’re sewing instead of serging you may want to reinforce the crotch by stitching along the same seam line.
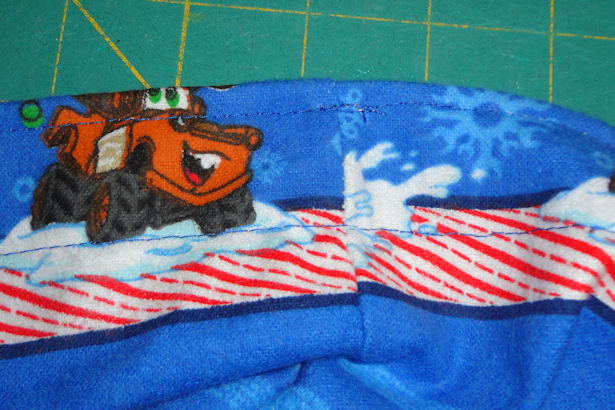
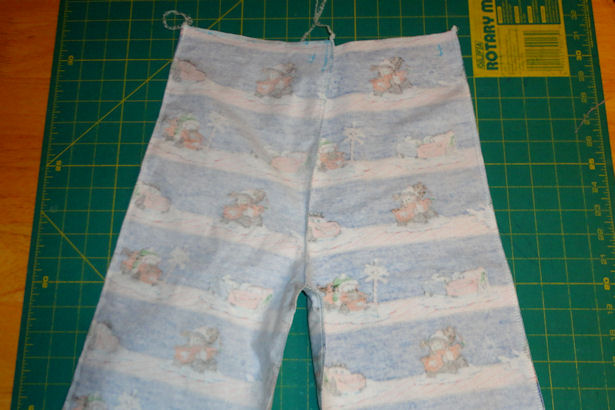 They should look like this, except you won’t have a seam on the outer legs… unless you made the same mistake I did.
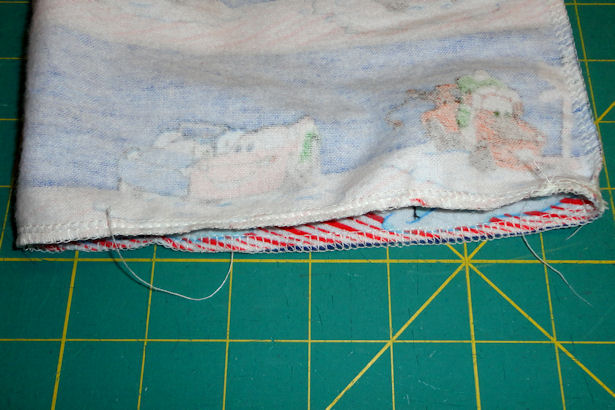 Finish the raw edges along the bottom by cutting with a pinking shears, serging, or sewing with a zig zag stitch. You could also turn 1/4″ under, pin, and press but that’s too much work for me when I’m making something this simple.
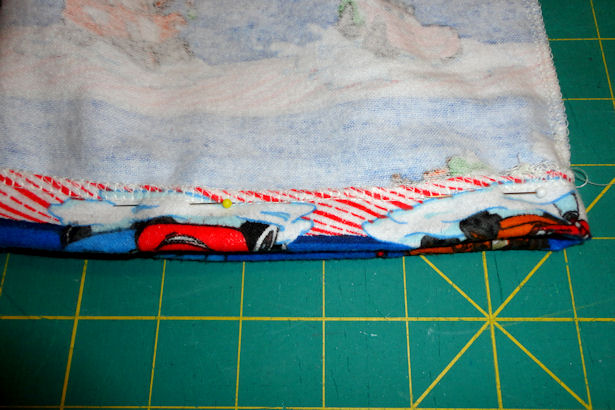 Turn the hems up and pin. My kids alway seem to outgrow length before width so I just turned them up 1/2″, but you can customize the length as desired. Sew near the raw edge to finish the hem.
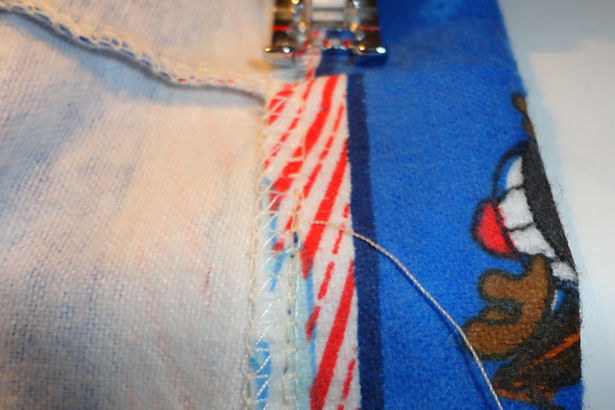
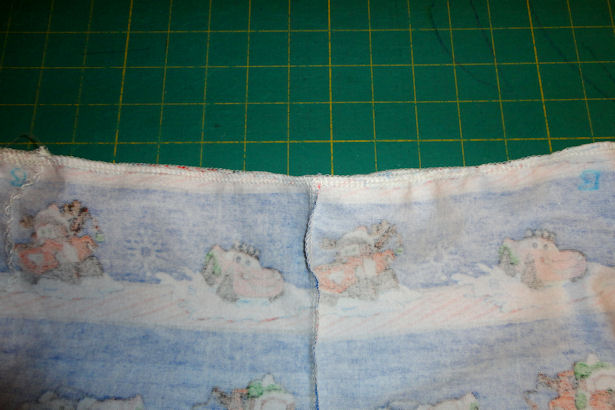 Finish the raw edges along the waist like you did for the hem.
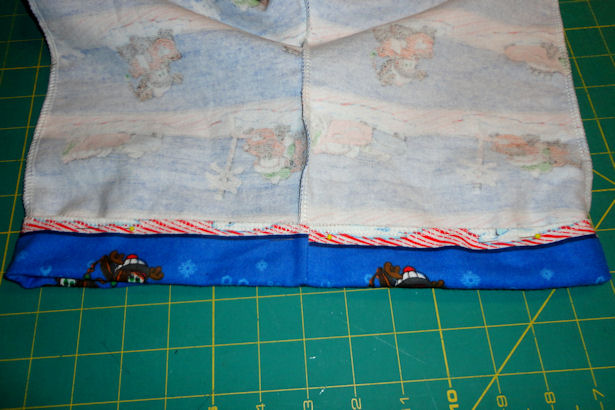 Turn the fabric under to form a casing make sure it fits your elastic plus about 1/4″ for the seam and pin.
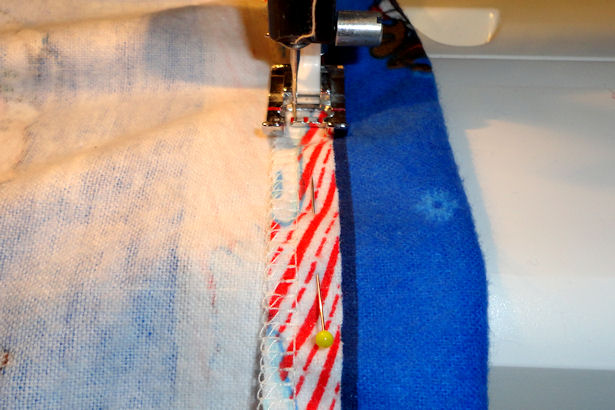 Stitch close to the finished edge, being sure to backstitch as you begin.
 Leave an opening to insert the elastic; be sure to backstitch again so your stitching doesn’t pull out as the elastic goes in.
 The pajama pants I used as a pattern had a line of stitching 1/4″ from the fold, so I did the same. Whenever I make elastic waists I add a second line of stitching toward the fold because I like the way it looks.
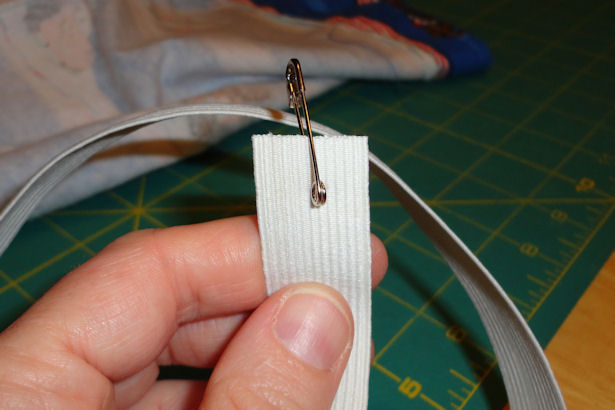 Place a safety pin in one end of your elastic.
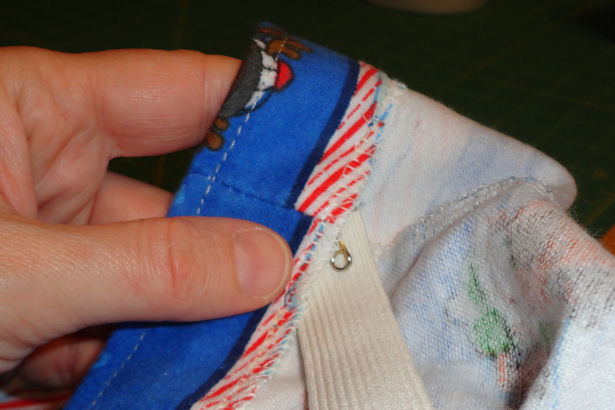 Insert the pin with the elastic in the opening you left in the waist casing.
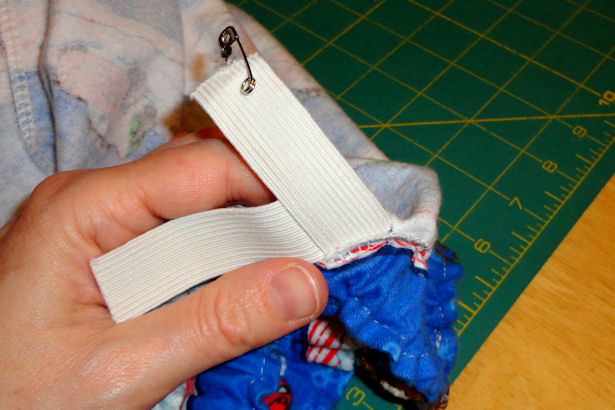 Carefully maneuver the safety pin and elastic through the casing. As you get closer to the opening, make sure the loose end of the elastic stays outside of the casing, or you’ll have to pull it all out and start over.
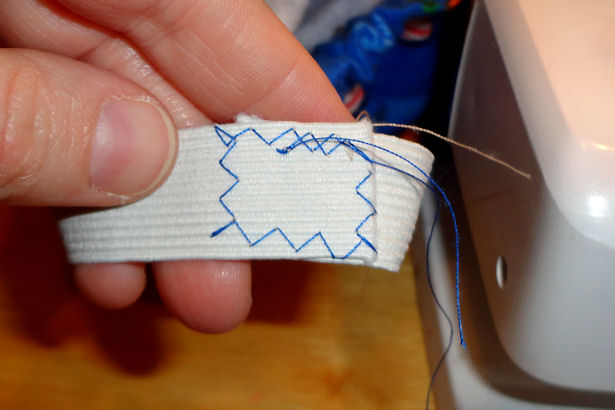 Overlap the ends of the elastic, being careful it’s not twisted, and stitch. I like to use a zig-zag stitch, I don’t know why.
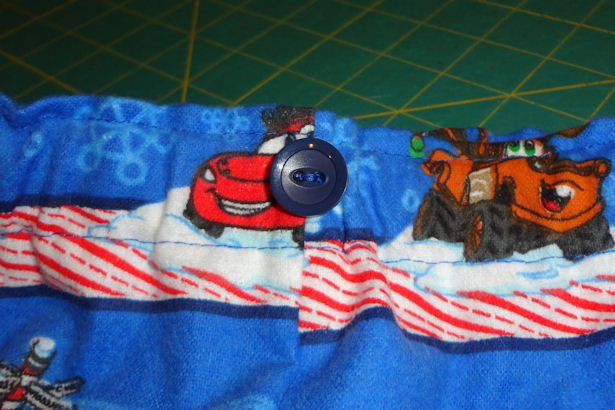 Finish your pajama pants by sewing a button to the front my Grandma’s trick so your child can tell which way to put them on.
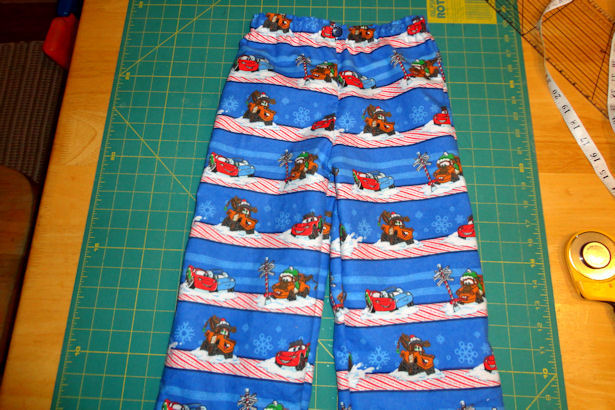 Ta-da! Little Guy was thrilled when he opened these on Christmas morning. They were so quick and easy to make even with my mistake that I plan to make a bunch more.
Be sure to send me photos of the kids pajama pants you make – you know I want to see them!


Thank you for this tutorial. Remember, also to think about which direction your material print is going. I made a darling pair of pajamas with little cars … all upside down! The little boy who wears them can see them upright, but to the rest of the world, they are all upside down. Heavy sigh.
Debbie,
Oops – I’ve done that too. Just tell everyone you meant to do that so the little guy could see them right side up. They won’t know the difference. 😉
I’d love to see a photo of them!
Thanks for commenting!
~Amy Sue
Thanks for posting this! It was really easy to follow, and you seem very friendly. We are Cars fans here, too!
Joy,
I’m glad you were able to follow the directions easily – since I’d made the mistake I was afraid the directions would be confusing. I’d love to see a photo of the pants you made!
Thanks for commenting,
~Amy Sue
Thank you so much for the instructions, they are very easy to follow. I would definitely stitch one and upload the pic here. My son too is very fond of cars. Will get a material with cars printed and will remember not to make them appear upside down .
Alexa,
I’m so glad my instructions helped you! I’d love to see what you make – did you mean general cars material, or Cars the movie material? Little Guy has been OBSESSED with Cars the movie since he was 2.
Good luck!
~Amy Sue
Hi Amy!
You did the job very well. I have too stitched a pajama pant for my little master. Its material has different cartoons printed on it and my kid like it very much. Thanks for your helpful and easy instructions.
It seems to be so simple making pajama pants, I think it is just because of you explain the things so simply and step by step quiet easily. But my son want to have pocket in his pajamas or pants or any thing he wear so please tell me can it be possible to stitch pockets in pajama and if possible then how it can be done.
Ooooh – good question!
Making a “patch” pocket – like on the back of blue jeans – is easy. You add it after cutting out the fabric, but before starting to sew the pants together.
Cut a rectangle a little bigger than you want the pocket to be. Zig-zag or serge the edges to keep it from fraying. Fold the top edge down about 1″ and press to crease. Fold the other 3 edges in about 1/4″ and press to crease. Figure out where on the back piece the pocket should go and pin it in place. Sew the sides and bottom about 1/8″ from the creased edge, backstitching at the top to reinforce the stitching.
Making side seam pockets is a bit trickier and really requires more of a step-by-step tutorial. I’ll add that to me To Do list. 😉
Thanks for asking!
~Amy Sue
I made the same mistake as Debbie Robus, I have made the pajama with fabric printed some cartoons all over but they are upside down now. So its my advice to everyone please make sure the direction of print is in right direction. Thank You Any Sue for these really steps for making pajama.
Allison,
I’ve done that myself too many times to count! I’ve adopted the mantra from “This Old House” – Measure Twice, Cut Once. 😉
~ Amy Sue
Hi Amy Sue, Any ideas on how to avoid my seam from twisting inward. Made pajama bottoms and they did this. So disappointed!
Karen
Karen,
Do you mean the elastic twisted up? Some of the boys’ did the same thing. To keep elastic from twisting, stitch an extra row of stitching near the fold, close to the elastic but not catching the elastic. (Obviously easier to do before inserting the elastic, but possible after if you’re careful. Using a zipper foot helps too.) Another option is to “stitch in the ditch” at the back seam. Lay the pants flat with the back seam lined up under your presser foot, then stitch along the seam, in the “ditch” where the back seam is. This will help keep the elastic from twisting (hopefully!) If the front twists you could “stitch in the ditch” in the other seams also.
I hope this helps!
~Amy Sue
I made the mistake of making 2 of the same leg with material I don’t have more of nor can I find more (where the wild things are so cute and so bummed) is there a way to fix it? And how? I am a novice at sewing but my son’s (4) “old school taste” I have to start customizing him his clothes but best place to start is pj bottoms lol.
Thanks,
Desperate Mom
Oh no!! You may be able to salvage it, if you can trim the crotch curve of one leg to match the other. You may need to adjust both curves, but for a 4 yr old it shouldn’t make much difference.
Good luck!
~Amy Sue